Have Some Fun With Your Easter Eggs This Year!
I don’t know about you, but for me, there’s nothing like a pile of freshly boiled eggs and the smell of vinegar to bring back wonderful childhood memories of the day before Easter… around the table with my family!
And… because eggs are so inexpensive this time of year, you should take a few minutes around the kitchen table, to create some memories… and a masterpiece with your little ones!
The number of ways to decorate an egg are limitless, but I thought I would share a few of my favorites with you today.
Painted Eggs
To keep your eggs to use every year, blow the egg out, wash & dry, then paint with regular acrylic paints. You could paint them to say “spring” with birds, nests, trees, and flowers, so you could leave them up all season… not just for Easter. Look at these BEAUTIFUL examples!
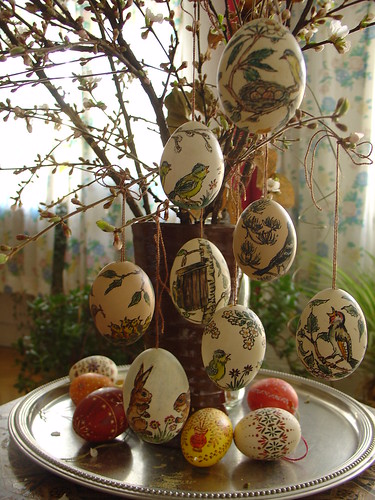
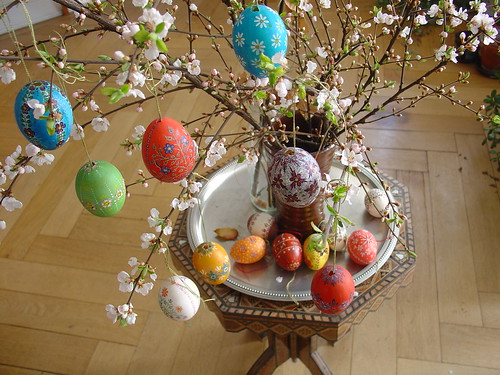
I love how these painted eggs were hung on a “blooming” apple branch!
Stick Ons
Decorate with stickers, stamps, or scrapbook notions.
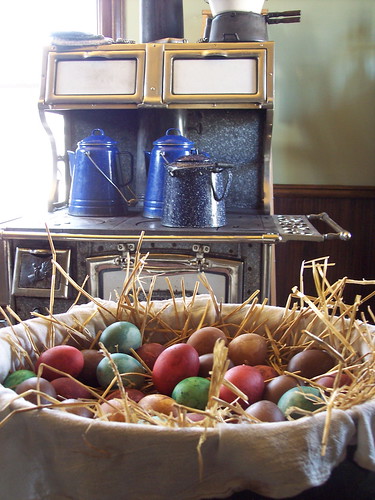
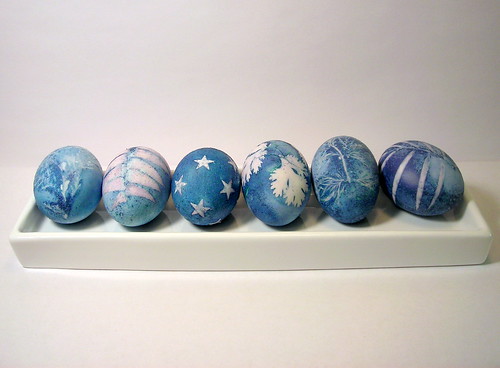
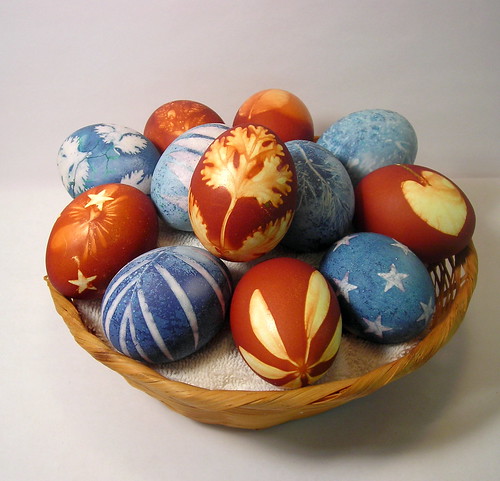
Natural Dye
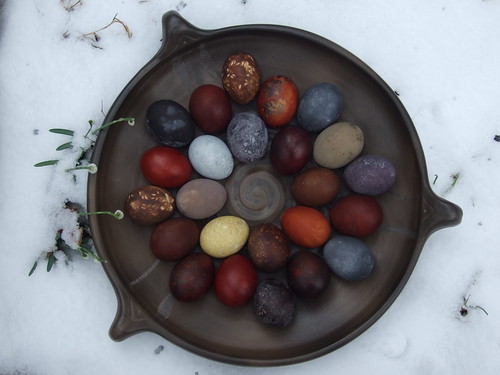
This year, instead of purchasing a regular “same old, same old” egg dying kit, try using some of the food from your kitchen to color your eggs!
Spinach = Pale Green
Hibiscus tea = Green
Blackberries = Deep Purple
Red Cabbage = Robin’s egg Blue
Cranberries = Lavender
Beet Juice = Pale Pink
* The longer you leave the eggs in, the more the color changes
Optional: If you would like patterns on your eggs… wet a leaf of your desired herb (or other pattern), apply to egg, carefully wrap egg in a piece of old pantyhose & secure with a twist tie before placing in the dye bath to keep your pattern secure. Then, carefully unwrap after you remove the egg (using the directions above), and remove the item used for your pattern to reveal your beautiful design.
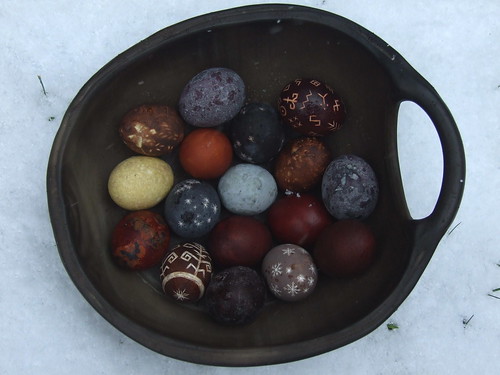
These eggs were colored with purple cabbage.
Yellow Onion Skins
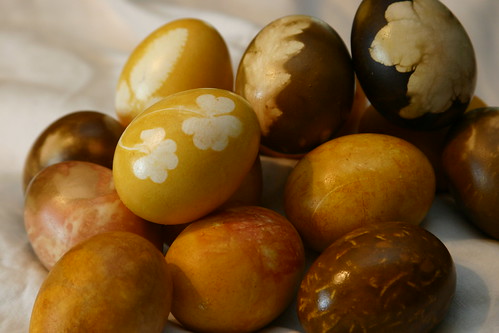
I love the natural red color that the onion skins give to these eggs!
Grandma’s Quilt Eggs
Cut tissue paper into small squares – make sure to use lots of different bright colors. Dip the boiled egg in water to make sure that it’s wet – apply the pieces of tissue paper – allow to dry – peel off paper to reveal that the dye was left on the egg for a beautiful patchwork quilt effect!
Kaleidoscope Eggs
Pick out some of your favorite colored crayons & sharpen them. Save the shavings & lay them out on a plate. Boil your eggs. While they’re still hot, take them out of the water, then roll them into the wax bits. The wax melts & sticks to the egg, giving it a special kaleidoscope effect.
Mosaic Art
Keep those beautiful colored egg shells that you worked so hard on! As you’re peeling your Easter eggs, be sure to keep the shells in a bowl. On a thicker piece of card stock paper, glue the colored pieces of egg shells into a pattern. The picture will turn out looking like a tile mosaic. Now you will be able to admire all of that time spent coloring your eggs for many years to come! * The kids love this project!
Also… you might like this article that I wrote called, how to boil the perfect egg.
Beautiful ideas:)
Happy Easter have a blessed weekend!
kayellen
Wow… what stunning Easter eggs. I am still of the “buy the box of Pas color” school of egg decorating, but you may be inspiring me to up the effort this year!
Lovely eggs — works of art!
Cass
Beautiful eggs!
I love the natural colored eggs. I am ready to give it a whirl. Thanks for great pics & inspiration.
Smiles,
Alice
Just beautiful! I love those colors!
OH, They’re beautiful! I wish I had seen this before Easter. I will try it next year for sure. Thank you for the great idea.
~Debra
You have the most beautiful website! It always lifts my spirits and gives me wonderful ideas. The Easter eggs are just so lovely. Thank you — Barbara
Love it!
Beautiful collection of eggs, thanks for all the tips on how to be wildly creative all kinds of ways.
wow! these are so incredible! definitely bookmarking this for next year!!
Just discovered your wonderful blog.
We stopped coloring Easter Eggs b/c we no longer have little ones in the home, BUT, these area so gorgeous.
I’m not waiting until next Easter. I’ll make some for taking to shared dinners!
I have this bookmarked for next year’s Egg Coloring Celebration with my son! The pictures you posted are all gorgeous. I love how they are dyed by a natural process. I have seen some similar on Martha Stewart’s website in years past, but these are stunning! Thank you for sharing your ideas and pics with me.
Wow, I just found this site & am in love already! Thank you
What a wonderful post! It helps me remember some great times from my own childhood, and from my adult Easters’ past. I used to live in Iowa not far from the Amana Colonies, and my mom used to take us as kids to visit a friend there who would dye her eggs some old fashioned way. I *do* remember that vinegar smell! Once grown I tried a natural recipe for making delightful patterns on eggs using onion skins and fern leaves, and they were delightful, just as you said.
Thanks for sharing your beautiful images and memories.
Cute ideas, I love the presentation of the eggs hanging from the tree. Here is a link on how to use silk ties to dye your egg… you can never have too many craft ideas !
http://www.graciousrain.com/2010/03/31/silk-tie-easter-eggs-tutorial/
Absolutely stunning! All of it! Love, love, love the presentation, photos, colors are amazing. Very inspiring. With Easter around the corner I think I’m going to just plaster my wall with your pics and maybe do a few eggs too. Thanks!