When it comes to decorating for the holidays, or rearranging your home according to the different seasons, some people do not take kindly to change! I suppose it’s because we are said to be creatures of habit, and most people usually like things to remain the same. The minute you try to change things, or decorate differently, you might hear sighs that sound like this… “we can’t do that” or “we always do it this way”!
I’m not sure why, but I love to have things continually changing… especially when it comes to decorating our home! I look forward to creatively using what I have, adding little bits here & there as I find good deals, then bringing it all together to create something beautiful for our family to enjoy!
When it comes to changing things around for the season, one of the easiest & most rewarding ways to bring decorative change is by creating a display in your window. There are several reasons for this, a few being…
1. You can enjoy the display from the outside as well as the inside
2. Because you spend alot of time looking out your windows, the decorations will be a frequent source of enjoyment
3. You can use found objects and items from around your home to create your masterpiece
4. Changes are quick to do – 15 minutes or less
To help keep my decorating items organized, I like to use see through plastic containers for each season. Then, as you acquire different items for use in your displays, simply tuck them away in the box for that season. This will not only help you stay organized, but it will also help you put together beautiful displays in just a few minutes!
Here is one window display example from this year’s Christmas decorations. The window is over my kitchen sink, so I get to enjoy it quite a bit 😉
I like to use some sort of greenery to start with. You could use a piece of pine garland from last year’s decorations, or some of your trimmings from the yard outside. Then, intertwine some of your favorite things around the greens. Here are some of the things that I choose to use.
– Rusty bells – I picked up a bell garland at an end of season sale for $1.50
– Homespun fabric strips – $1 per yard at discount stores
– Berries – $.50 per bag last year – I twisted 3 at a time around the greens
– Pine cones – free from the yard
– Bigger rusty stars – $2 at end of season sale – I added a homespun bow
– Empty candle jars – I save my candle jars, add some homespun, and tuck in a grubby candle
– Wooden butter bowl – picked up at auction in the bottom of a $1 box!
– Red wooden bead garland – bought at end of year sale for $1
– Grubby candles – I pick them up when I find them on sale
Grubby Candle Tip: When you burn a grubby candle, the inside usually burns down faster than the outside. When my candles have a nice center that’s melted down, I tuck a tealight candle inside and light that instead of burning the bigger grubby candle. Now you have the best of both worlds… a beautiful grubby candle, that is lit by a tealight candle. Because you can buy tealight candles in bags of 100-200 for under $3.50 in your local discount store, this helps your beautiful (more expensive) candles last a VERY long time!
Because I have a counter right below this window, I decided to keep the display going on each end of the window. Here is the little “end cap” to the decorations 😉
To finish everything off, I give a few sprays of my favorite potpourri and now everything really smells like Christmas!
Here are a few other windows around our home.
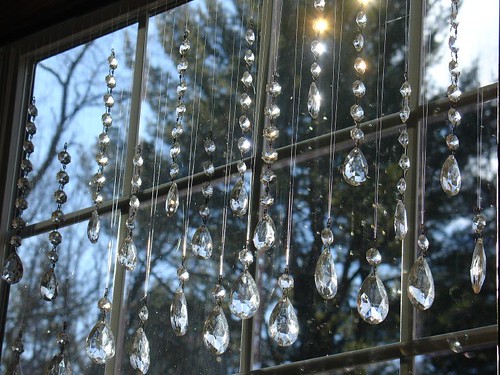
How-to for this window project
Ideas From Other Folks

A shelf made to look like a window display – using a mirror!
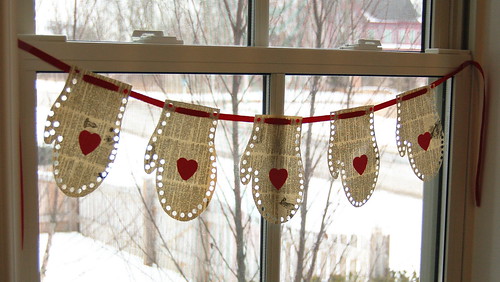
I love this simple & inexpensive idea! Simply use some newspaper cut into shapes, and add your tidbits to them! So pretty & so simple!

Have a pair of skates that are not being used right now? Why not use them to make a beautiful creative display!


