Homemade Christmas Ornaments – Yummy Prim Gumdrops

gumdrops1

Homemade Christmas Ornaments

Here is a great little project from Ewenique Treasures

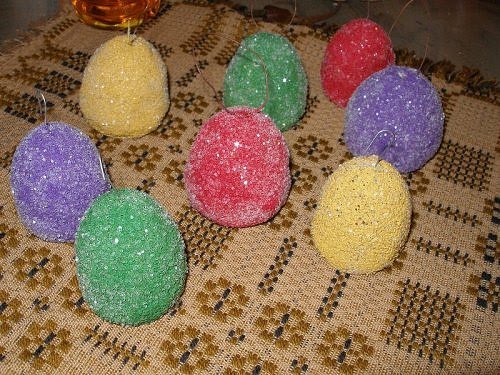
I love how she made these yummy little prim ornaments using only a few supplies… that you may already have around the house!

Here’s how she made these beautiful little gumdrop Christmas ornaments:

  • To give the gumdrop shape, cut the bottoms off of a 2 1/2 inch Styrofoam ball
  • Using her fingers, she molded them into more of a gumdrop shape
  • Inserted a bit of rusty wire in each top with a drop of glue
  • Paint with different yummy gumdrop colors
  • While the paint is still wet, roll in clear glitter


  • We’re Giving Away a $100 Shopping Spree – Do You Want It?

    MicasaStyle-LogoOver the next 6 weeks, we will be hosting a contest sponsored by Micasastyle.com, in which we will give away a gift certificate for a $100 shopping spree from your choice of these stores:


  • Pottery Barn
  • Target
  • Crate & Barrel
  • JC Penney
  • Sears
  • Home Depot


  • We love your style & want you to share it with the world! We want to see pictures of your home dressed up for Fall, Halloween, Thanksgiving, or Christmas. Then, the best themed room will then be chosen & awarded the $100 gift certificate.

    The contest is only for “A Storybook Life” readers – and friends of the blog who would like to help promote it. And…the more pictures & rooms posted, the more creative style for us all to enjoy!

    All you have to do is –

    #1 – Go to www.micasastyle.com and click “Add a Space”
    (They have a tagging feature so remember to tag a few things in your room!)

    #2 – Add the pictures of your room (Fall, Halloween, Thanksgiving, or Christmas)

    #3 – Come back to this post & leave a comment with the url (web address) or name of your room and username – this is how we will know you are participating in the contest.

    For example: My country cottage living room was featured recently. The room name that I gave it was: French Country Cottage Living Room, and my user name is aStorybookLife

    #4 – You may enter as many times as you want, as long as each entry is a different space. Just follow steps 1-3 for each one.

    #5 – The pictures don’t have to be new – they can be ones that you’ve already taken (as was mine). So think of last year’s fall or Christmas for example.

    On December 17th we will name the winner, so try to have your pictures in by the 16th.

    Please tell your friends & family about the event, so they will have a chance to win, and so that we can enjoy their decorating talents 🙂

    ** Remember… the only people who are participating in this contest are the ones who post a comment here, not all of the other rooms already posted at MicasaStyle.com. You have a great chance to win, and it only takes a few minutes to share a few pictures… so why not get started now!

    … do I hear more decorating $$ coming your way 😉

    Painted Pumpkin Ideas – Pictures of What Readers Have Done

    Now that Halloween is over, should we still consider pumpkins as a part of our decor? Absolutely! All the bits of harvest that I mentioned in the last post Decorating Pumpkins Without Carving – Making Beautiful Harvest Displays, are the exact ones that I use throughout November for my thanksgiving/harvest decor!

    As a matter of fact, I had such a great response to the painted pumpkin ideas article, that I wanted to share some of those responses with you.

    A group of ladies (from a church in Elkton, MD) had a special gathering. As a part of the evening’s events, they wanted to prepare a decoration for their home. They used the ideas from the painted pumpkin article, and turned each of their pumpkins into little pieces of art.

    I love their creative ideas!

    Way to go ladies!

    Decorating Pumpkins Without Carving – Making Beautiful Harvest Displays

    Decorating Pumpkins Without Carving

    vintage carriage deocrated for fall
    Picture by Joy – stop by her Flickr page!

    Today I wanted to share some more ideas for using pumpkins to decorate your home & garden without having to carve them.

    There are so many ways that you could choose to decorate your home for the season. For some reason, when it comes to fall decorating, many people think about the “dreaded” carving day, when they will have to display their talents (or possible lack thereof) for the whole neighborhood to see. Thankfully, there are many beautiful options available to you, where you will never even have to take out that knife 😉

    Look at the beautiful displays that some of my creative friends have put together!

    From (Joy), the same gal who shared the above picture. I love how her friend has used so many different fall items such as; pumpkins, guards, bittersweet vine, colorful leaves and sunflowers, to fill this vintage baby carriage. This display is so “storybook dreamy”!

    fall decorated baby carriage

    By pulling together some of your favorite bits of Autumn, you can make your home & garden the talk of the town! The best part? Most of these items can be found free by using things from your garden, and your decorating closet.

    Here are some items that you could add to your fall display

  • Indian corn
  • leaves
  • bird houses & cages
  • clay flower pots
  • dried flowers
  • wreaths
  • watering cans
  • baskets
  • garlands
  • mums & other fall flowers
  • pumpkins, gourds & other squash
  • rusty things (don’t you just love rusty things 😉
  • branches, twigs, and vines such as grapevines & bittersweet
  • acorns, pinecones, moss, seedpods, and other dried bits from the woods


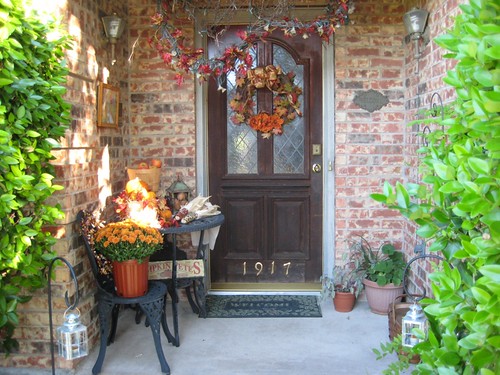
  • front porch autumn

    fall decor

    fall decorating

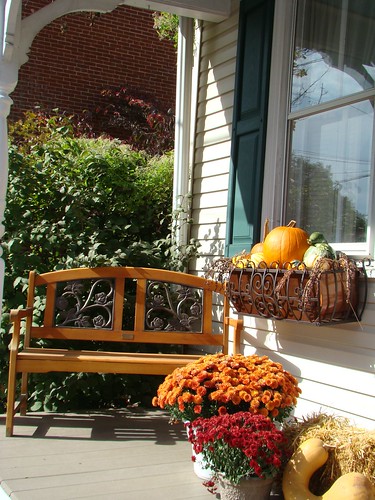
    porch pumpkins

    fall wreath

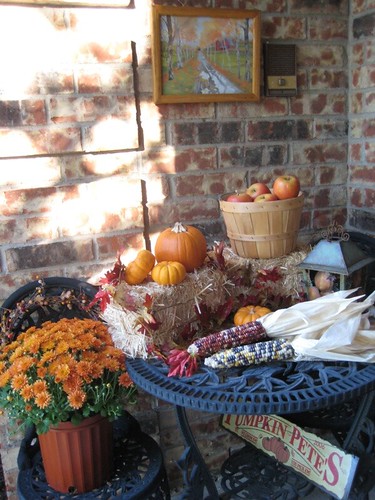
    A simple scattering of pumpkins & goards here and there makes everything feel so festive!

    yellow pumpkins

    decorate with pumpkins

    cat and pumpkin

    cottage garden pumpkin

    fall pumpkins

    The newer white pumpkins that are showing up at farm stands around the countryside are simply stunning! They are great for decorating with, because the eggshell color goes with just about anything… even this cute little doggie 😉

    white pumpkin

    How about a pretty ribbon around the stem of the pumpkin to make is even more dazzling!

    white pumpkin

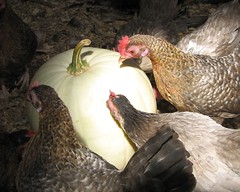
    And… I think these girls are enjoying the newer white pumpkins as much as I am 😉

    chickens with white pumpkin

    Painted Pumpkin Ideas

    pumpkin patterns

    Painted pumpkins are becoming very popular, and although they are a great project for those who are to young to carve, they aren’t just for kids anymore 😉 I have seen some absolutely stunning examples of painted pumpkins, that would be a beautiful addition to any home. You can do something very simple or extremely complex, it’s totally up to you. These painted pumpkin ideas are not only easy, but they will also allow you to use your creativity and put together something unique & inexpensive for your fall display.

    Before you paint your pumpkin, be sure that it is clean & dry.

    Deciding what to use to “color” your pumpkin is rather easy. Simply ask yourself… what do I already have around the house? You can use just about anything, as long as the color will stick 🙂

    Here are some ideas

  • spray paint
  • acrylic paint
  • permanent markers
  • nail polish
  • henna
  • ink
  • Choose colors that you love, and that will match your home decor. I happen to love the colors of fall, but some people wouldn’t put red or orange their homes at any cost 😉

    Here are some color combinations to spark your imagination.

  • pink & chocolate
  • turquoise & chocolate
  • blue & chocolate … do I sense a need for a quick chocolate morsal 😉
  • white & black
  • white & silver
  • gold & black
  • yellow & red
  • mustard & red
  • When thinking about what types of designs to use, don’t stop at what would be considered “normal” fall decorating. Use your creativity to come up with all sorts of ideas!

    Designs for Painting Pumpkins

    Here are a few ideas that you might want to try.

    Paint the whole pumpkin one solid color
    I once saw a display that someone created, where they used several pumpkins all painted in shiny deep jewel tones. Then they were arranged into a Cinderella theme display! It was surprisingly beautiful!

    Pumpkin Stencils
    Decide what type of designs you would like to have on your pumpkin, then cut that shape out of paper. Tape the piece of paper onto the pumpkin, then paint over it. When you remove the stencil, you will see the stencil shape in either the color of the pumpkin itself, or the base color that you decided to use.

    Stamp Designs
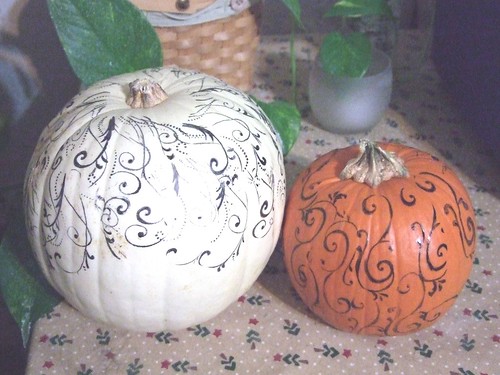
    Why not use your stamps to put designs on your pumpkins? That way, it’s quick – easy – and you can get as intricate as you’d like… without having to have much design talent 😉

    Here’s a very pretty example of how you can use stamps to decorate your pumpkins.
    stamps on pumpkins

    Painted Pumpkin Designs
    Tape a paper cut out of any shape that you would like onto the pumpkin, and trace around it with a fine tip marker. Then, fill in the shape with your desired color. The sky is the limit when choosing your design, but here are a few ideas to get you started:
    leaves, acorns, dots, stars, pumpkin faces, saltbox houses, barn, etc.

    You could also paint the design free handed if you’d rather as in this example.

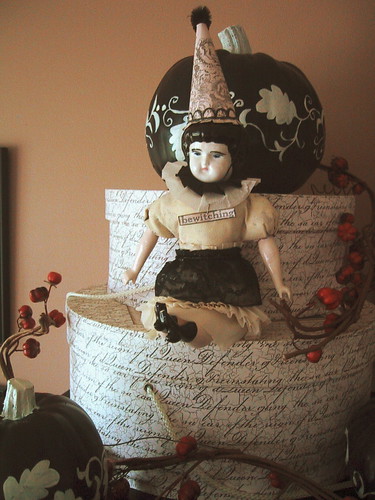
    black pumpkin

    painted pumpkins

    Aren’t these sweet! Such a creative idea! And you thought argyle patterns were just for socks 🙂

    pumpkin patterns

    Look how beautiful these pumpkins are! Although they are dressed in henna, it almost looks like toile!
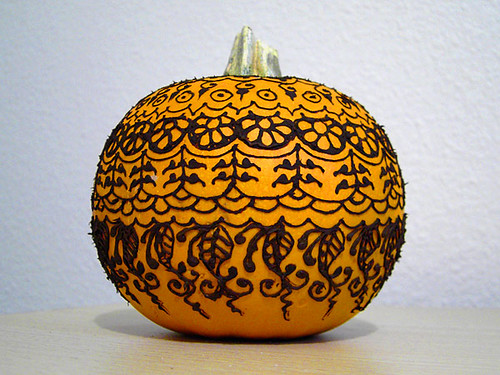
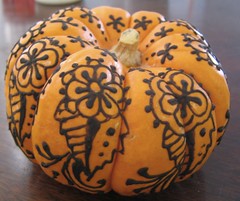
    henna pumpkin designs

    henna on pumpkin

    If you didn’t want to actually paint your pumpkins, you could simply add stickers, or bits from your scrapbooking supplies. Look at this sweet example!

    scrapbook pumpkins