Jack In The Pulpit

{Surprise}

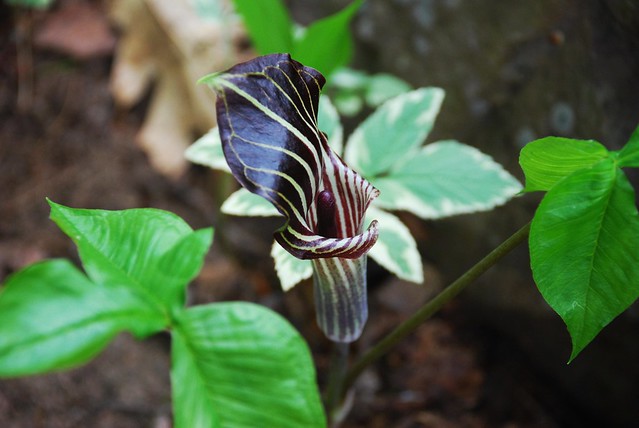
It’s amazing what surprises you’ll see when you’re looking for them!

Needing a little break from work, I decided to take a walk down one of our woodland paths. I always expect to find some little treasure, so I keep my eyes open for them. I was inspecting the progress of the lilies of the valley in front of an old stone wall, when right there in front of me, my eyes caught this gorgeous green & purple “Jack in the pulpit”! I’ve never seen them in our forest before, and I was definitely not expecting to find one so beautiful!

Jack In The Pulpit

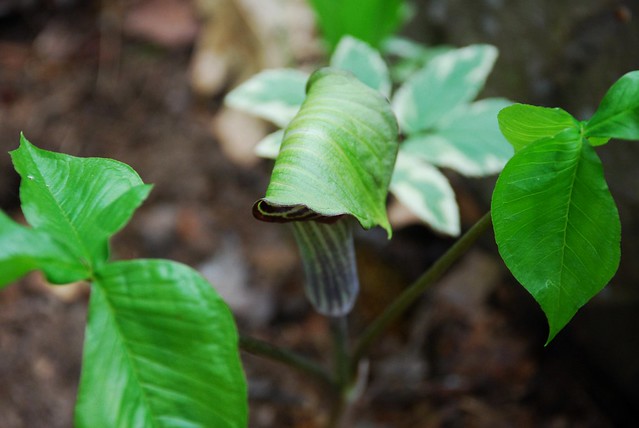
Native Americans gathered the fleshy taproots, dried them to eliminate the poisonous qualities, & then used them as a vegetable. I’m not big on poison, so I think I’ll just stick to enjoying their beauty 😉

Jack In The Pulpit

I plan to keep my eyes open for the seed pods in the fall, so I can plant them & expect to see many more covering our woodland floor!

Take a few minutes for yourself today… you never know what surprises await!

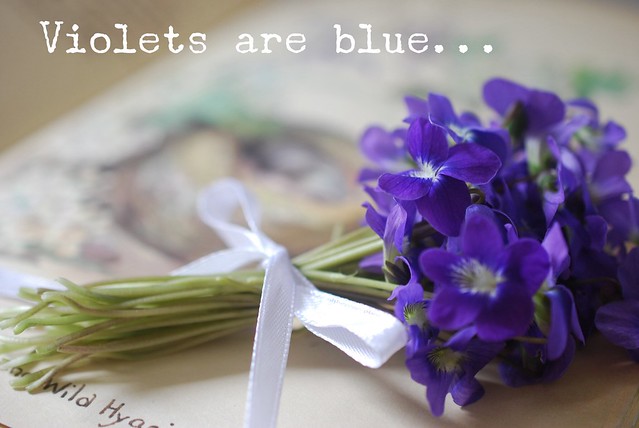
Violets Are Blue

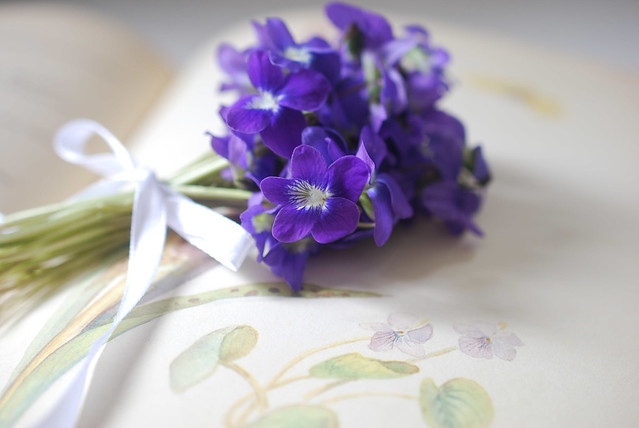
Violet Bouquet

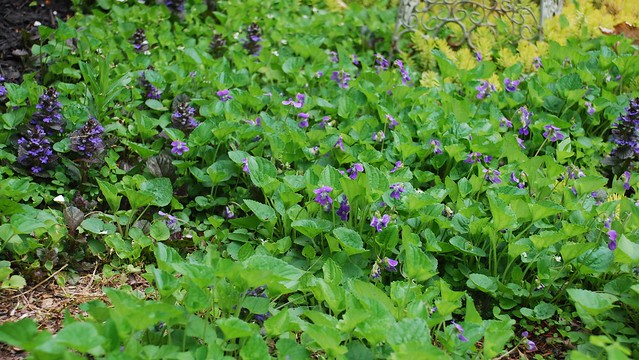
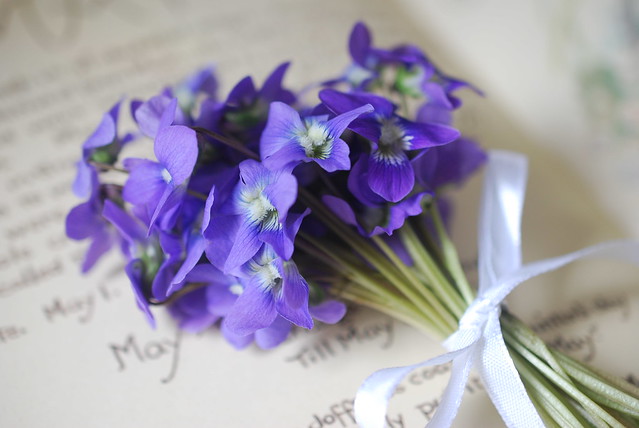
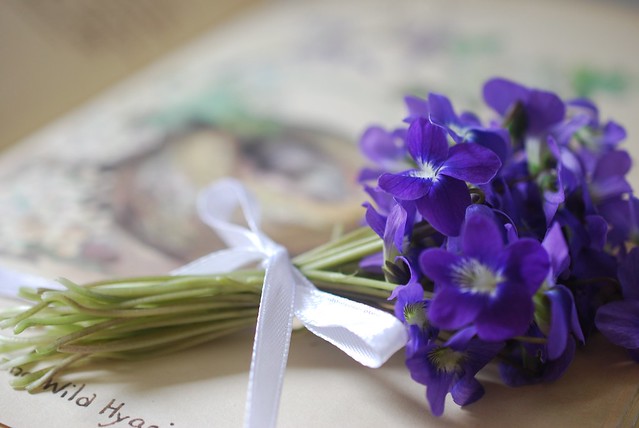
After a long hard winter with snowbanks over our heads, it was such a delight to see the snow melt away, and masses of tiny violets begin to unfurl their leaves. I know from experience, that in what seems like a blink of an eye, the violets will be sending up their precious deep purple blossoms. And this year, like every other before it, the violets haven’t let me down!

To some, these sweet little plants can be considered an unwelcome guest. And although I do admit to having more than expected pop up in the cottage gardens, each spring I welcome them like the arrival of a long awaited friend.

Violets in Spring

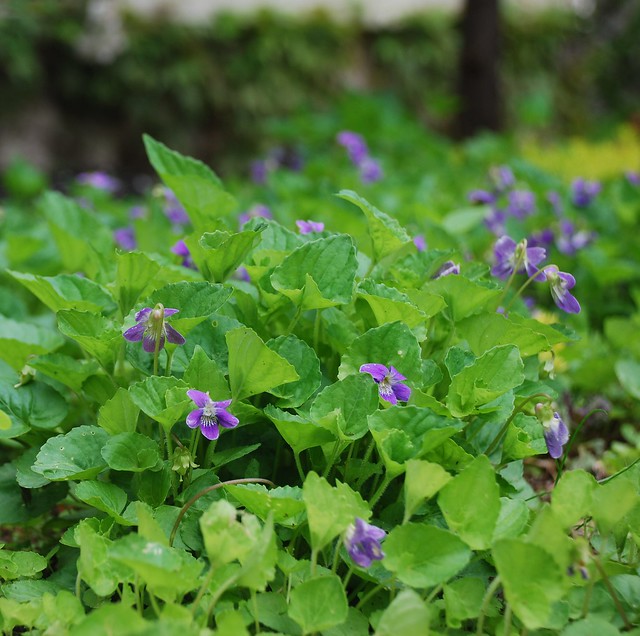
With their heart shaped leaves, and sweet little faces, how can you not love these little gems?

Garden Violets

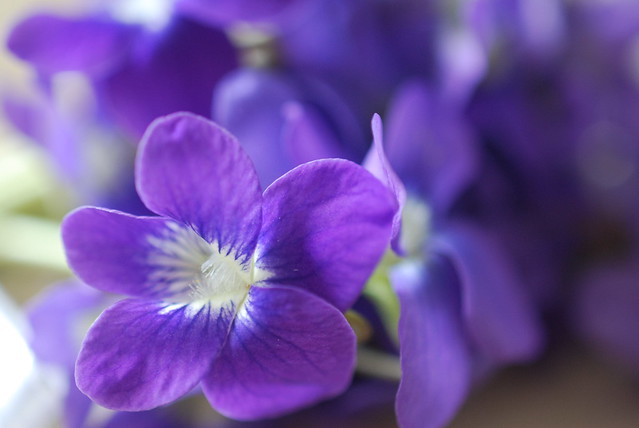
And just look at that gorgeous deep color!!

Deep purple violets

I think I must be a kindred spirit to the Victorians, as they too had a deep love for violets. They used them for perfume, ate them in salads, candied them & used them to adorn their cakes & pastries, pressed them for use in their crafts, & used them as an ingredient in many of their toiletries.

People called “violet-sellers” would have baskets filled with nosegays and tussie-mussies, and sell them from the street corners. And it wasn’t just the women buying them to pin to their dresses, but the men also had a love for violets & tucked them into their lapels & the brims of their hats.

Violet Tussie-Mussies

Violets could be seen on everything from china, jewelry, home decor, & ladies stationary.

Violet Bouquet

The Victorians also felt that different flowers had different meanings, and that they could be given as a “silent message” that actually spoke volumes to the recipient.

If you received a violet, the giver was giving you a message of affection.
The white violet meant deep affection, while the blue violet spoke of faithful love.

Violet Bouquet

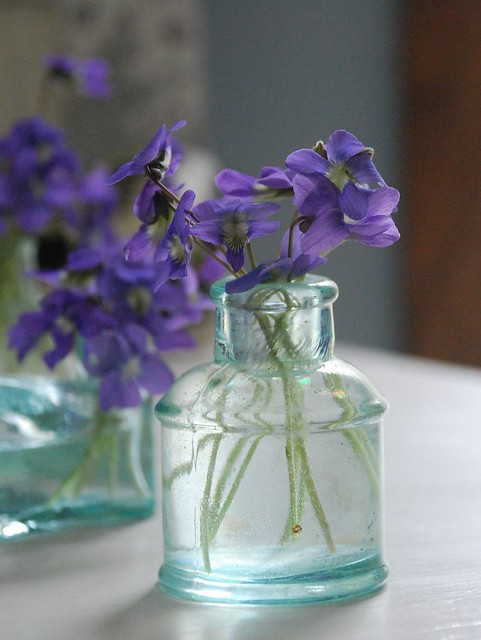
I gathered several bouquets for our home, and here is one that I put in a vintage inkwell that belonged to my grandfather. He loved flowers, and I think he helped pass that love on to me. So here are some blue violets in honor of my love for him … until we meet again.

Violets in Vintage Inkwell

If you don’t have any sweet violets in your yard, I’m sure a friend would be willing to share a plant or 3 😉

Everyday Blessings and The Beauty of The Season

Did you ever enjoy a day so much, that you wish you could live it over & over again?

Well, for me, today is one of those days!

From the moment I got up, I feel like I have been enjoying a blessing “overload”.

I woke up with a thankful heart for my family, our home, and our life together. So after I took my daughter to work, I decided to go for a drive around our little village and take in the quiet beauty, and spend some time praying as we often do early in the morning. And today, like most days, I couldn’t help but be filled with gratitude for the many blessings in my life…especially the little things.

So many times people wait until they get some big answer to prayer to be thankful, but I have learned to be thankful & enjoy the smallest of blessings that I receive from the Lord. I often tell people that sometimes we just need to slow down a bit, so we can become aware of the beauty of the blessings all around us.

We have so many beautiful places around The Queen Village, and because I am particularly fond of the countryside, I decided that this morning, my drive of choice would take me around the rolling hills & country farms. And as I was coming around one particularly sharp curve, I noticed a larger black object up ahead, and knew I needed to slow down. As I got closer, I realized that the black object was a curious little calf that had somehow worked her way outside of the safety of the fence (just look at those lashes!).

Baby Calf

Thankfully, her momma was walking right beside her showing her the way back into the fold. I just couldn’t help but sit there and watch this little family working together to find a solution to their situation. It was truly beautiful to watch.
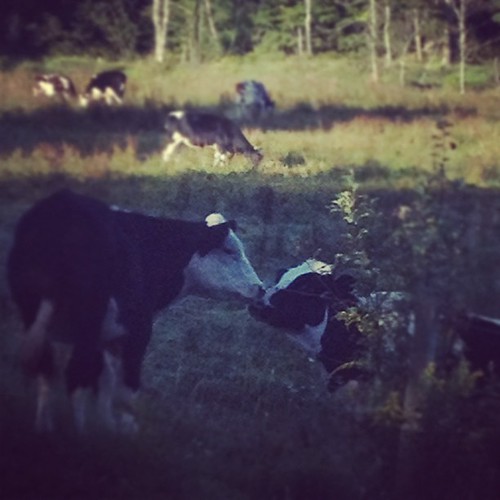
Momma Cow Helping Her Baby

With a heart now warmed from the love of mother & child, I was free to continue on my little journey. And as I came upon the next field, I spied a farmer who was already well underway with his harvest of field hay. And you know… there’s probably nothing quite as beautiful to a farmer than seeing his field dotted with bales of hay, and knowing that because of his hard work, all will be well throughout the winter months.
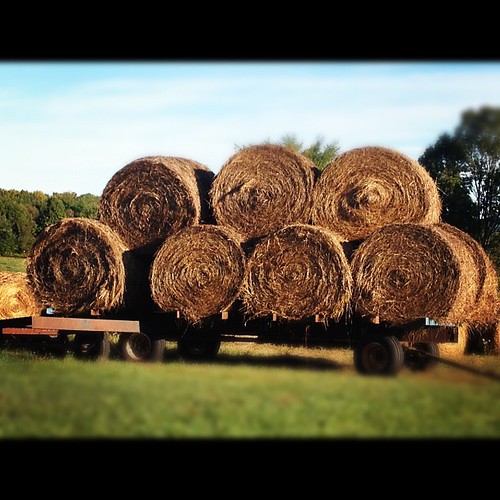
Farm Living - Hay Bales

The sun was shining, the birds were singing, and I was taking my time enjoying it all, as well as feeling a bit like Miss Daisy, except I was driving myself…which is why I was sure to pull over & let the 2 or 3 cars pass that were in a bigger hurry than I was 🙂

After I was finished with the morning drive, I was finally nearing the hill that would reveal the beginning of our country lane, which winds 750ft deep in the forest. And as much as I love to take in the beauty of the surrounding countryside, there’s nothing that warms the heart more than coming home.

As I started down the lane, through the almost blinding rays of sunlight that were now beaming through the forest, I saw a familiar little flicker of white.

Rays of morning sun

Sure enough, our little family of deer where already up and about, and the triplets where frolicking around in the tall grasses near the forest edge. We have a few different families of deer that share the forest with us year round, as well as several small herds that stop to nibble & drink as they are passing through. Almost every year we have a birth of twins in the spring, however, this year we also had a set of triplets…something we’ve never had the pleasure of seeing! I don’t think they even noticed me as I sat quietly watching. I watched until they were so tuckered out from playing, that they found a cozy spot under the trees to take an early morning nap.

Baby Deer

After catching up on some work in the office, I heard what sounded like someone walking down our front path, so I went to the window to see who it might be. There to my surprise, was a cast of characters like I haven’t seen yet this year! For no apparent reason other than for my enjoyment, the front forest was now the backdrop, and the front yard now the stage, for the theatrical production of “Nature Ah La Woodpecker”!

There were so many woodpeckers of all different varieties including 3 of the ever so majestic Pileated woodpeckers now performing on the large maple tree, and the 5 beautiful red belly woodpeckers doing their little song & dance right on the front walk! They were singing back and forth to each other, as they danced between the stones, stirring up the ants. Then, they would quickly eat to their little heart’s content. And the show wouldn’t be complete without the ever so tiny hummingbird Mr. Ruby Throat, who was flitting back & forth, showing his acrobatics on the phlox. The lyrical dance of the butterflies & dragonflies, the chipmunks in the center ring, and the accompanying chorus of other birds and insects made the show complete.

I just couldn’t stand it any longer, I had to go out & give my applause in person… but before I walked out the door, I grabbed my basket so I could gather a few tomatoes as I passed the kitchen garden.

Once the show was over, I took a walk through the back forest to see what might be happening there. The sunlight dancing on fern hill is always quite a sight to behold!
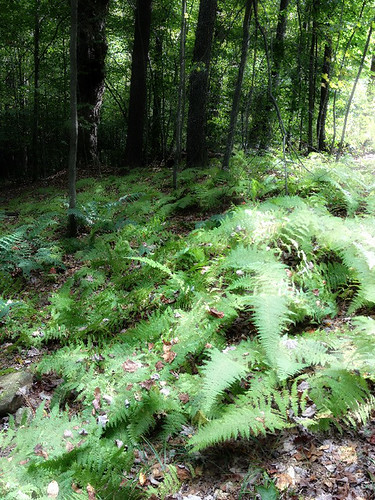
Fern Hill

No matter how many times I see them, I’m always amazed at the shear size & beauty of the forest trees. And this morning they looked particularly dashing standing there in the spotlight.
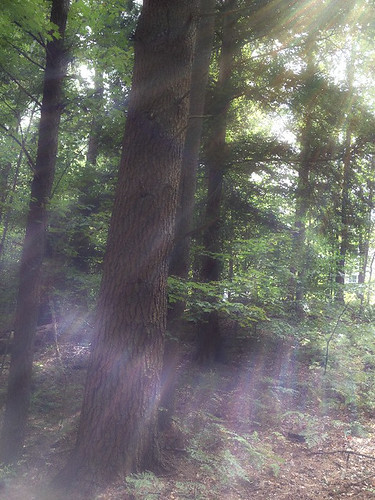
Forest Light

Others enjoy the trees with us…but for obviously different reasons 🙂
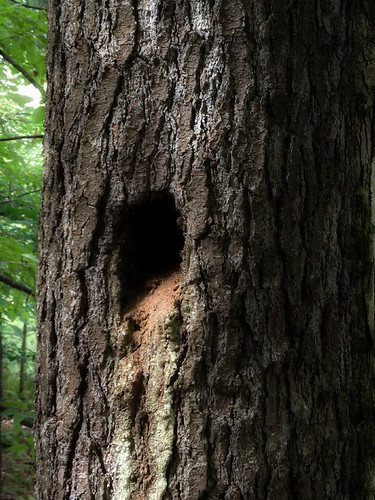
Woodpecker Hole

Now… just a few steps more and we’ll be at River’s Edge.
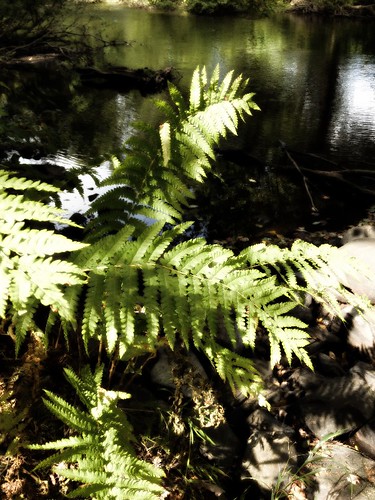
Rivers Edge

The water is low this time of year, which means I get to enjoy more of the river rocks, that usually lay quietly beneath the surface.
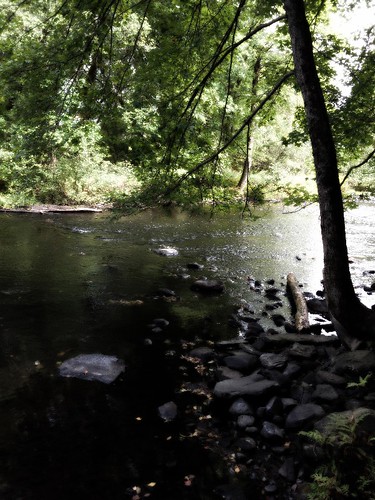
The River

After taking time to reflect at River’s Edge, I came up around the cottage garden. Over the years I’ve come to learn that every time of day highlights something different to enjoy, and in this early morning light, the roses & ivy certainly steal the show!

Cottage Garden in Morning Light

I can’t believe how they continue to display such beauty, even this late in the season.
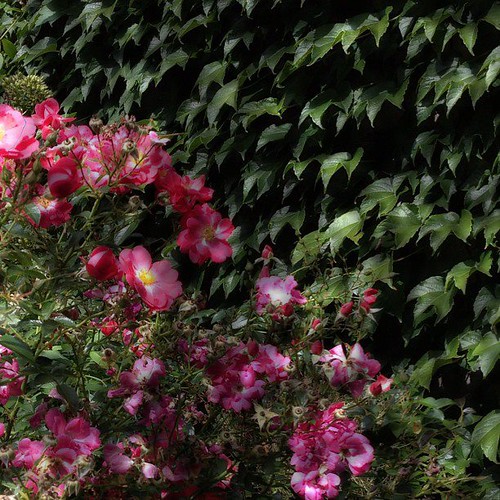
Roses and Ivy

Now, with basket in hand, it’s off to the kitchen garden. We really enjoyed crafting the garden fence this spring, and it’s such a nice addition to our little place in the forest.
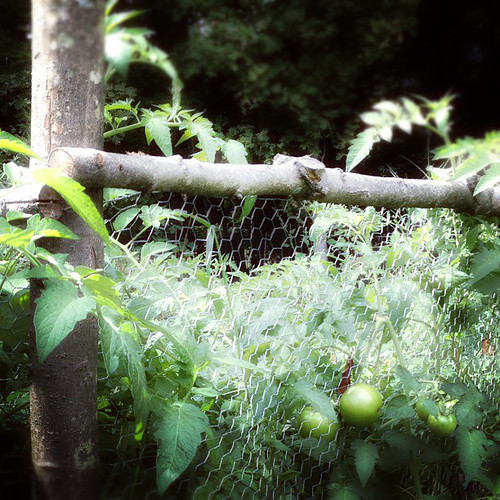
Garden Tomatoes

Fresh tomatoes have got to be my all time garden favorite! I love the way they look, the way the plants smell in the garden, and I especially love how delicious a fresh garden tomato tastes!
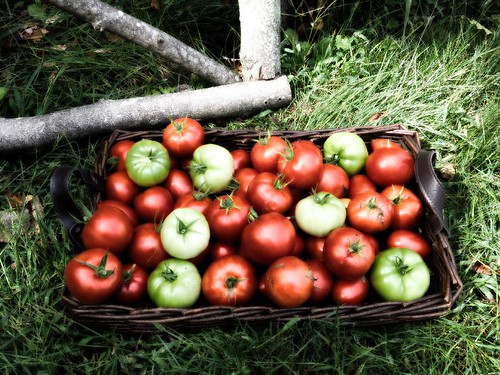
Ripe Tomatoes

With my basket now full, I didn’t have to think very long about what to make for brunch. With tomatoes like that, it has to be our family recipe of “Italian Toast” for me!
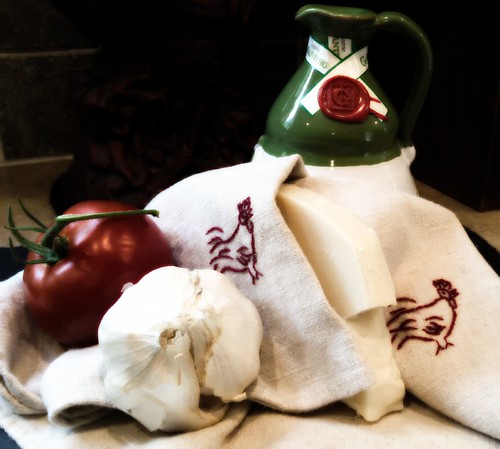
Italian Toast

Italian Toast

– Toast 2 slices of whole grain bread (your favorite bread will do)
– Slice 1-2 hearty tomatoes & lay on top of toast
– Sprinkle with shredded cheese – today I used aged provolone (our personal favorite)
– Give a dash of freshly cracked pepper, sea salt, and garlic powder
– Top it all off with a drizzle of extra virgin olive oil
– Put toast in the oven on a baking stone & broil until bubbly

All that’s left now is to enjoy your delicious masterpiece!

And those were just some of my little blessings before brunch! Who knows what wonders the rest of the days holds…perhaps one of these little sweeties sitting on the counter just waiting to be enjoyed 🙂

Pretty Cupcakes

Isn’t God a wonder! He just seems to go overboard with blessings for His children. So no matter how big or small, be sure to take some time to enjoy the ones He brings your way today!
Cottage Gardens and Roses

Three months later…

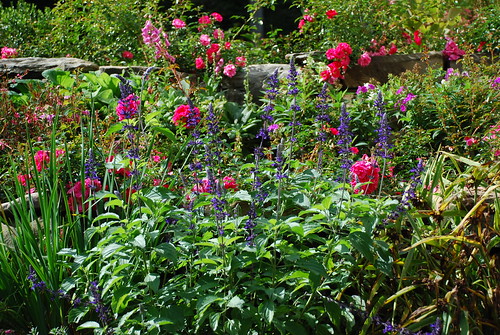
Cottage garden
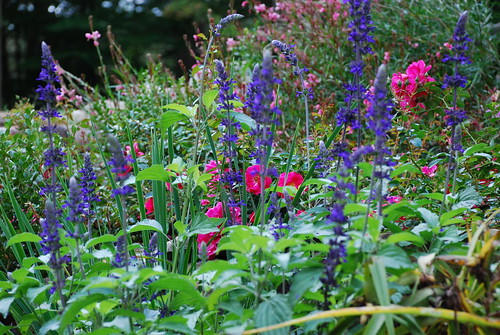
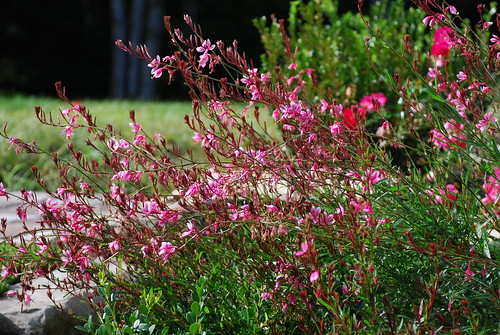
From front to back: blue salvia, knockout roses, gaura/chiffon cloud

I wanted to share a pictorial update on one of the brand new cottage gardens, that we created this year.

This coming Spring, we will also add a front cottage courtyard, and a side garden filled with fruit trees and ornamental fragrant shrubs.

For this new cottage/rose garden, what I thought might take three years, has happened in only three months!

Here is the cottage garden just after we built the stacked stone walls & the cobblestone paths this June. It was quite a large task… but oh so worth it!

And as you know… I love to use creative ideas to achieve the look & feel that I want, but for much cheaper than what “normal” people might pay for the same thing! So as you can guess, almost every plant in our garden was purchased at a VERY nice discount price, or given to us by friends!

*** Also…be on the lookout for the next post, as I am excited to share my “top tips for getting your garden filled with plants for pennies on the dollar” with you! These are very easy things things that you can start doing right now to fill your garden with luscious beauty!
My Cottage Garden… at only 3 months old!

Cottage Garden
to the left: boxwood, wooly thyme, gaura/chiffon cloud, knockout roses

Cottage garden
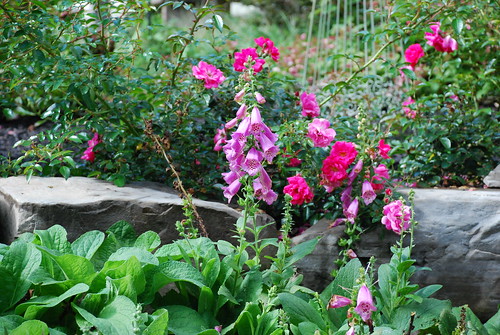
left to right: boxwood, wooly thyme, knockout roses, gaura/chiffon cloud, foxgloves

Cottage garden
foxgloves, knockout roses

Cottage garden
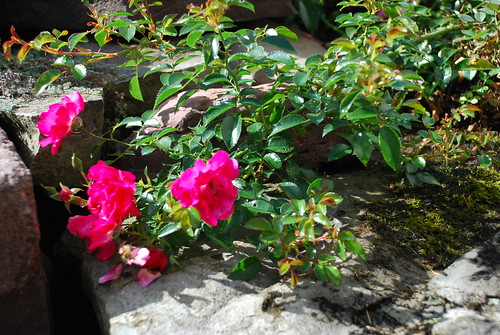
knockout roses

Cottage garden
iris, knockout roses

Cottage garden
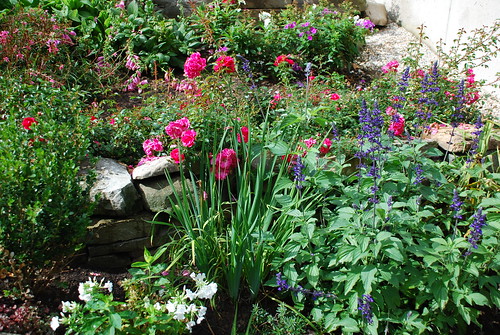
left to right: boxwood, White dwarf phlox, sedum, touran rockfoil saxifraga, knockout roses, iberis – tahoe, iris, ajuga

Cottage garden
lobelia, ajuga, armeria, sedum

Cottage garden
Knockout roses

Cottage garden
left to right: wooly thyme between rocks, boxwood, knockout roses, gaura, foxglove

Cottage garden
gaura surrounded by boxwood & pink knockout roses

Cottage garden
left to right: boxwood, gaura, foxglove, knockout carpet roses, dwarf phlox, iris, blue salvia

Cottage garden
lobelia backed up by armeria

Cottage garden
hardy hibiscus

Cottage garden

Cottage garden

Cottage garden

** Share your thoughts in the comment section below… I look forward to hearing from you!

Stone Walls, Cobblestone, and Terraced Cottage Gardens

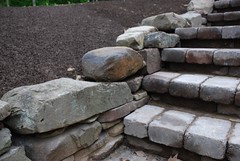
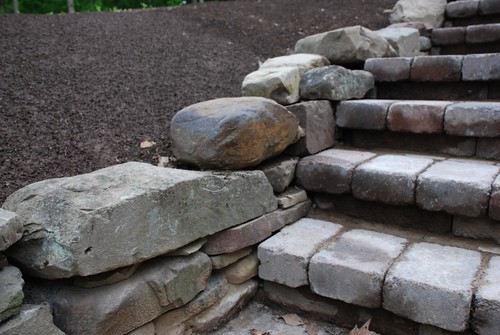
Stone wall and cobblestone steps

When we started working on the landscaping for our cottage in the woods, we were unsure of how to handle the hill that joined the side of the house with our country lane.

Initially I really wanted some stairs leading up to the front door, otherwise we would always have to enter the house through the garage/basement… unless we walked all the way around the hill & up to the front door.

After looking at the size of the project, the price that it was surely going to cost, not to mention not knowing exactly how to go about accomplishing the project, I was afraid that we were going to have to settle for something less that what we really wanted.

But… after going through lots of pictures, and discovering some new ideas to build a set of stairs ourselves, we finally had a new option!

You see, initially we tried to build the steps from stone that we gathered from around the property, but no matter what we did, we couldn’t get them to lay even. Because we didn’t want anyone to catch their toe & trip while climbing the stairs, we had to find another solution.

And we finally it!!!

We would use manufactured cobblestones to build the steps themselves, then use the stone from the property to build the sidewalls of the steps, as well as the walls of the terrace garden.

This would not only allow us to have nice even steps and still give us the look that we wanted, but the cost would also be very low, because most of the supplies would be coming right here from the land!

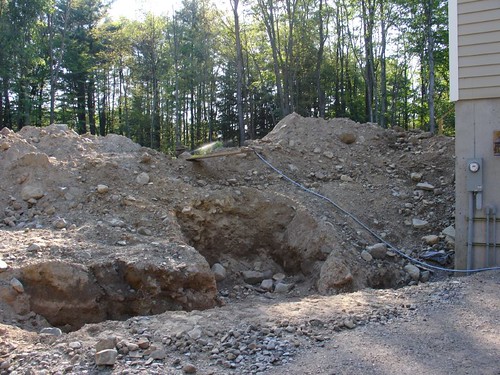
Lest you have the idea that the job was going to be an easy one… I wanted to start from the beginning to show you what we started out with (of course the land was initially all wooded & my husband & I cleared it ourselves – so even this picture isn’t from the “actual” beginning 😉

You can see where my husband grabbed his trusty shovel and starting roughing in the steps into the side of the hill. You can also see all of the rocks that he was pulling out & putting aside for later use.

The Beginning of Our Terraced Cottage Garden

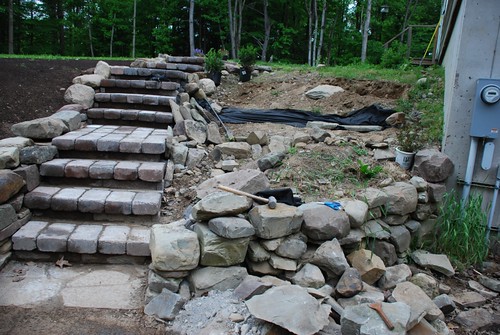
After the steps were laid, we starting laying out the stone walls on each side to keep the soil from falling out. We also decided that it would be wise to lay landscaping cloth behind each row of stacked stone, then pile the dirt up behind it. This would keep the soil from simply washing through the front of the walls each time it rained.

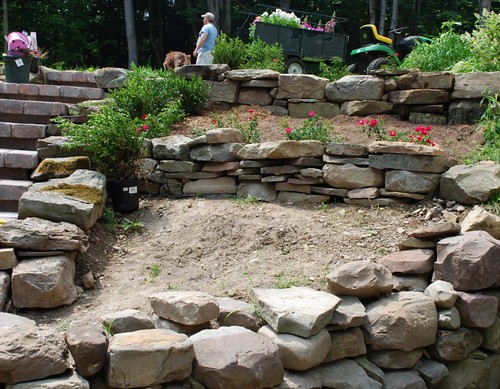
Stone walls, cobblestone steps, and terrace cottage garden in progress!

Now the steps were pretty much laid in and the bottom retaining wall was well underway. You can also see that we were FINALLY able to rake down the soil on the hill in the background – remove all of the stones – and cover it with a layer of top soil to prepare it for planting grass seed.

Stacked stone wall

I love this close up of the bottom retaining wall as it was going up! Don’t you just love the character that stone gives!

Stone wall and cobblestone steps

The work of laying out a stone wall is not some sort of science, but you do need to take your time & be sure that everything is sturdy & sound.

I love a more natural look to the garden, and wanted things to appear as though they had been there for a very long time!

So… we picked the rocks that would be visible very carefully.

I also LOVE to visit different garden centers & look through the clearance racks for special deals. Last year, I found 20 large boxwood plants for around $1.25 each! I decided to plant some of them between the steps & the cottage garden for a bit of color and structure. You can also see how I started tucking small plants into different cracks and crevices here & there that we left for that purpose. There are so many different varieties of little ground covers, herbs, and sedums that you can use for that purpose.

Terrace Garden Steps

The ivy was another great find! Only $3 per flat, and what’s not to love about ivy & stones together!

Terrace Garden Cobblestone Steps

After lots of hard work, you can finally start to see things taking shape. I’ve designed the garden to have 4 different planting areas.

Level 1. Shrubs such as hydrangeas (the very top)
Level 2. Cottage Perennials – Foxgloves, poppies, garden phlox, etc.
Level 3. Ground covers & low growing plants – sedums, mini phlox, ajuga, etc.
Level 4. Hardy hibiscus (ground level)

Terrace Garden Spaces

We loaded up some of my plant stash to take up to the planting beds. You can see that the wagon is filled with some of my favorite cottage garden plants!

Terrace Garden Plants

Finally time to plant!

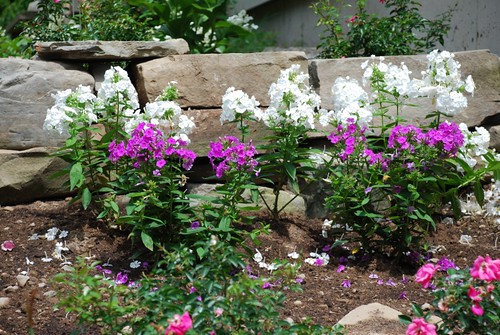
Phlox in front of one of the stone walls

Behind each stone wall, there is also a nice bed of carpet roses. They will bloom all season long, and in no time at all will be approx. 4ft X 4ft… also draping over the stone walls just a bit!

Terrace Garden Roses

Have I mentioned that Foxgloves are some of my favorites!

Terrace Garden Foxgloves

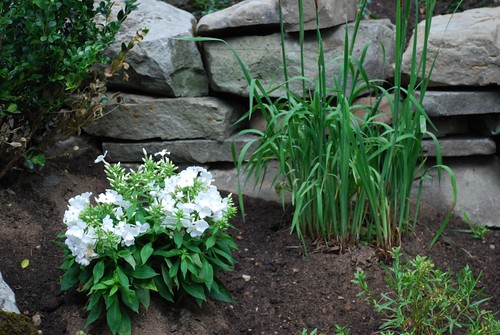
In the next tier down, I planted some miniature garden phlox. I’ve never heard of minis, so I’m really excited about these! I’ve also added some small iris for their nice color & shape.

Terrace Garden Plants

Another bunch of roses peeking out from behind the moss covered stones.

Terrace Garden Roses

The large hardy hibiscus were another GREAT deal that I picked up this Spring. We stopped at a local plant sale, and because it was later in the day, they were trying to get rid of things that they still had left (nice tip for you… go to plant sales both in the morning – then go back later in the day ;).

I saw a big box of roots – marked hardy hibiscus. I asked her the price… normally they are selling for $4-$5 each because they are such nice big roots, but we will give you the whole box for $10! Sold! So… I bought the roots in the Spring, but because the garden wasn’t ready to plant until later, the shoots had already started growing – which explains their legginess. Next year… they will be nice & full!

Terrace Garden Walls

A few close ups of some of my plants
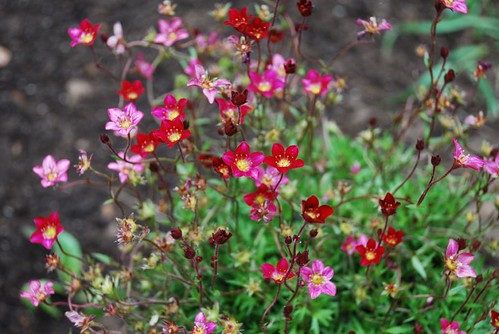
Saxifraga – my first ever… and I’m in love! The aroma is heavenly!
Saxifraga in the cottage garden

Ajuga – some people say…. oh be careful, that plants spreads so much… and I say… that’s exactly why I love it so 😉

Ajuga in the cottage garden

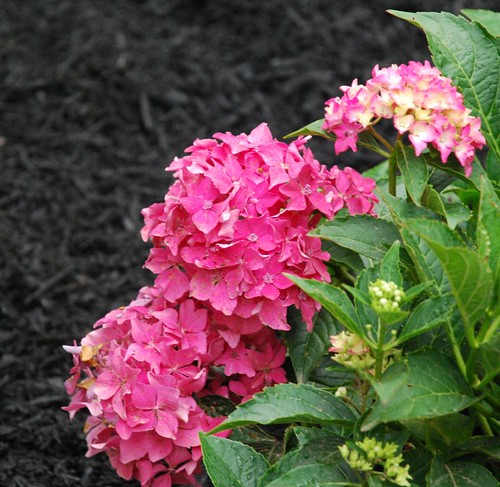
A couple of my pretty ladies (hydrangeas) from the upper level.

Hydrangea

Because I am only planting shrubs in the upper level, I decided to mulch around them to keep the weeds down.

Hydrangea - Pink Mop-heads

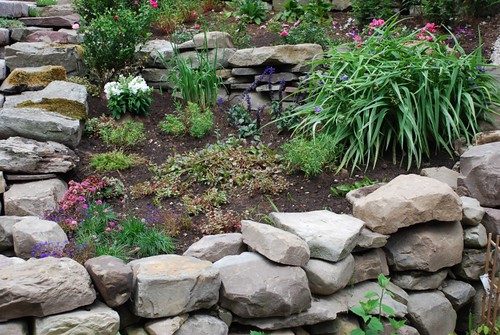
Another shot of the lower level

Terrace Garden Lower Level

Our special visitor…

You might remember turtle girl from last year… yes… she’s back again!

This little lady comes to our hill each year to lay her eggs, and this year was no different! Hopefully we’ll see little babies coming out to enjoy the garden soon 😉

Terrace Garden Visitors

Even though our garden is only a few months old, we already see such growth in the plants, and we are all enjoying it immensely!

Was it worth all of the heavy work? You bet it was!

I will be sure to keep you up to date as to how this garden is coming along, as well as the other gardens that are currently under loving construction throughout the forest 😉

Free Grape Vines for Your Garden Arbor

Grape Vines on a Garden Arbor


“Let us get up early to the vineyards; let us see if the vine flourish, whether the tender grape appear, and the pomegranates bud forth: there will I give thee my loves.”
Song of Solomon 7:12


There is something so romantic about a vine that is dripping with clusters of ripe grapes! Sight, smell, taste, thought, texture… somehow, all of our senses become involved when we come in contact with this beautiful vine!

My husband & I were out for an evening walk through our little Victorian Village on a chilly Autumn evening, minding our own business, when suddenly… the amazing sweet fragrance of ripe concord grapes started wafting around our heads, almost as if they were tantalizing us to come & find them! Following the sweet fragrance (one that reminded me of those yummy peanut butter and jelly sandwiches on a hot summer afternoon), we finally came upon the vine. I’m almost sure that God blessed the grape vine with it’s heady fragrance, just so it could beckon passersby, such as ourselves, to come & enjoy it’s splendor!

Words can’t describe the beauty of the leaves, that were now dressed in their Autumn finest. Deep reds, chocolate brown, purple, and orange are just a few shades of the colorful mix. Nor can they describe the beauty of the vine itself, twisting and turning, and winding around everything in it’s path, seemingly taking ownership of everything this side of the garden. The brown splintered bark and corkscrew shaped tendrils, were reminiscent of the beautiful wreath that hangs in my cottage welcoming our guests. But sweetest of all, were the clusters of deep purple grapes that seemed to be layered at every twist and turn of the vine.

There’s nothing quite so romantic as a cottage garden path covered in vines that are dripping with grapes to welcome every guest into your home. And, contrary to what you might think, these precious vines are very easy to grow!

Here’s a way that you can have your own vines to dress your garden free of charge!

Perhaps you have a friend, or friendly neighbor, that will allow you to use this method with their vines this fall. If not, you could put out a request on one of your favorite lists such as; craigslist.com, gardenweb.com, freecycle.org, etc. I’m sure that you will be able to find a willing gardening partner!

Start a new grape vine from an old one

In late autumn (you can usually tell the right time, because it is no longer necessary to mow the grass), take a section of a grape vine & bend it down so it can touch the ground. With a fork or other small gardening tool, lightly rake up the soil a bit to make sure that the vine will be able to root properly. Holding the vine down to the ground, brush some of the soil on top of the vine. Then, use a small stone or branch to hold the vine in place. Be sure not to use something heavy enough to smash the vine, but just heavy enough to keep it from becoming dislodged. For now, that’s all you need to do. Then, come early spring, clip the section of vine from where it is attached to the main branch. Now, all that’s left to do is… plant your new grape vine in your cottage garden. You can continue to use this multiplying technique using your new plant, and in a few years, you could have a whole vineyard!

* To make more than one plant at a time, simply bend a longer section of vine down to the ground, weight it down to the soil in several places. Then, cut each section apart in the spring.

Now… it’s time for you to go out, take a walk, and have the sweet fragrance of the vine come and find you 😉