Recently, I had a reader ask me this question:
“We are a bit short of money, but I am tired of looking at the same old boring walls. I can’t really afford to buy anything (I’d feel too guilty even if I did). Is there anyway of making decorations at home?”
There are times in all of our lives, when money is tight & we are more conscious of what we spend. But, I am here to tell you… the amount of money that you have or don’t have never has to stop your creativity when it comes to decorating your home!
To be honest with you, when this question was asked, I had a flood of ideas that came to mind right away!
But, I know our minds tend work! We go into “decision mode” where we question everything so much, that we tend to just not make a decision at all! We start thinking thoughts like…
– I don’t know which is the “right” one to pick
– I don’t know if this is really a good idea
– What will my friends think of my choice
– Can I really make something look nice enough with little or no money
So… to help simplify things, and make sure that you act on your creative ideas, I wanted to pass along a few “proven ideas” that you can go create RIGHT NOW! That way, you & your family can enjoy them right away… and you won’t get trapped by overcomplicating the decision making process!
3 Simple Rules to Creating a Beautifully Decorated Wall
When decorating a wall, there are only 3 easy Steps to follow! It’s not rocket science, and you CAN do it… and do it beautifully!
And the most exciting thing? None of these concepts cost any extra money 😉
Rule #1 – Size
When you are considering ideas for decorating a “whole wall” remember that in order to get a pleasant visual balance, a larger item or collection of items is always better than one small item.
Reason? If you plop one small item in the middle of a large wall, your eye is drawn right to the small item, and your brain automatically says “wow that picture (or whatever is hanging there) is small”! Your wall is also left with a “never go around to finishing it” look.
Rule #2 – Family
Think about your family. Even though each person is different, there is still something that holds you all together and makes you a unit. This is the idea that I want you to remember when you are making your decorating choices. So with that in mind, when deciding which items will have the honor of hanging on your wall for all to see, they don’t have to all be the same (although they could be if that’s the look that you are going for), but they need to still be related in some way… even if they are distant cousins twice removed 😉
Use items that are related in either of these 3 ways:
– Color
– Style
– Theme
Rule #3 – Balance
Your goal is to try to achieve some sort of balance, so that your wall decor will be pleasing to the eye. This simply means, that instead of randomly placing things here or there, try to think of how that item looks in perspective to the other items around it, as well as in relation to the whole wall.
And that’s it as far as “how to” decorate my walls, and now it’s on to the “what to” decorate my walls with!
I want you to clear your mind of the limiting thoughts such as… “what’s allowed to be used as wall decor”!
Why? Because when it comes to “what” is allowed to be used to decorate your own walls… there are no rules!
When trying to decorate with a limited budget, we need to think differently than the “spend to decorate” mindset.
What I want you to do is:
1. Take out a piece of paper & write down the things that you LOVE!
2. Take a walk around your house/attic/basement/garage and look at the items that you already have – jot down your favs
3. If there are things on your “love list” that you don’t have, is there a way to get/make those without spending?
Now lets go through those one at a time
1. What is it that you love?
– What are your eyes automatically drawn to when looking through magazines
– Collections
– Items that belonged to loved ones
– Childhood toys
– Animals
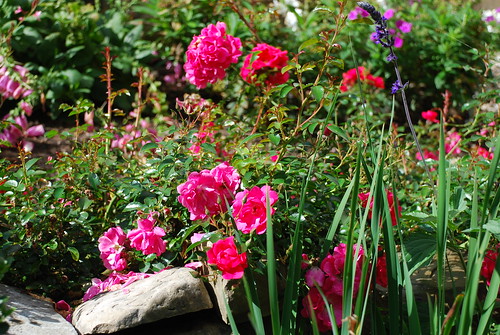
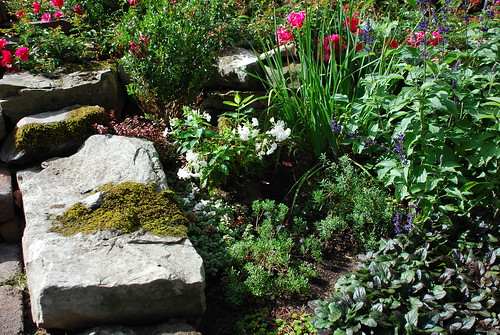
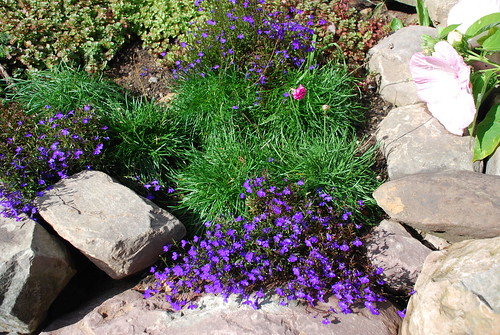
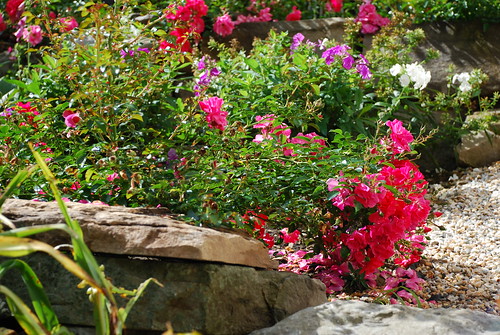
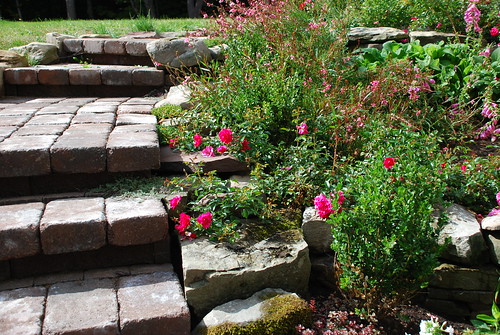
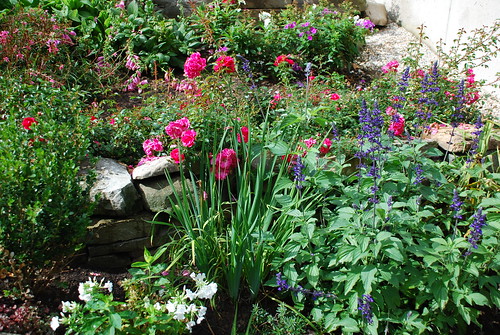
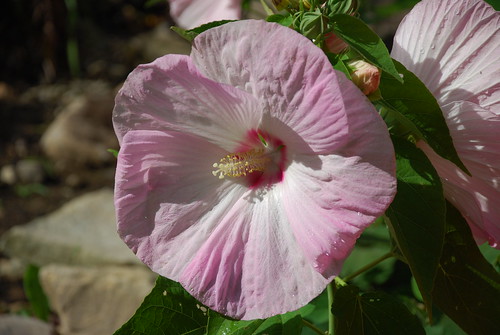
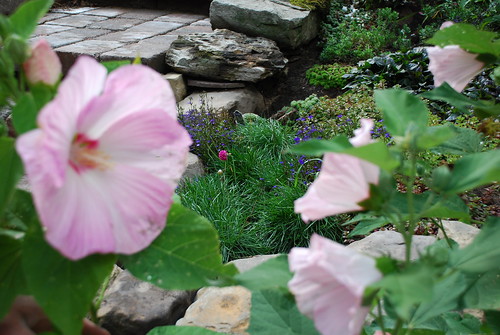
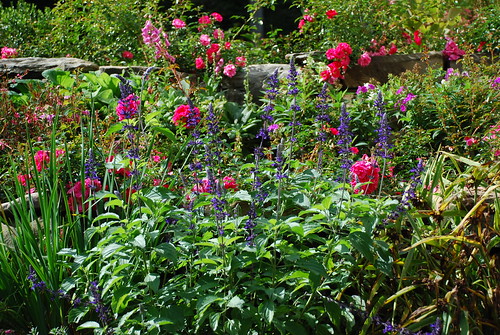
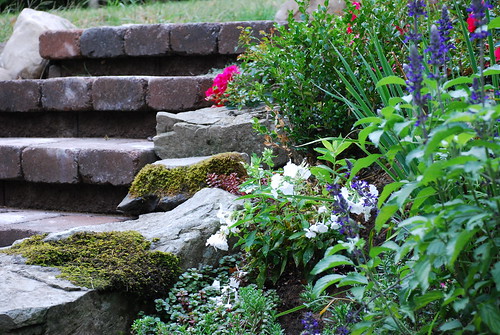
– Gardening
Just fill in the blank & really think about what it is that makes your heart smile when you look at it.
2. After you took a walk around your house & all the nooks & crannies… what did you find?
– Maybe grandma’s collection of aprons or hankies?
– Your childhood collection of baseball cards or sports items?
– A collection of small chairs that you really didn’t know what to do with, but you kept them because you loved them?
– Some pretty scraps of fabric that you planned to make into a quilt someday?
– Some old doors / windows that you found on the side of the road – had no idea what to do with them – but they are still with you?
You see, as you go through your own home, and ask yourself these types of questions, you will start to see a common thread. You will find some things that you hang onto just because you love them. They may be tucked away in a box, stashed in a drawer, or stored in the basement. You have no idea what to do with them, you just know that you keep them because they mean something to you.
3. There might be some things that are on your “love list” that you don’t currently have. Try to think of a creative way to possibly get a few of those things to use in our project.
– Could you make it from other items that you do already have?
– Maybe a friend has one & doesn’t use it anymore?
– Could it be found curbside on trash day?
– Maybe it’s listed in the free section of Craigslist?
– After sale giveaway (when a yard sale is over, most people want to find someone to come get all the leftovers!)
– $1 box at an estate auction (I have found LOTS of treasures this way!
– I bet you could barter either an item – or a skill/talent in exchange for it!
Look at these creative ideas to help get your ideas rolling!
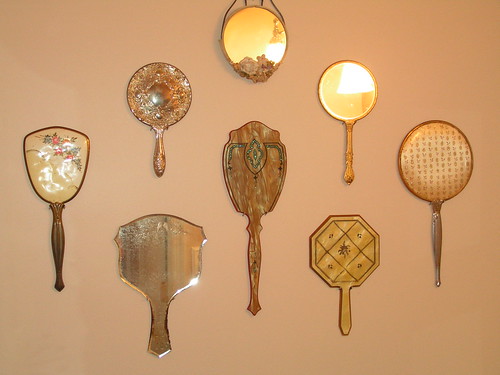
These vintage hand mirrors are related by theme & color
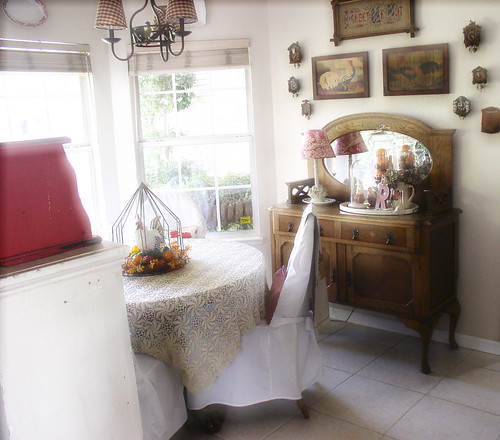
This setting is not only related by theme, but by color as well.
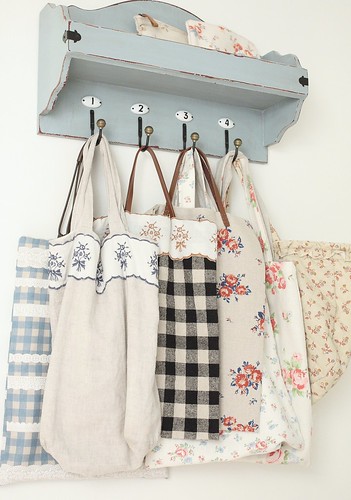
I love this display idea, because you could change up the purses each season if you’d like!
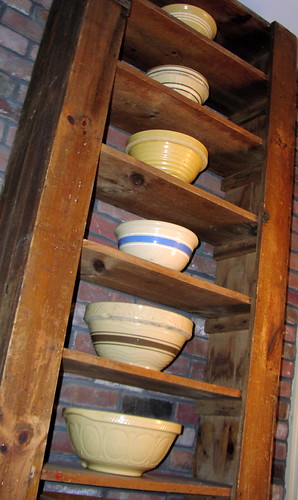
Just a simple shelf filled with some of your favorite bowls makes a beautiful display!
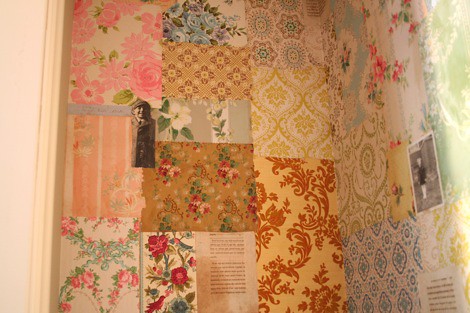
Use bits of paper & cover a wall like Pam did here – beautiful!
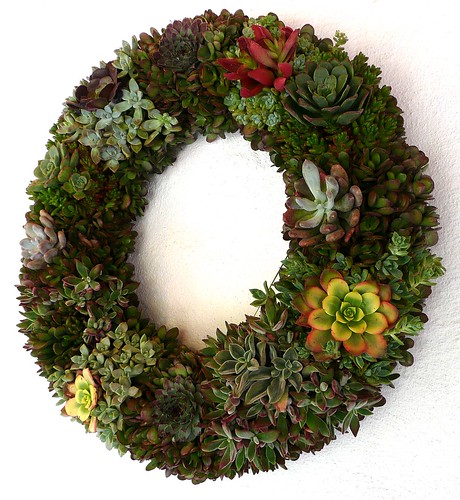
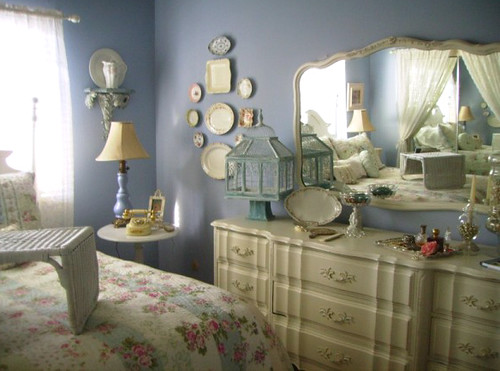
This beautiful wall speaks of size (scale).

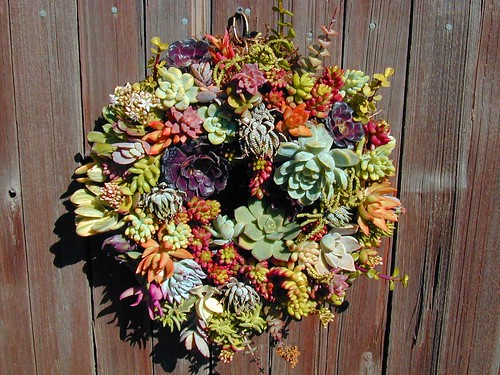
This wall will give you an idea of how to balance the display.
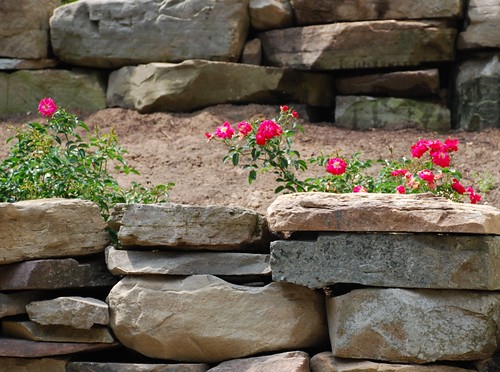
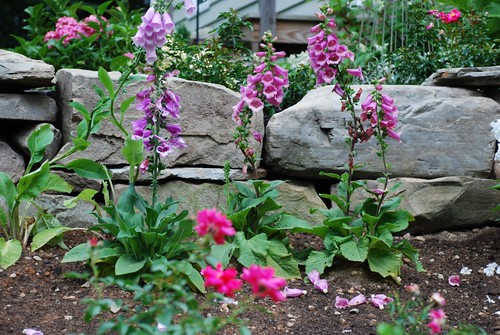
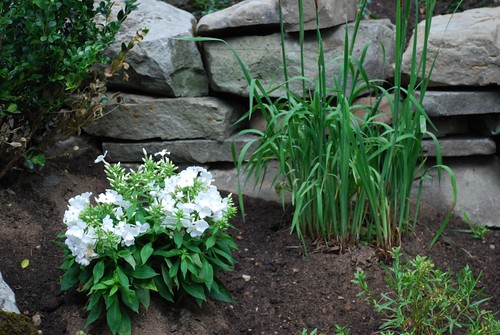
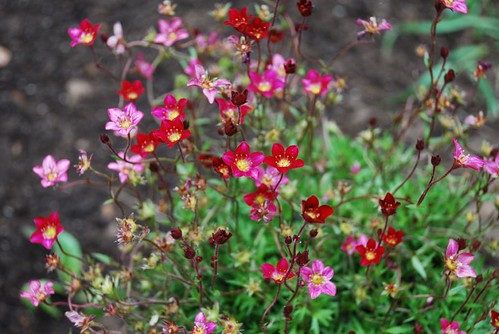
How about displaying your garden tools – or other similar items?
I hope these ideas have helped stir your imagination & give you a new perspective of what is possible when you open up your mind to new creative ideas!
Pearl