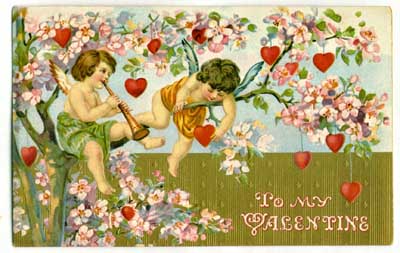
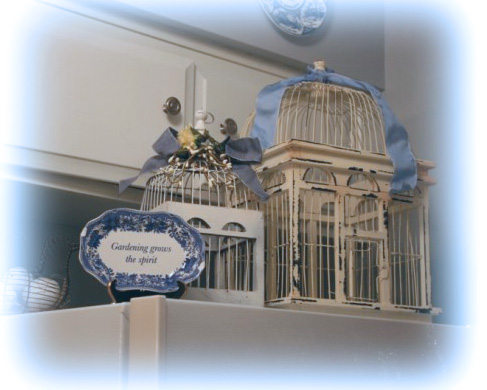
by Madai from Wren Cottage |details below
Once upon a time…
There was a little old lady who lived in a vinegar bottle…
Even though it was many years ago, and I was just beginning my days at school, I can still remember exactly how the story began.
I can still see my friends and I sitting in our favorite reading corner, all nestled on the story rug listening intently to the librarian as she read to us… the tales of other times and far away places.
I’ve always thought of this story as one of my favorite childhood tales, but as I tried to recall it recently, I realized that the rest of the story didn’t make it’s way into my memory whatsoever. However, the very first line was enough to fuel my imagination for all of these years!
I remember as if it were yesterday… as I heard the words… wondering into that little glass house with the little old lady and making myself at home.
I remember my teacher describing the little cottage as being tucked away deep in the forest, so that no one could find it without already knowing the secret path to her front door. She warmed herself with her tiny wood stove, in which burned a cozy crackling fire, sending tiny rings of smoke out of the top of the chimney. In front of the wood stove was a little rug and a comfy little chair where she would sit and read amongst the pretty pillows.
As I read the original story online today, all of those juicy little details were mysteriously absent from the text!
So now I’m left to wonder…
Did my teacher actually describe the little glass cottage in the woods… or did my mind begin to wander after hearing the very first sentence and creatively fill in the blanks…
How it really happened I can’t honestly be sure, but what I am sure of is my long time love of tiny little things – especially when they are under glass.
So what I’ve done is…
I’ve asked some of my friends to share their creativity with us. I simply told them… “use your creativity to put together a display under glass.” I asked them to try to use a cloche or cake stand, but if they couldn’t find either of those… to use what they could! And… they didn’t hear my little story, so they are sharing things that fuel their creative imagination!
I know you are going to love what they’ve come up with… almost as much as I do 😉
Tiffany
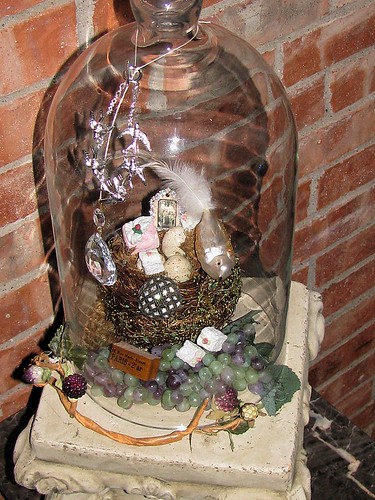
Let me introduce you to Tiffany. She has a wonderful ability to create displays, and somehow, she can make anything look beautiful… from little snippets of paper… to left over bit & bobs from the tool drawer! Just look at what Tiffany has put together! You’ll have to look at it for a while to see all of the beautiful little bits that she’s included in her piece! I especially love the little nest, and how little Ms. Birdie has built it with so many pretty things 😉
Here are some of Tiffany’s other creations where she uses glass as a way of “collecting” beautiful objects!
Secret treasures!

Where time stands still
You’re going to love Tiffany’s website – Beyond the Vintage Path!
Also – stop by her blog & share some comments!
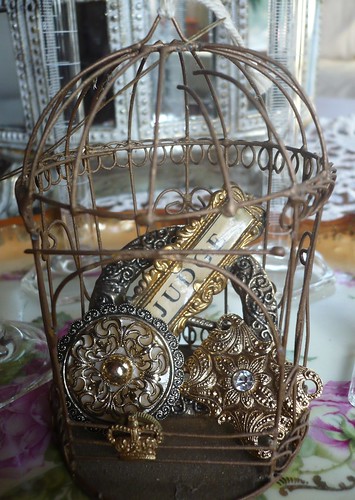
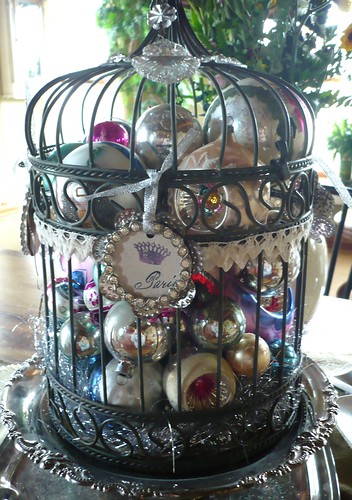
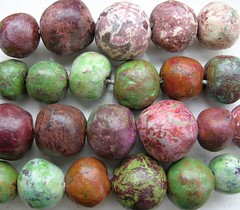
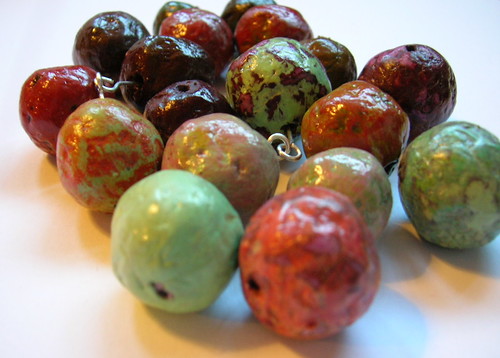
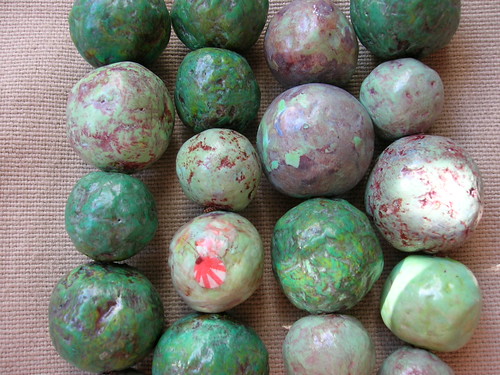
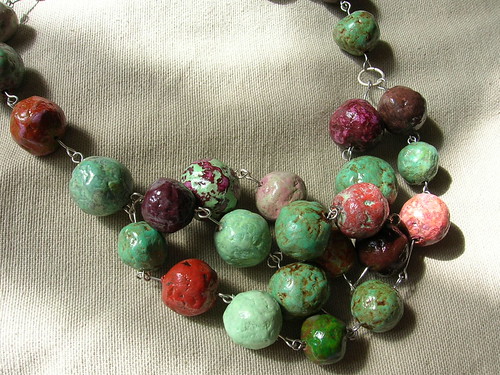
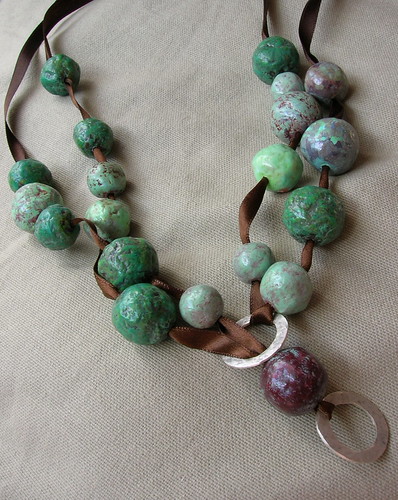
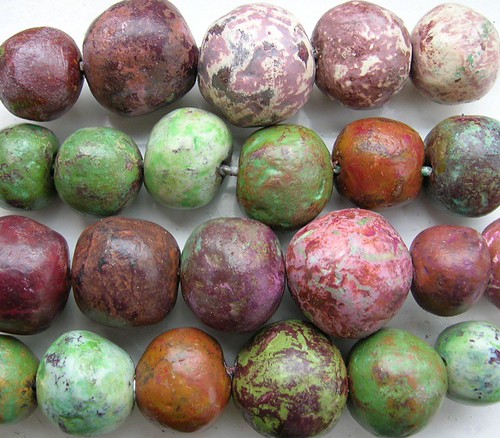
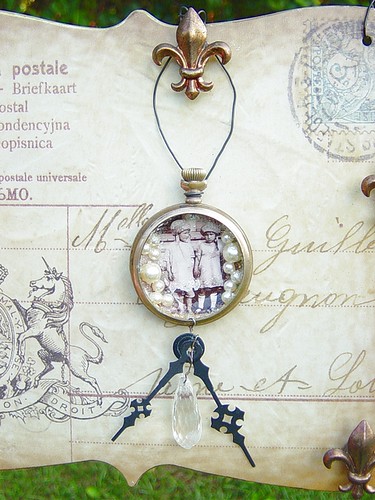
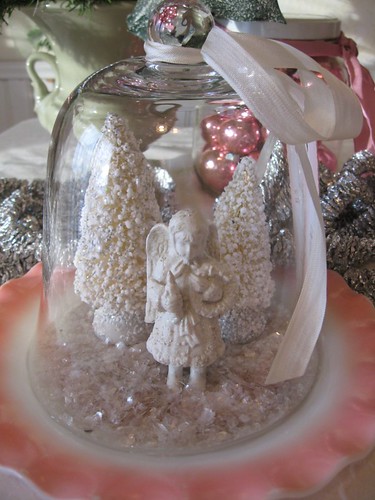
Madai
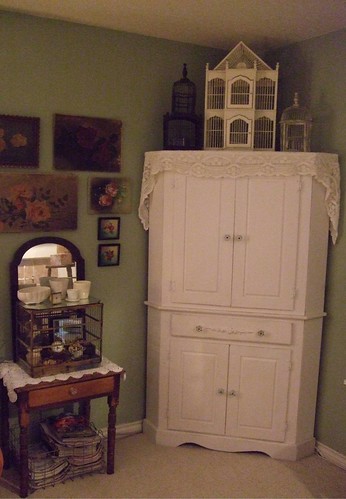
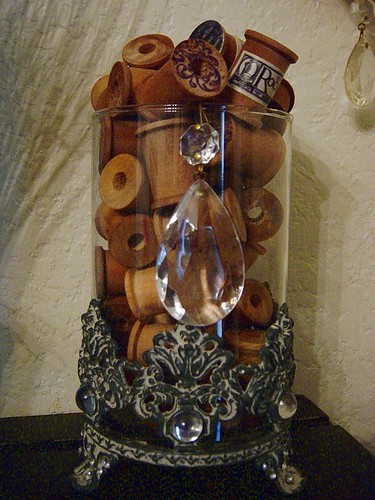
My dear Madai has some of the most beautiful creations I’ve ever seen! Her sumptuous glittery bits make me wish for one of each! You can “try” to pick up one of her creations in her Etsy shop, but you must hurry… as people seem to swarm for her things 🙂 Do stop by her wonderful blog Wren Cottage and get to see all of Madai’s creations and decor up close!
Here the Princess tried to sleep… she really did… but who could sleep with such beautiful things to gaze upon!

Layers and layers of beautiful lace and quilts


There’s that pretty little pea 😉

Here Mr. Bunny is ready for tea

With such lovely little treats… who could pick just one!

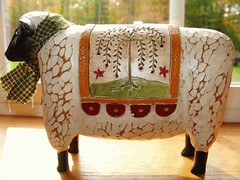
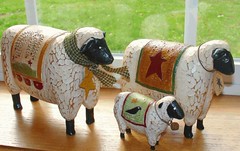
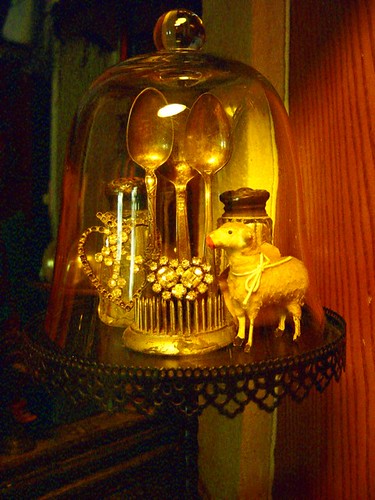
It’s the Spring Baby Bird contest & Mr. sheep is the first to vote!
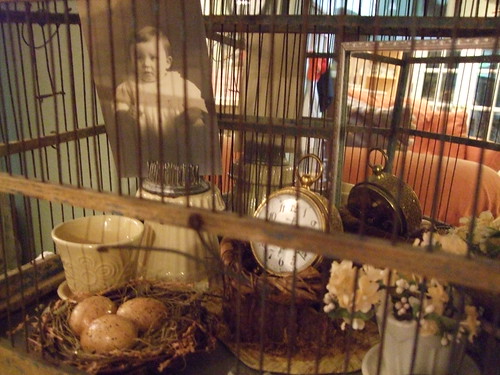
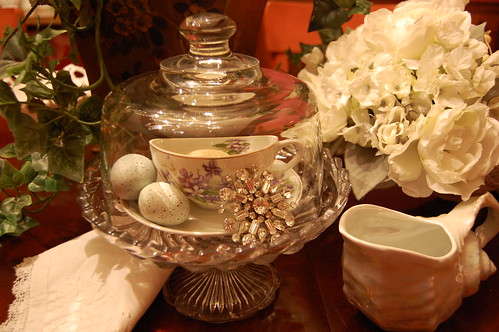
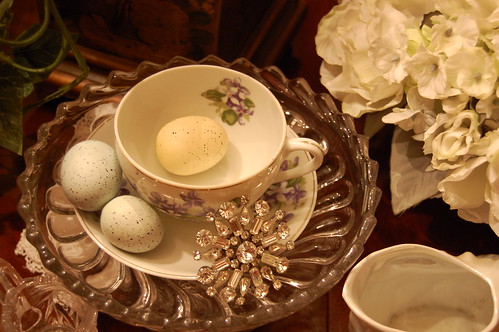
Cathy
As you look through Cathy’s website, blog, and Flickr pictures… one thing becomes very clear… you know you’ve seen these beautiful things somewhere before! That’s because Cathy’s beautiful decor has been featured in many different publications. She is especially known for her wonderful little pink garden cottage. When I asked Cathy to share a creation with us, just look at what she came up with! Don’t you just love the little momma bird caring so deeply for all of those beautiful eggs!
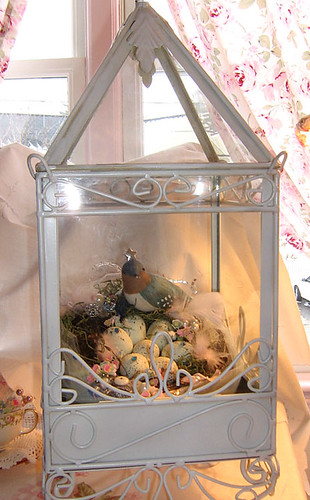
Stop over at Cathy’s website – Treasured Heirlooms to pick up a few pretty things for your home, or her blog to share a few thoughts, you’ll be glad you did!
Debrina
Debrina, from “spark your imagination“, always does just that… she takes you to beautiful places with each piece that she creates!
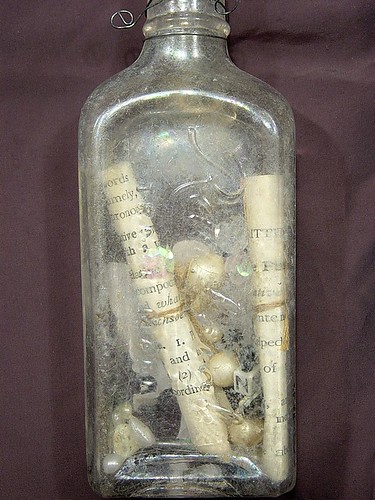
You can’t bottle up the music inside!

Eunice
Eunice had some lovely things to share! I just love this sweet little bird… way up high caring for her nest!
And how about this “dream” banner!

What a lovely little angel… and all of that snow looks like diamonds!
Take a stroll through her Etsy shop to see some more of her lovely things!
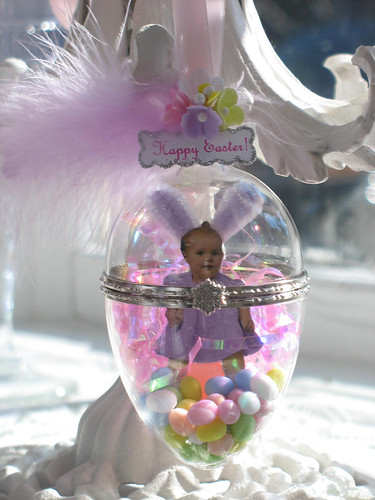
Jennifer
Jennifer once made me buy a magazine! Well… let me say… the feature of her house was what made me have to buy that issue and add it to my “keeper” collection at home 😉 It was wonderful to find her online, and see even more of her beautiful decor! You can take a peek inside of her home, and see some of her creations at her blog – Sweet Eye Candy Creations. I know that I am just one of many who love Jennifer’s style… because when I asked her to participate in this segment, she quickly made such a little sweet creation… only to have it sell within minutes!
Well… who wouldn’t want this little sweetie in their home to greet them each morning!
Mary
Mary created the most lovely little display! I think I would like to have this in the center of my table when my friends come for tea! Mary… shall we 😉
Mary’s blog “Little Red House” is always filled with beautiful things! You & Mary must become friends… especially if you shall be greeted with such “pretties” on the table when you call for tea 🙂
Becky
Becky has such a beautiful home! You’re going to love visiting with her over at Sweet Cottage Dreams!
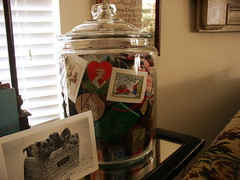
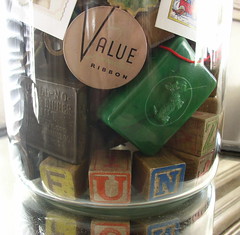
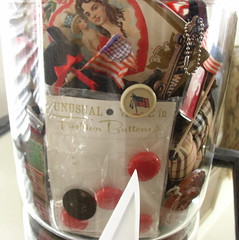
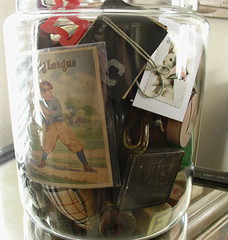
She made this lovely “collage jar” a while back, and I thought it was such a lovely way to display all of your favorite little things! Look at how much you can fit in one large jar… and you could turn it around to display whichever side you were in the mood for at the moment!
Judy
Judy does lots of things with pretty papers and fabrics. I found her on Flickr, while looking at her pictures of beautiful far away places… and I’m so glad I did! You’ll want to be sure to look at all of her pictures, as well as visit her inspiring blog
This little fairy is out gathering flowers, while draped with her own shabby chic bunting! We love this Judy!

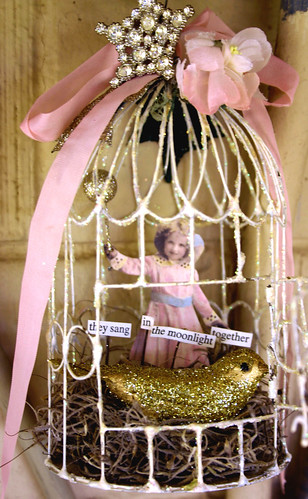
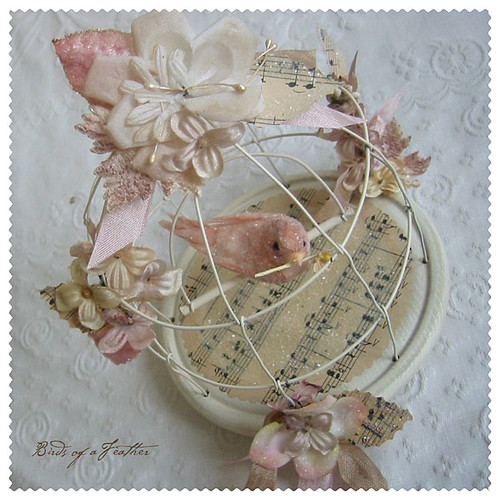
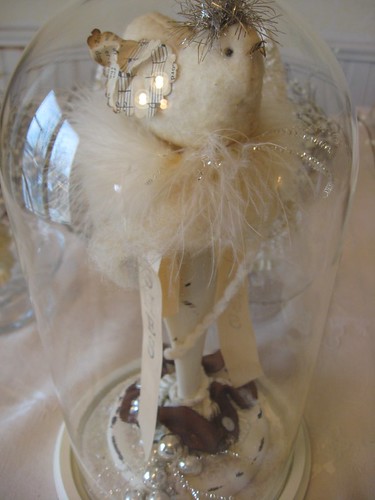
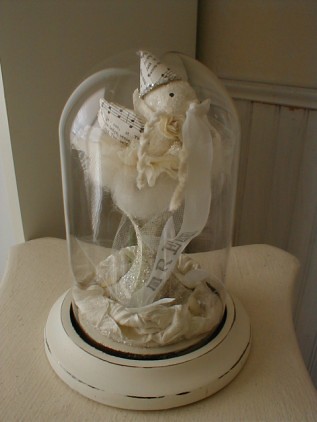
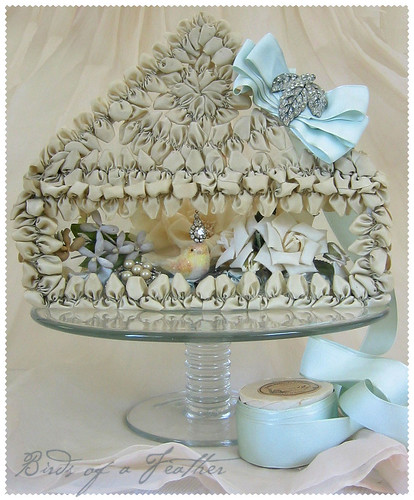
Heidi
The motto of the Birds of a Feather blog, is “dream, inspire, create”. That is exactly what Heidi causes us to do… when we look at her beautiful creation!
Just look at this sumptuous collection of lace, ribbons, and glittery things in Heidi’s creation under glass! Look how she has propped the lid of the cake stand open, and made it appear as though it is the roof of the little birdie’s home! And… I love the sweet Spring colors!
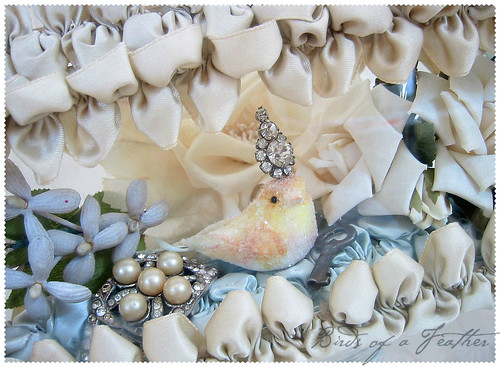
Here you can see the little princess up close!
I hope you’ve enjoyed the wonderful “creations under glass” from my very creative friends!
** My next big segment will be “Creative Spaces – Where Creativity Rules”, in which we will share the special spaces that allow your creativity to shine! We want to highlight the ways you organize, how you decorate your creative space, beautiful shelves, etc.
Please feel free to send in your pictures, flickr links, and blog address if you would like to participate.
If you would like to be a part – please feel free to contact me!
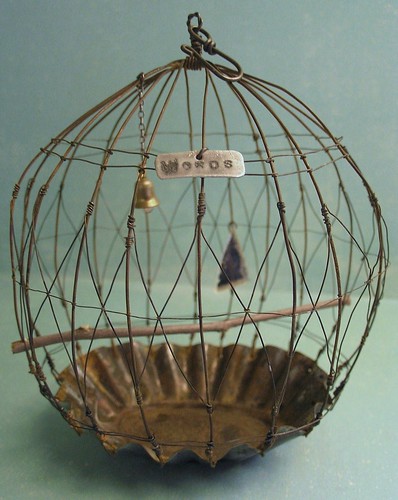
Pearl
Writing to you from my little cottage tucked deep in the woods… beyond the stone wall… and just before the bend in the river. Thankfully my cottage doesn’t have glass walls 😉