Bird prints, vintage Audubon prints & botanical prints are some of my favorite things!
The sad thing is, vintage prints, especially bird & botanical prints, are sometimes very difficult to find.
I’ve been keeping my eyes open while treasure hunting through the different shops in our area hoping to find something … anything! On a recent trip to one of my favorite little shops not far from our village, I was going through a pile of linens, when all of the sudden, my eye caught what looked like a pile of vintage prints. Could it be? I quickly put down the linens, and made my way passed the baskets, plates & other goodies, so I could take a closer look.
To my surprise & utter joy, it was a beautiful pile of vintage prints taken from a Birds of America book. The book is a collection of prints by naturalist and painter John James Audubon. It was first published as a series in sections between 1827 and 1838, and has been in publication since. I recently saw the book brand new in the bargain section of Barnes & Noble for $18, but it’s so much more fun to find some vintage versions with a bit of character.
I thumbed through the pile, picking the birds that I love most & those that I might see at our own feeders in the cottage garden. I also picked birds that had some blue in them, since I would be using them to decorate the dining room, & it is currently dressed in blue & white for the new season.
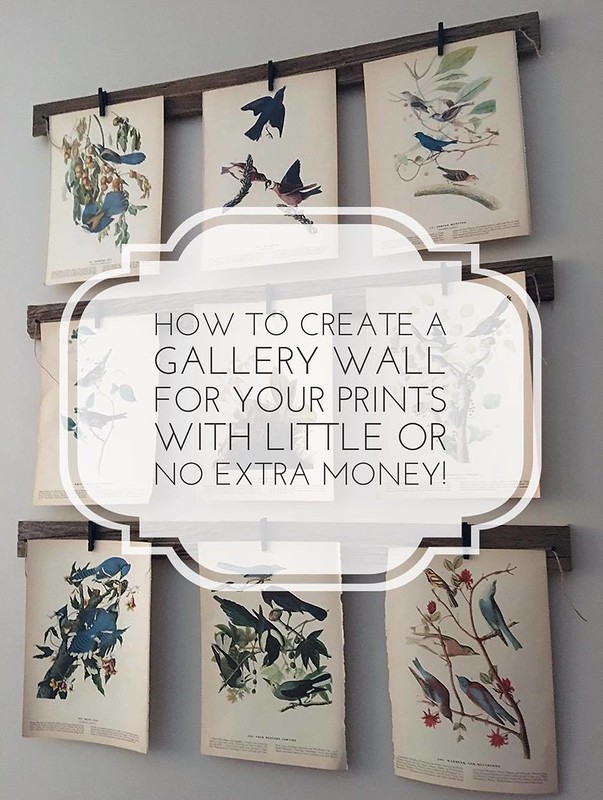
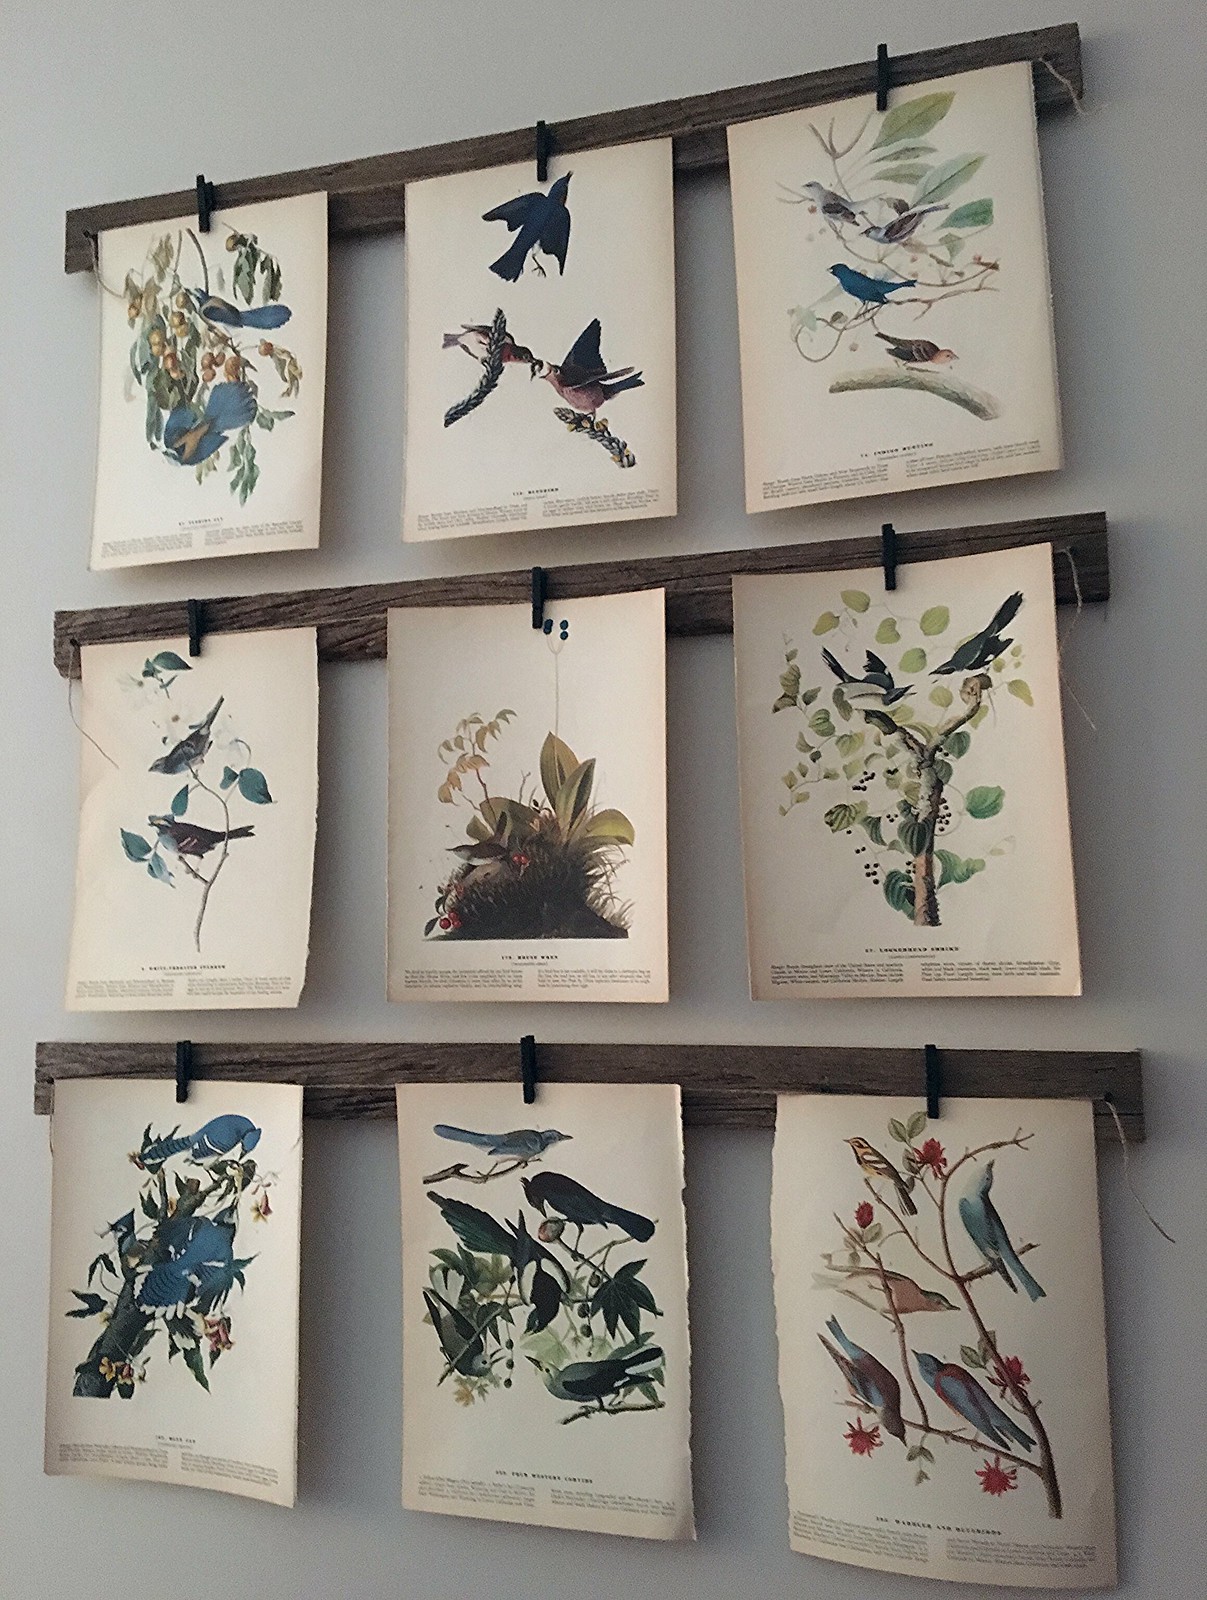
Having my prints in hand, I was excited to come home & begin the gallery wall project.
The first thing I did, was to lay them all out on the harvest table, to see how I wanted them to look on the wall.
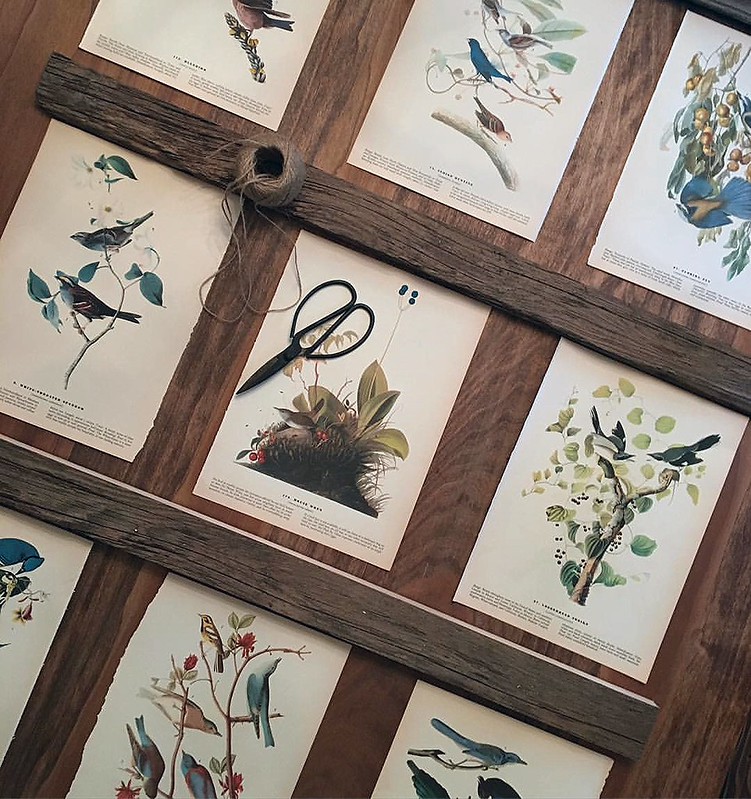
I had a piece of reclaimed barn wood in the basement, & my husband cut it into three pieces for me.
On both ends of each piece of wood, we screwed a black screw to make it less noticeable.
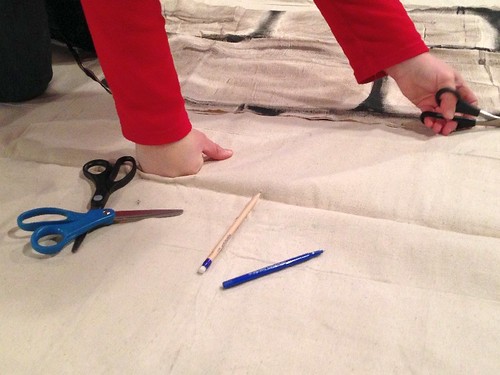
I took a piece of garden twin, & tied it to each screw. I made sure to get it as tight as possible, and to leave a piece hanging for some extra character.
After we had each of the three pieces strung, we measured how far apart we wanted them, and used screws to hang each of them on the wall.
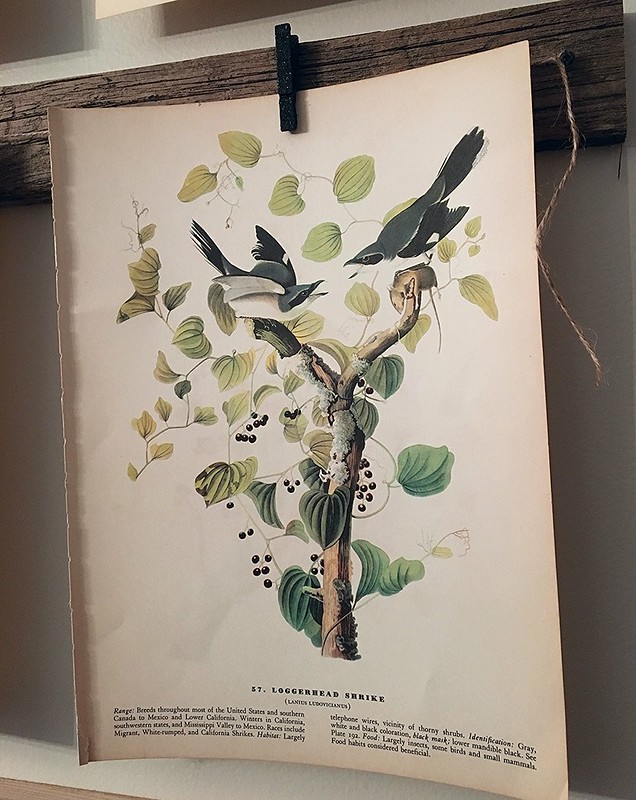
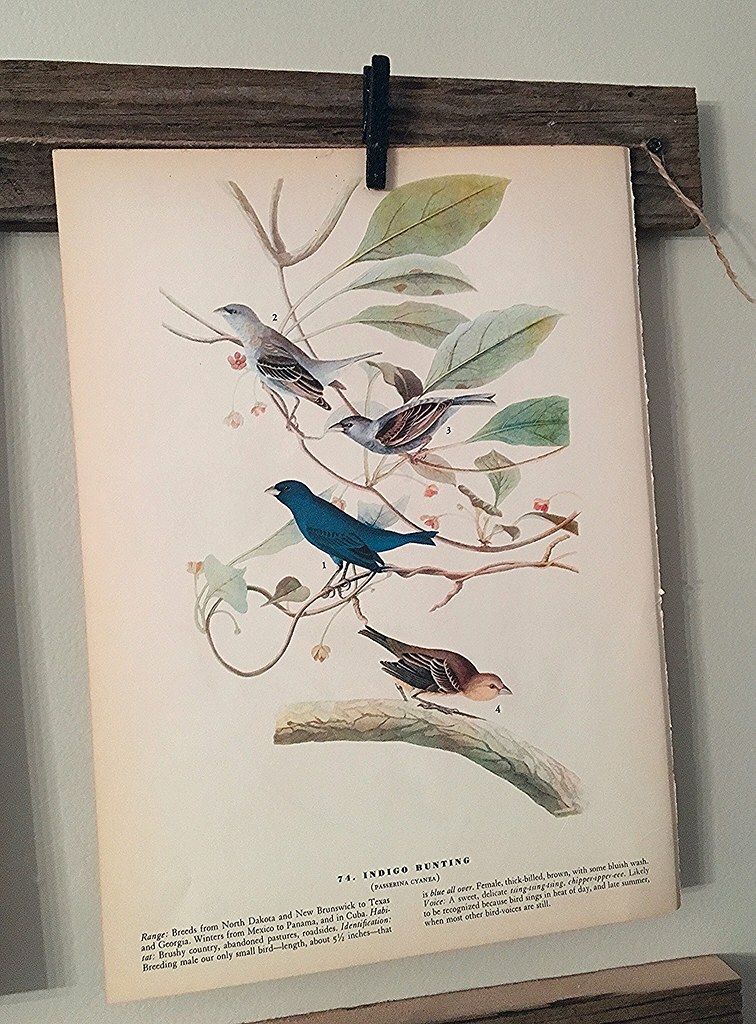
Then I hung each vintage bird print on the twin with a black mini clothes pin, being careful to space them evenly.
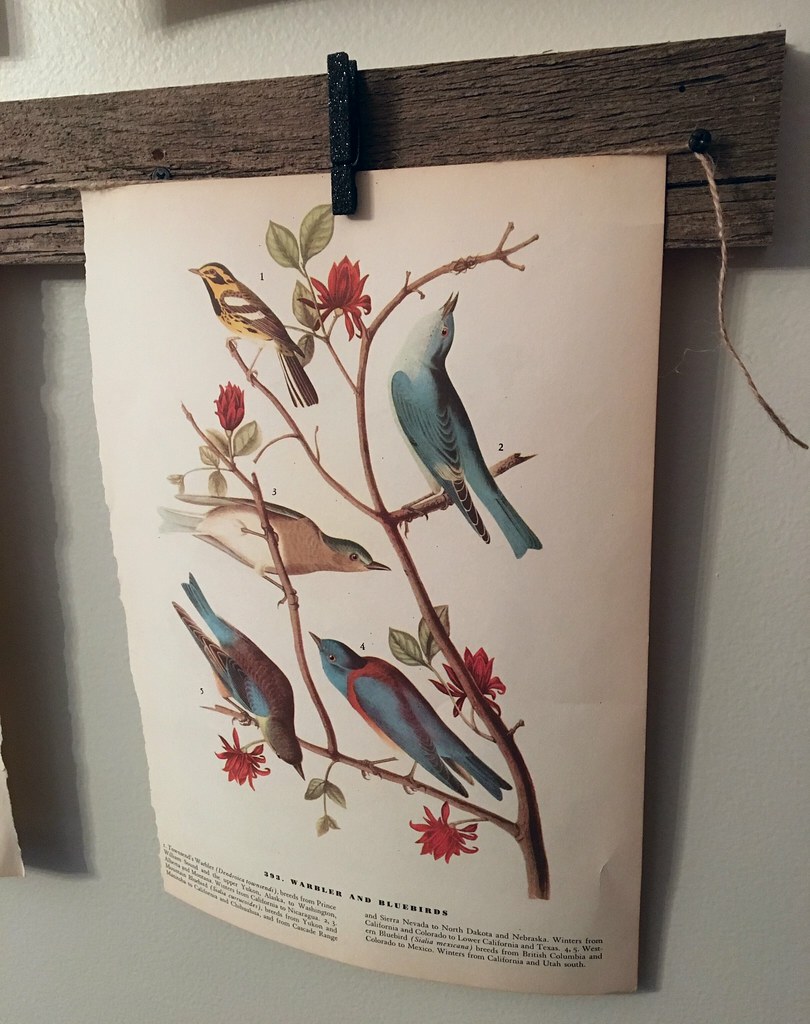
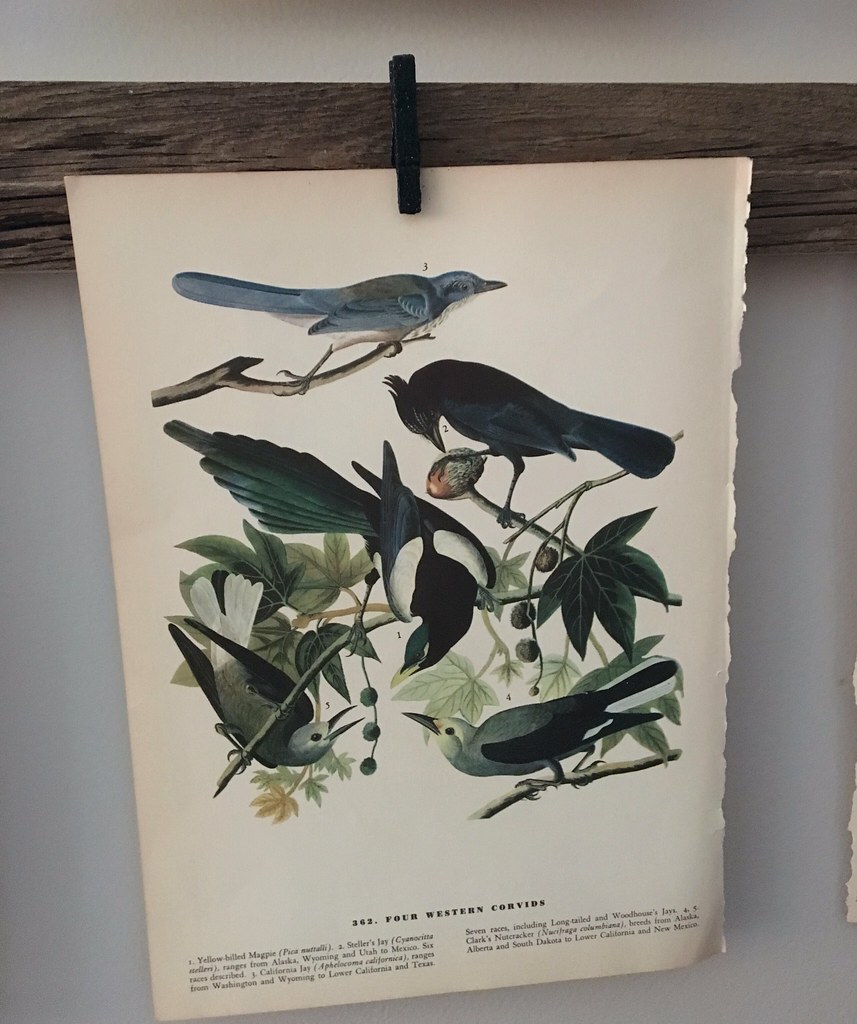
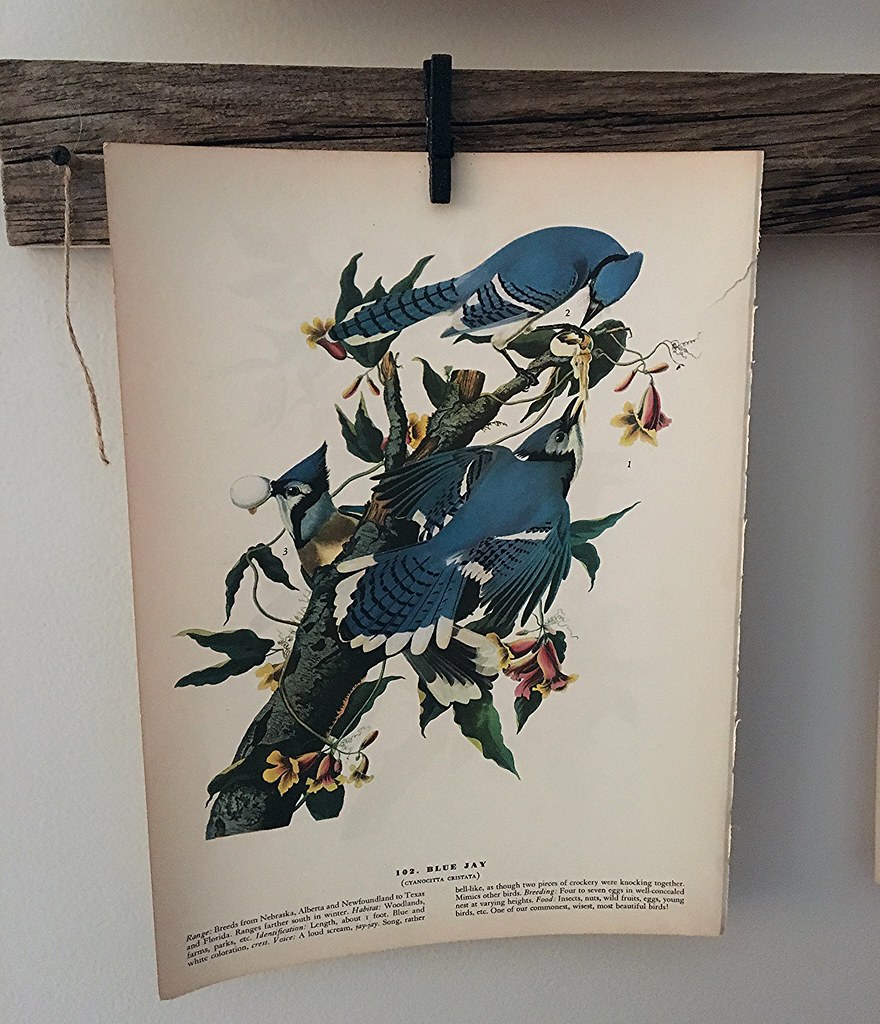
Here are some close ups of the individual bird prints.
Indigo Bunting
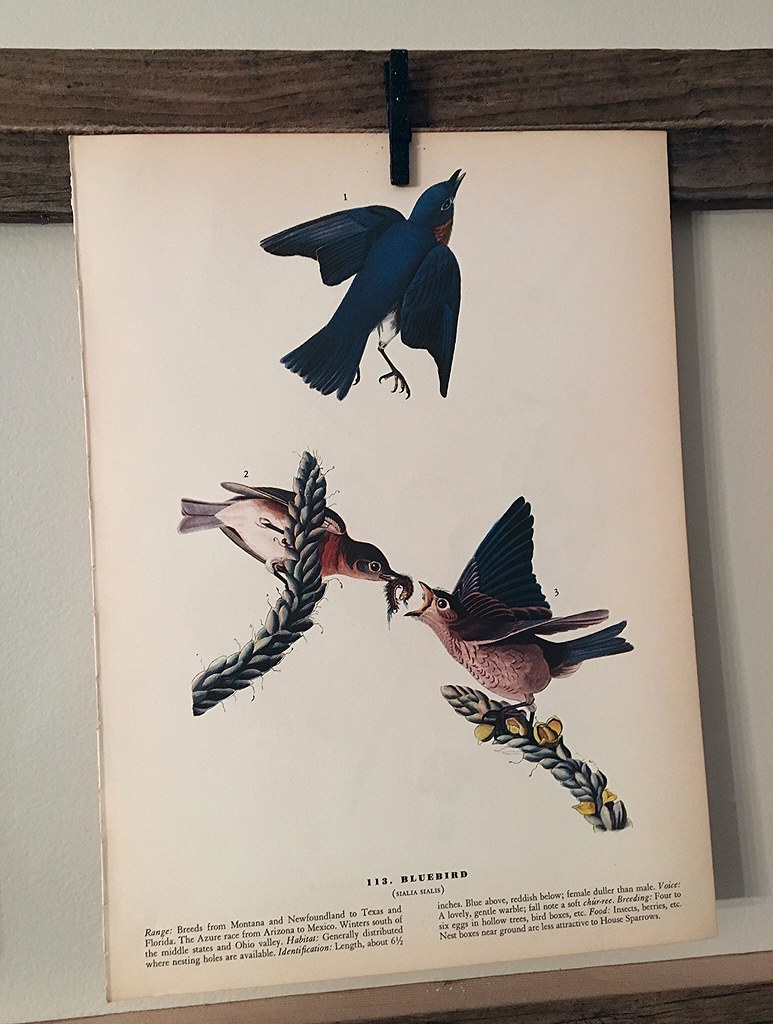
Blue Bird
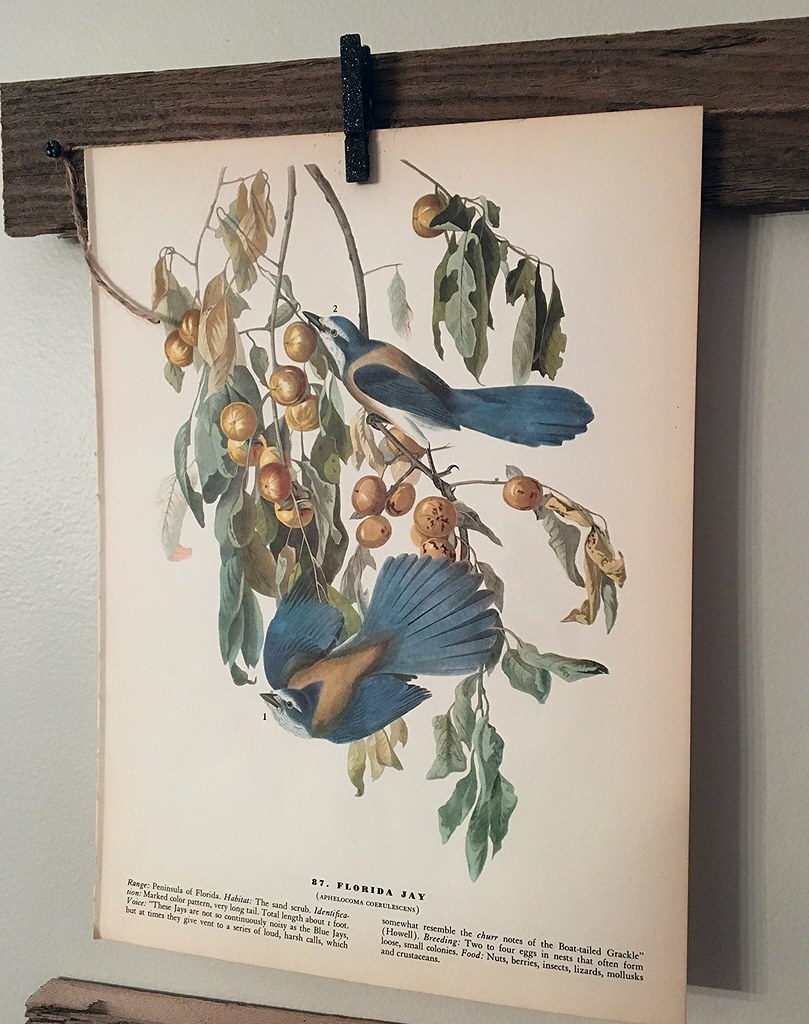
Florida Jay
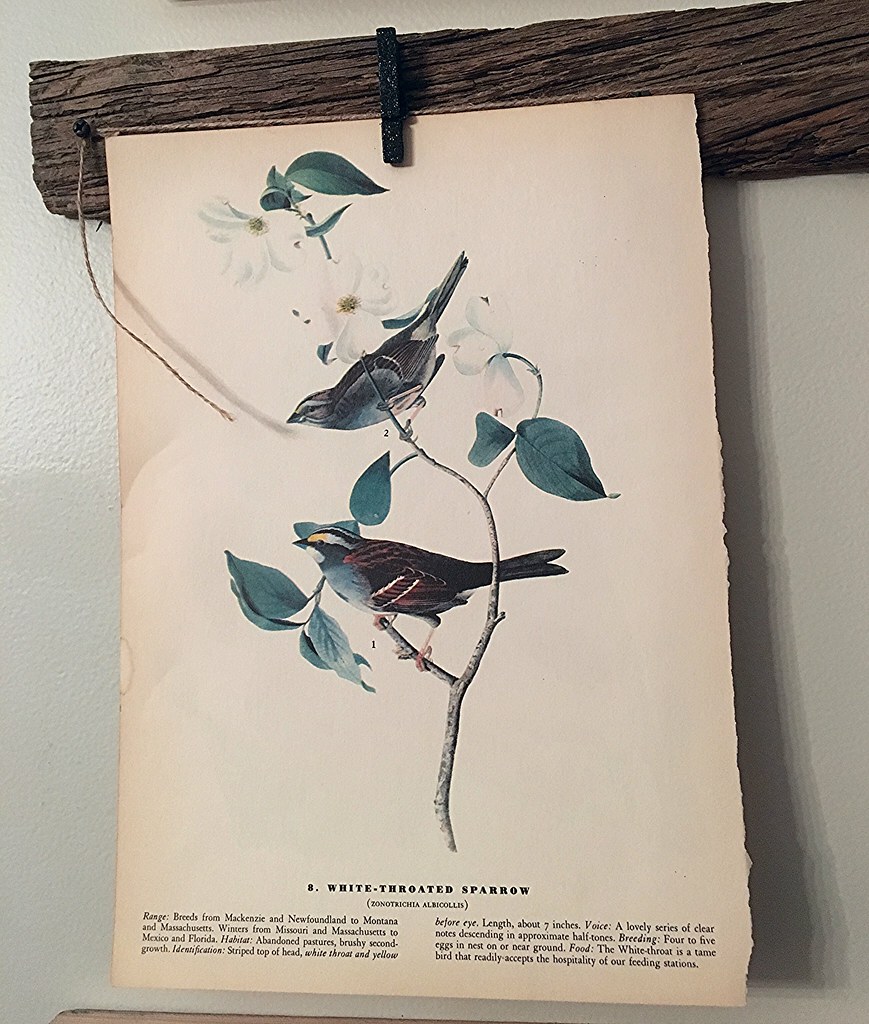
White Throated Sparrow
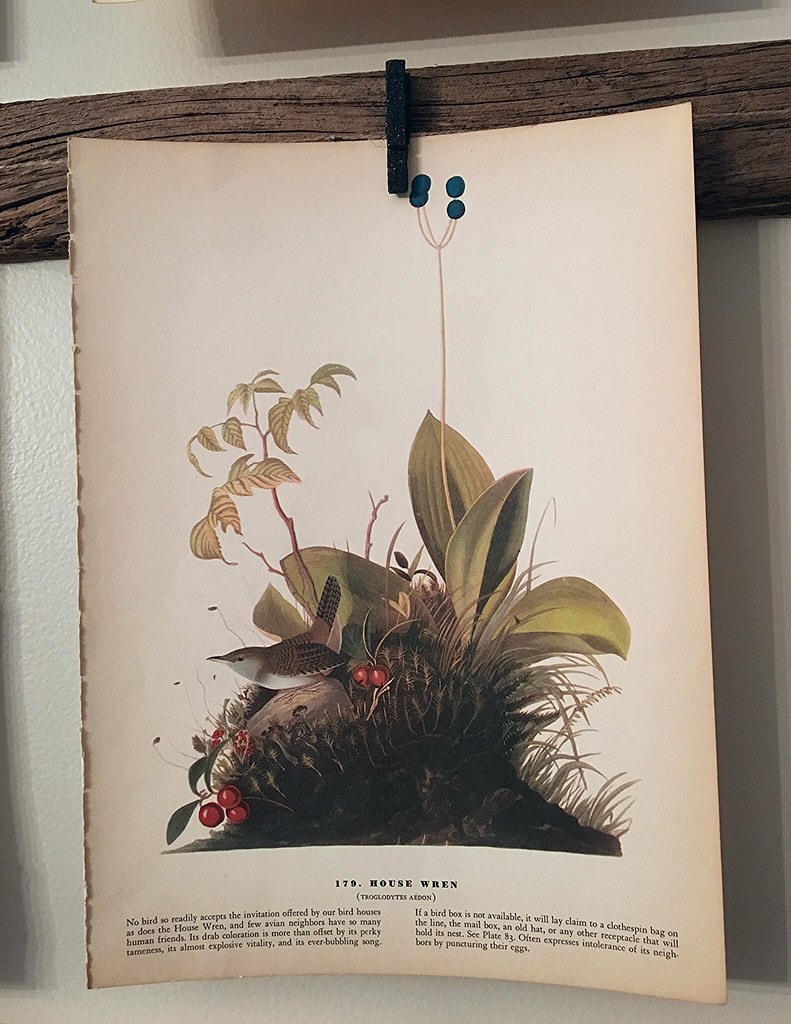
House Wren (I liked the blue berries in this one 😉 )
Warbler & Blue Birds
Western Corvids
Blue Jay
You could make a gallery wall out of anything that you would like!
You could use:
Pictures of Family
Pages of a Vintage Book
Print Pictures From Online
Love Letters
Sheet Music
Artwork From The Kids
Christmas Cards
Vintage Postcards
You could also add little bits of nature – like bird feathers, pine cones, dried flowers, or leaves
The possibilities are endless … but they are all sure to be beautiful!!!
Here it is all finished!
Creatively Yours,
Pearl