I wanted to share some simple ideas with you, to help get you excited about your home during this new year!
Have you heard the old saying “Necessity is the Mother of Invention”? Well, I’ve always thanked God for the opportunity that I’ve had to develop my creativity in a very special way 🙂
As a teenager, I remember a gal who would go into a very expensive department store and buy a whole room display. Then, she would comment on the “deal” that she was able to get, because she bought the whole thing! Of course it cost thousands of dollars, but to her, it was something that looked beautiful – and it was already “pulled together” for her. For some people, having the “work” done for you is a huge relief, but for some reason, I couldn’t be happy doing things this way! I think it’s because, although the end result is wonderful, for me, the creative journey of getting there is still such a thrill!
For many, the cost factor of “pulling a room together” keeps them from even getting started!
Well, no more!
I’m here to tell you… that you can have a beautiful nest the same way the birds do… by going out and finding beautiful tidbits here & there… and then weaving them together into one beautiful nest!
Something to remember
Your “I found this for only $” might be a very different price point than my “I found this for only $” price!
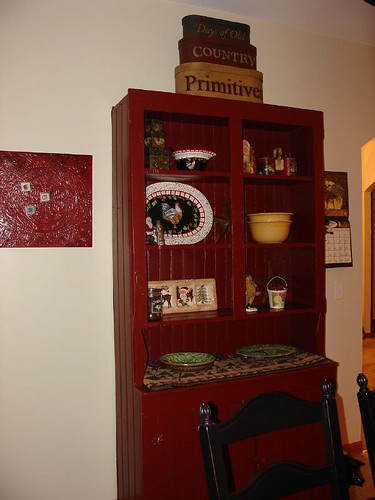
Example: I was talking to a person who was sharing their excitement about a recent find they had made. It was a vintage pine cupboard that they “only paid $1000” for. Although that was probably a GREAT price for that particular piece, my mind was wandering back to the 2 vintage pine cupboards that I had picked up – one was $2 at a yard sale, and the other was $17 at a local auction. Also, sometimes you find great deals like the ones that I found, and other times… not so much. The point? Use what you have, and find the best deals possible.
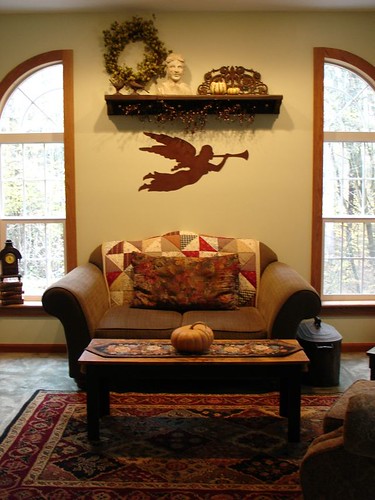
For this mantel display I brought in several elements from the cottage garden.
Try to have places around your home, that you can “re-decorate” very quickly & inexpensively.
This helps you put off the urge to “re-decorate” a whole room, while still giving you that fresh look you crave 😉 Here’s a small example from an office in our cottage. I have a few things on a shelf that “speak the same message” – paper weights, black picture frame, a small tin with the same colors as the paper weights, and a black & cream toile covered inspiration board. This shelf changes very often depending on the holiday, season, or my mood 🙂
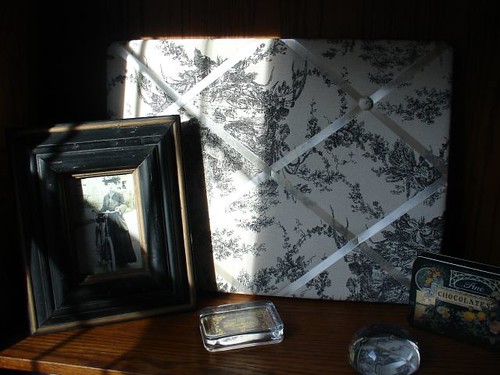
This is the space during the summer – but between holidays.
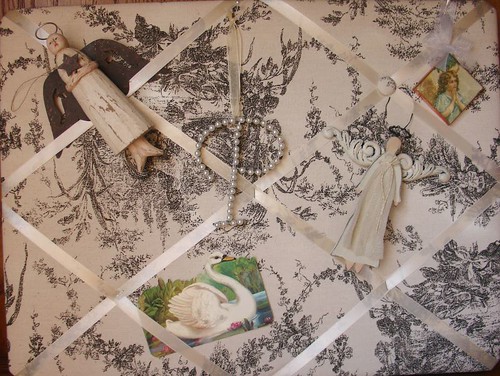
Here’s how I changed it up this Christmas.
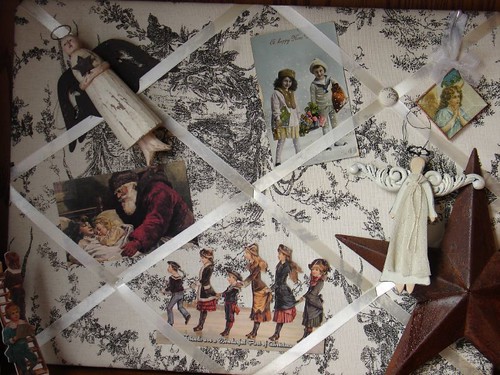
I have a box of different paper items, vintage post cards, broken pieces of jewelry, and other little bits & bobs that I can quickly pick through to change up the inspiration board. Keeping pretty little things doesn’t cost any money either! If I get a card that I like, I’ll be sure to keep the front, and write who it was from on the reverse side. Most of the time, people don’t write to much inside of cards but their name, but if they do, you could keep the whole card. I’ve been known to keep gum wrappers (especially the “5” brand – such beautiful metallic colors!), bits of wrapping paper, cut little pieces of calendars, etc., to use in my displays.
Here is a grapevine garland that I made using vines from my yard, then adding a few little clip on birds that I had in my Christmas decorations. Cost? $0

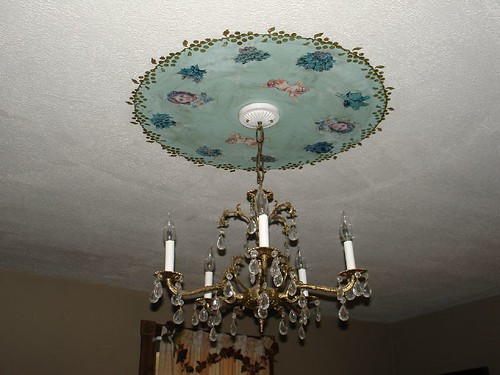
In my previous home, I decorated the ceiling around my chandelier by using some bits of craft paint that I had left over, a few pictures that I cut out of a magazine, and some stenciled grapes. Cost? $0
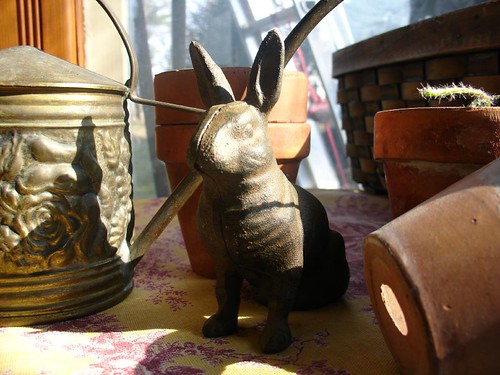
You can make a beautiful natural looking display on a table top or end table by grouping several things that “speak the same thing” – such as these clay pots, some plants, an old watering can, a cast iron bunny, and a basket. They all seem to say… life… well, to me anyway 😉
Here is a display made of items that are mostly from the $1 store, thrift store, yard sales, and discount stores. I some of my favorite items that were similar in color & theme. This is a Spring display.
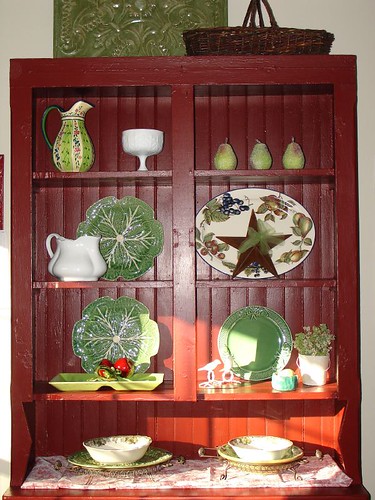
Here it is in Fall
And last Christmas
Here’s a little display that YELLS Spring. I used a little greenhouse that I picked up for a couple of dollars at “Big Lots”, an iron bunny, a few plastic eggs, a doily found in the bottom of a $1 auction box, and a picture of roses found at the thrift store for .99!

You might remember seeing the bunny’s sister in the clay pot display or in the picture above? That’s because… I’ve learned, that if you really like a piece like that and you can buy it for a reasonable price, you should probably pick up more than one. That way you can use the second one in other displays around the house.
By this picture, you can see that I decided to pick up more than one iron bunny, and several eggs (they look so real!). Now I have several to sprinkle around the house in different displays, yet they all help pull the current them together.

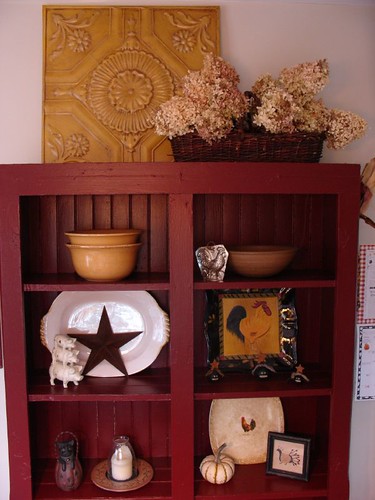
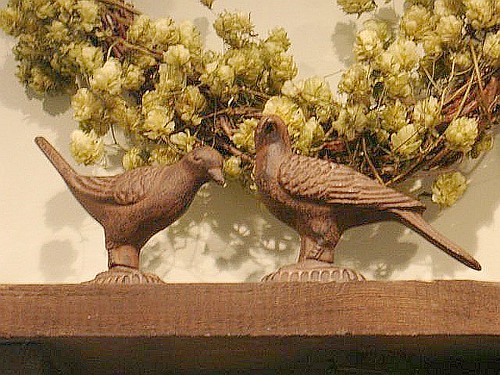
This works especially well if the two items have different poses, such as the pair of iron birds that I found for under $5. This display is a close up of one of the pictures above. The shelf was made by my husband, from an old board taken from a wall in our previous 1856 village home when we re-built that section of the room.
Here are some great ideas from others
Here is a beautiful kitchen island – made from a “found” dresser, with an added tile counter top.

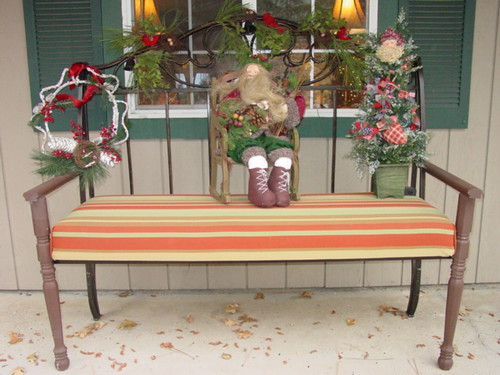
Here is a beautiful bench made by Connie over at Life at Treetop Cottage. She used an iron headboard that they no longer needed, then added the extra pieces to make this beautiful bench!
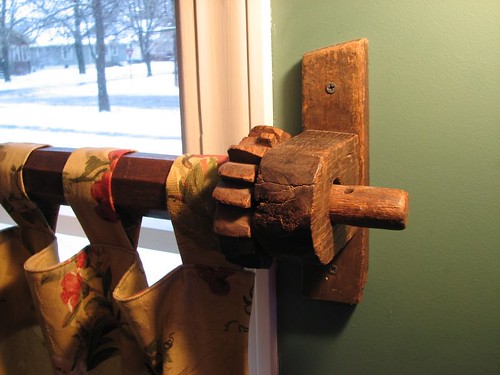
Here’s an old quilting frame that was turned into a BEAUTIFUL curtain rod from Home Again Vintage Treasures
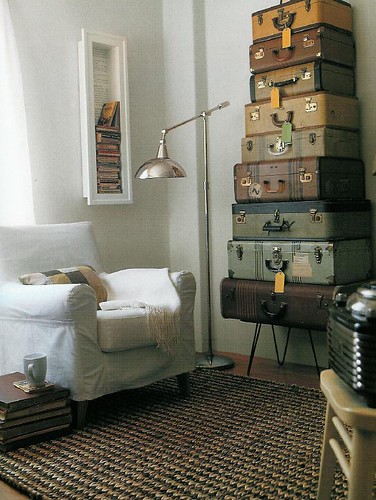
In this picture, several discarded suitcases were used as a new decoration – and new storage! Also notice the picture frame on the wall that now holds books!
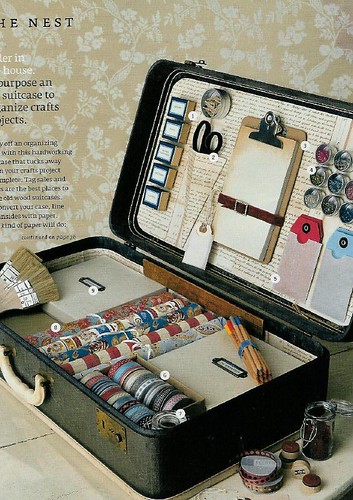
Look at what was done with this discarded suitcase! BEAUTIFUL!
So don’t let the fear of getting started – or – the cost that others might pay keep you from pulling together beautiful rooms & displays in your home!
Our readers are so creative! Please share your ideas & pictures of your “nest” in our Home & Garden Forums!