Make these beautiful angel wings with things you already have around the house!
I just love angel wings, and they are all the rage in decorating right now. The only problem is, when you actually find some wings that you like (from Pier 1 for example), they cost WAY MORE than you want to pay!
I came up with this idea as we were preparing to decorate the stage for our special Christmas services. We needs some very big angel wings, and I wanted to find a way to do it using things we already had.
They turned out really nice, so I wanted to share the tutorial with you, so that you could enjoy some angel wings in your home this season… while not spending any more money on decorations 🙂
Step #1: Decide How Big You Want Your Wings
Because we are using our wings as stage props, I wanted them to be a nice size, so that everyone could see them. We decided to make ours 7ft X 4ft, but you can make them any size that makes you happy! You need to have some sort of backing to build your wings on. We had a piece of painting drop cloth laying around, so we used that. What do you have that you’re not using? A piece of cardboard, heavy cloth, drop cloth… use what you have available to you.
Step #2: Choose Your Favorite Shape of Angel’s Wing
I looked at all kinds of pictures online (mostly in google image search) to find a shape that I really liked.
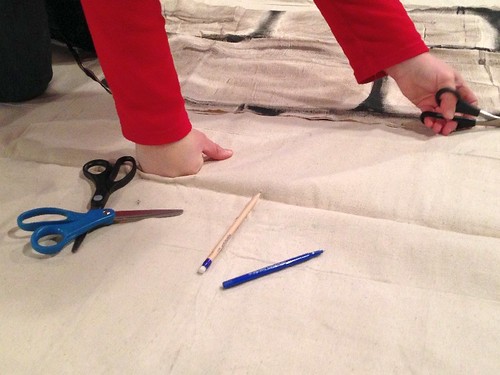
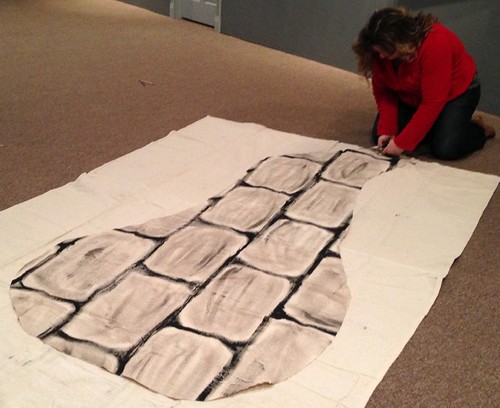
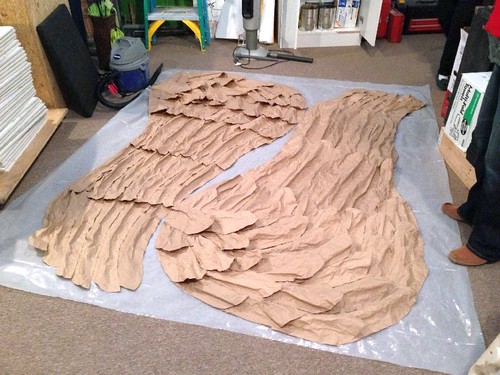
Step #3: Trace The Shape Onto Your Backing & Cut it Out
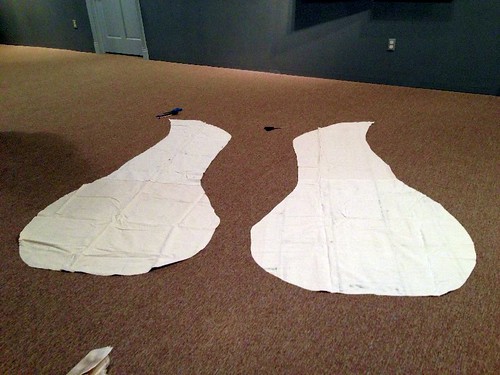
Step #4: Turn The First Wing Over & Trace it Out For The Second Wing (if you want 2 wings)
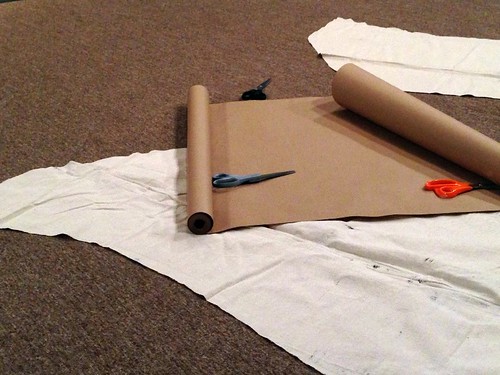
Step #5: Make The Feathers
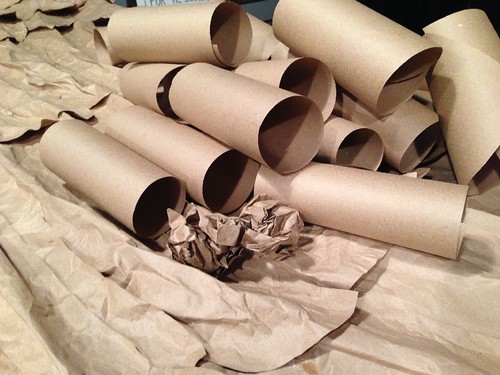
I decided to use regular brown craft paper, but you could use brown paper bags, newspaper, or any other paper you might have.
– Cut strips of paper with a scalloped bottom edge
– Scrunch each one into a ball to give the paper lots of wrinkles
– Open it back up & try to give the center a little crease, so it will stand out more & look more like a feather
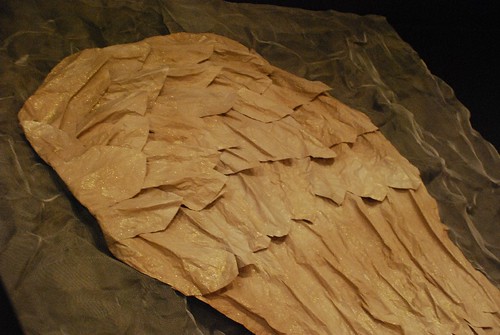
Step #6: Hot glue each strip of paper to the backing, beginning with an outer edge first. Glue one side, being careful to let a bit of the paper hang off the edge so you don’t see the backing. Then pull the paper towards you a little bit & hot glue the other side. The reason you’re not going to simply glue them down flat, is because this technique gives the appearance of a creased feather instead of a flat piece of paper.

Continue adding as many layers as you’d like. For the size of our wings, 3 long layers and a few short ones looked best. As we got to the top, we just angled the feathers a bit more to look like a wing.

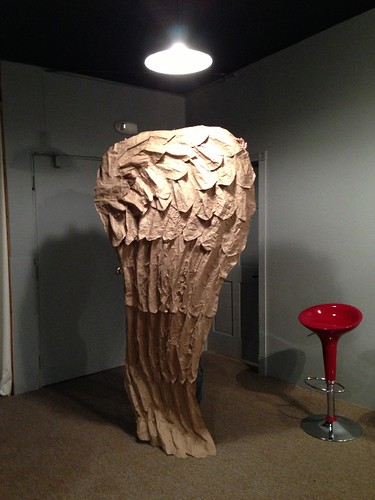
Here is one of the wings all put together. It’s so tall my son can barely hold it up high enough!
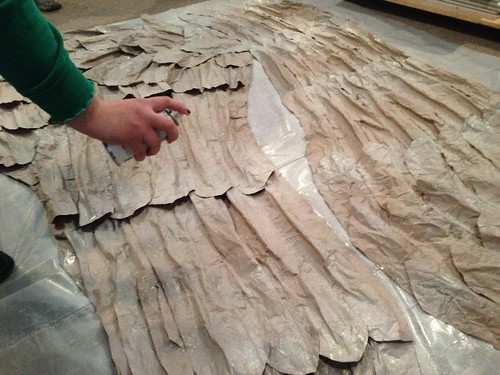
Step #7: Decide What Finish You’d Like to Have
You might want the look of newspaper print, in which case you wouldn’t have to have any additional finish. Or, if you want a solid color, you could apply a full coverage of whatever left over spray paint you have. You could also add some glue & glitter around the edges for a nice touch.
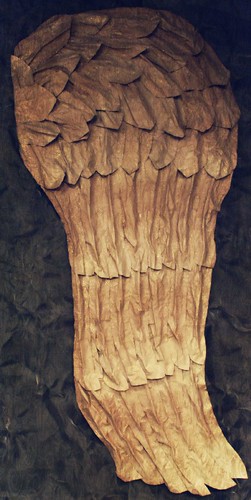
We wanted sort of an antique look, so we opted to only highlight the feathers with some off white spray paint, then hit them with some translucent gold glitter paint.
Here’s a close up of the little hint of gold sparkle.
We love the way the finished product came out!!
Send us some pictures of your wings ~ we’d love to see them!