Add Life and Beauty to Your Home by Decorating With Birdcages

pink birdcage

Today the weather doesn’t want to make up it’s mind! First freezing cold, then snow, then sleet, then rain, then snow… then we start all over again! Needless to say, the kids were excited about their second snow day of the year!

This time of year seems to get a bit gloomy for some people, because the holidays are over, and now we are waiting for some “signs” of Spring… which won’t reach us for another 2+ months 😉

But… with the blessing of the Internet, we are able to travel past our doors & share so many wonderful pictures, ideas, stories, and far away places… without ever leaving our chair!

So…

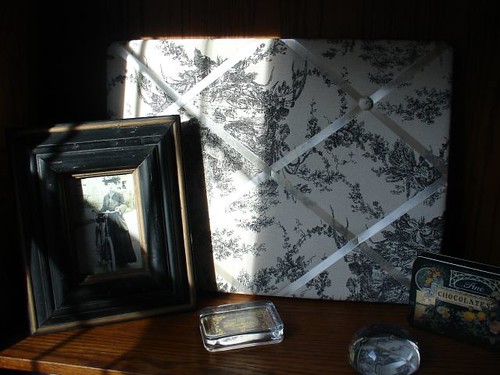
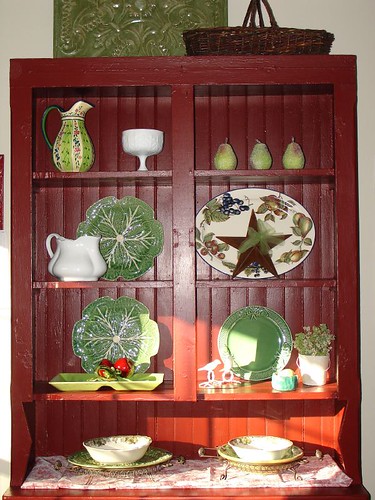
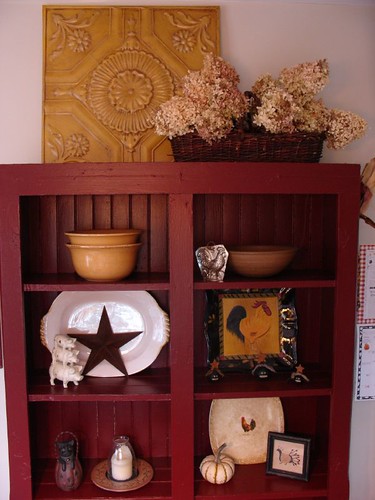
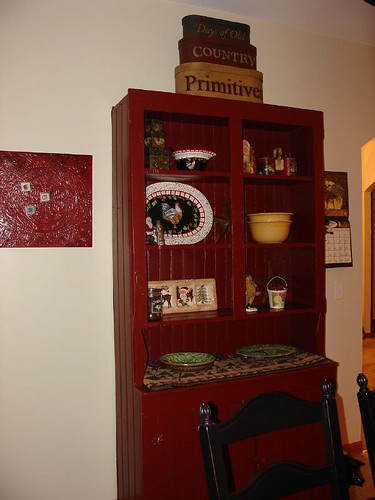
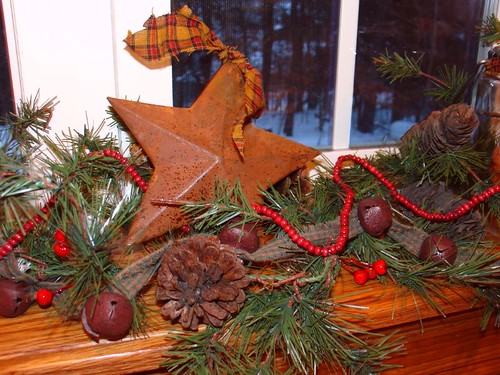
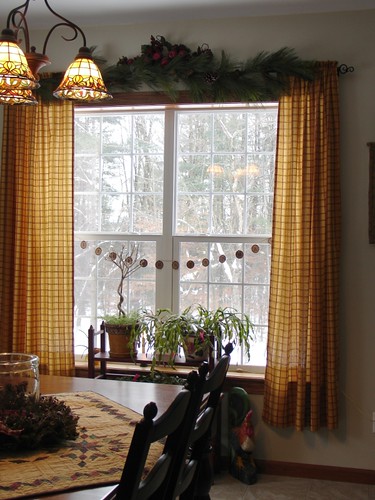
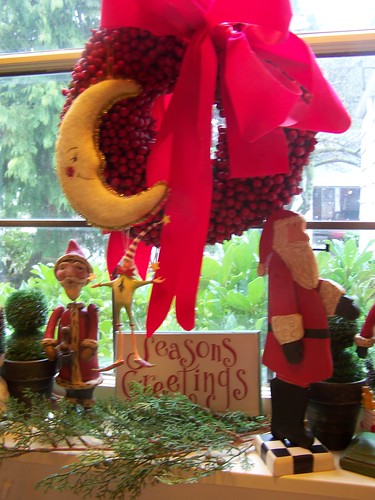
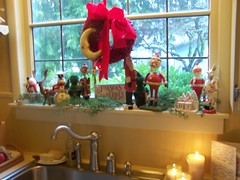
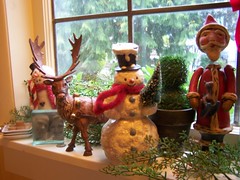
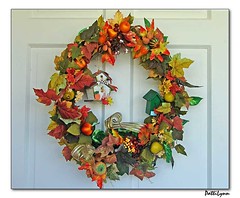
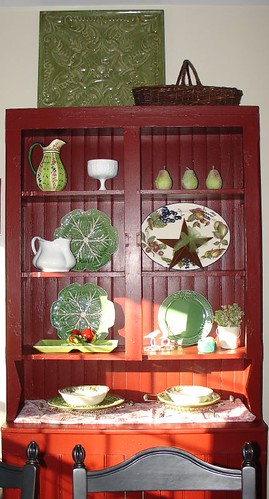
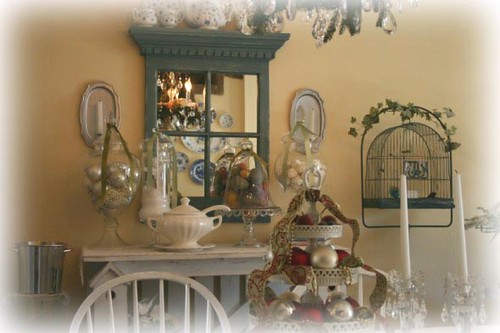
I thought I would share some “eye candy” with you today, to help get your decorating ideas flowing!

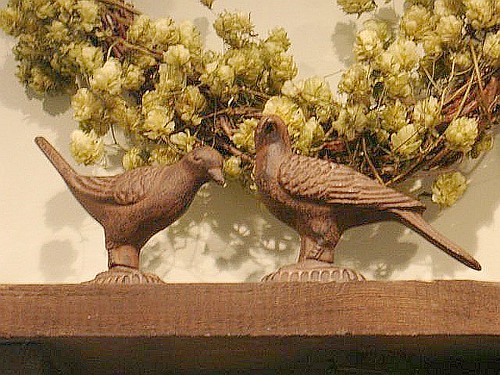
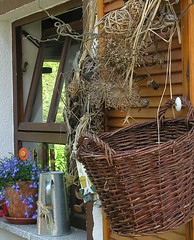
There’s something very romantic about birds, their houses, nests, and cages. I’m not sure what the lure is for me, but I have always found them so very beautiful and intriguing.

Maybe it all started with a school field trip?

As a very small child, I remember visiting the Smithsonian Institute in Washington DC for a school field trip. While there, we were able to walk into the nature section, where we were amazed by the miniature birds that were not much bigger than a quarter! I’ve always remembered how fascinated I was that day with God’s beautiful creation (of course… He never ceases to amaze me ;)!

Not long after that… I remember standing in my grandfather’s garden in TN, and being startled by what I thought was a bee flying by my head, only to find out that it was indeed one of those beautiful little birds trying to get to the flowers that were teasing him from the shrub behind me! Oh how I wanted to pick him up & put him in my pocket 🙂

Then, there was my great grandmother’s farm in Md…
When you live on a farm, birds become a part of everyday life! There were always little birds flying in and out of the barns, and eating the insects around the gardens and the orchard. This meant lots of little nests in the trees, as well as the occasional baby bird who needed helpful attention. I was very happy when grandma would ask for my help!

My husband & I have always had some sort of birdie friend sharing our home (whether inside or nesting in our eaves ;), and for many years we even raised different kinds of parrots – which we really enjoyed.

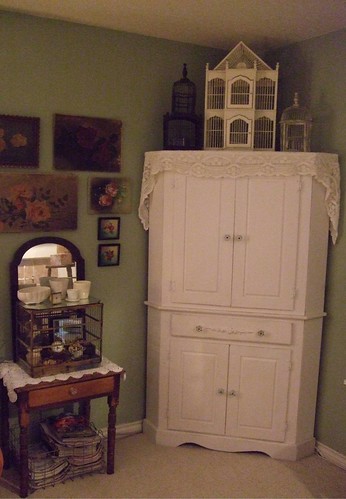
But… you don’t actually have to have birds living in your home to enjoy their beauty! You can decorate your home with bird houses, decorative bird nests, pictures of birds, or perhaps a collection of vintage bird cages.

Bird cages, for example, can be found very inexpensively at auctions, yard sales, thrift stores, and even in garbage piles along side of the road! You see, most people look at an empty bird cage as something you would buy to house a new pet. And if they are not in the mood for a new pet, they simply don’t see the value in having it! This idea works to your advantage, because these cages, that are mostly unfit for a real bird anyway, would be beautiful additions to your home decor!

It doesn’t matter if the cage is in great shape or not, as a matter of fact, a little rust will help give it that vintage appeal! You can fill the cage with anything your heart desires. Also… don’t forget about outside of the cage!

Why not try some of these items to Here are some different ideas for items that you can use to decorate your birdcage;
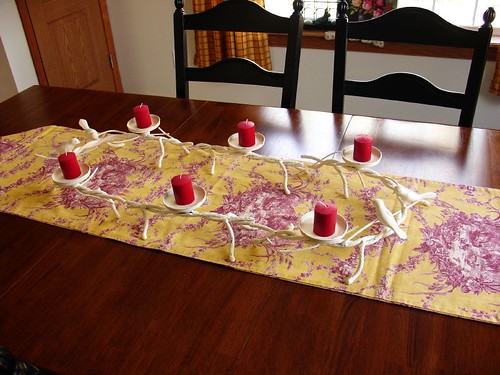
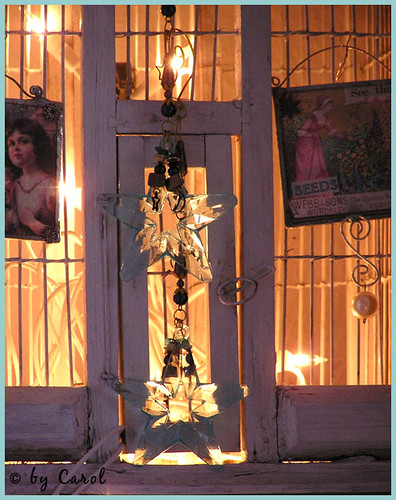
– candles
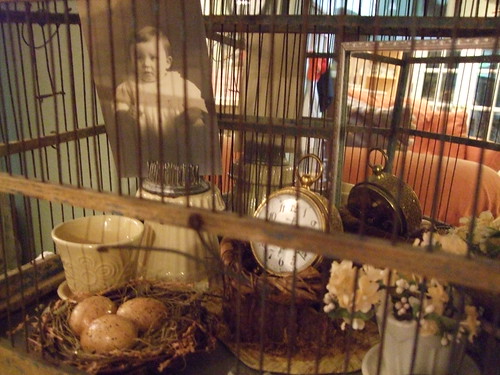
– your favorite collection
– clay flower pots, pretty flowers, plants, or green vines
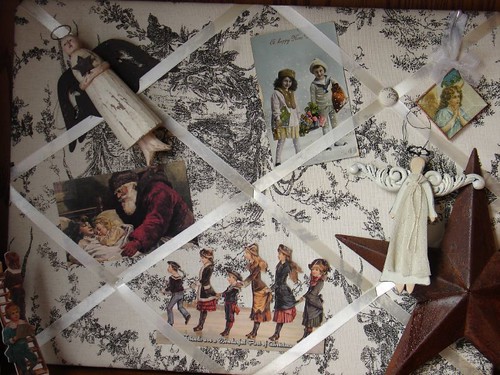
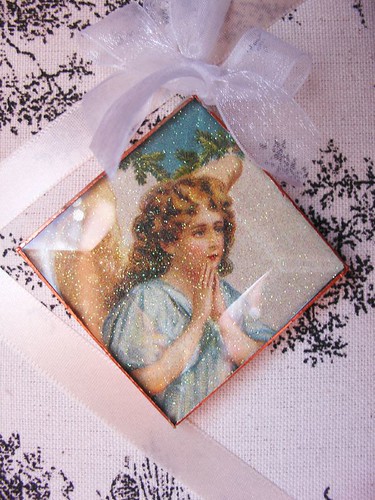
– pictures in pretty frames or placed between the wires
– a lace doily, ribbons, and bows for a shabby chic look
– a stack of pretty books
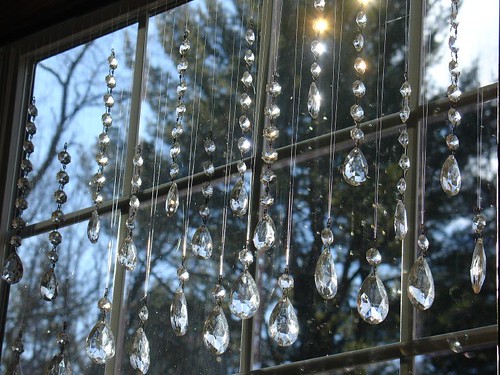
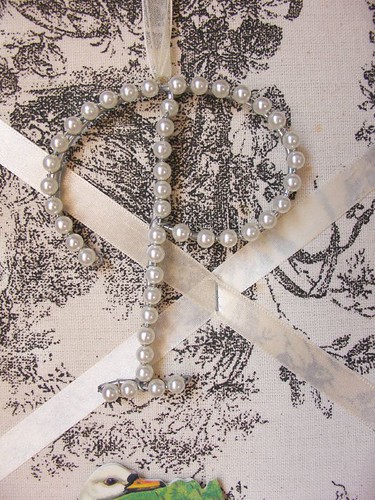
– hang bits of pearls, crystals, broaches, or other jewelry from the wires
– tea cups & pretty plates
– dolls, teddy bears, or other vintage toys
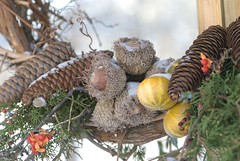
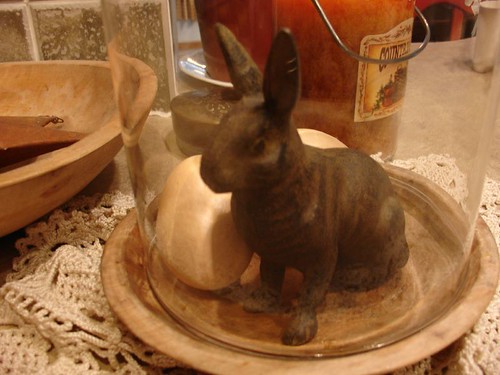
– a nest with eggs
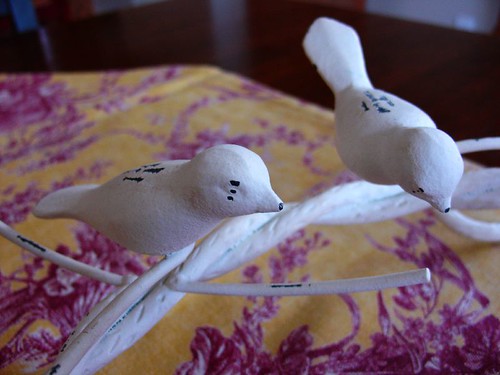
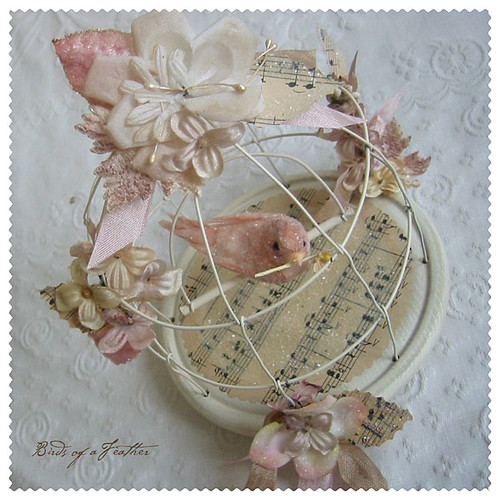
– a little birdie from the craft store
– white lights
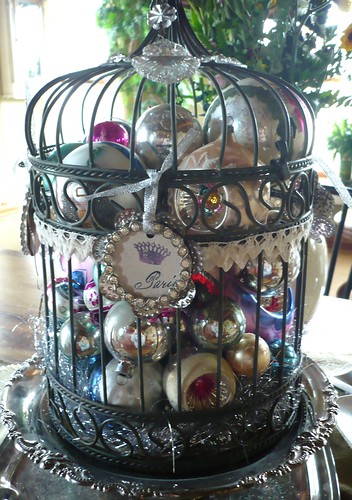
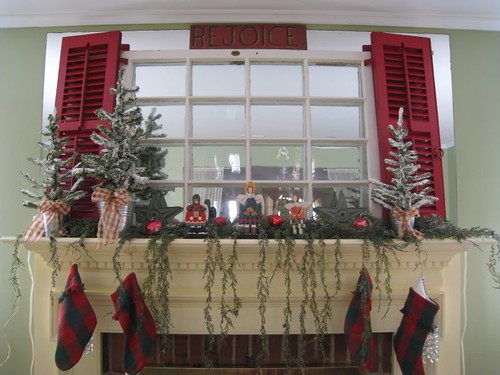
– items for the holidays such as Christmas ornaments, glittery hearts, or flags

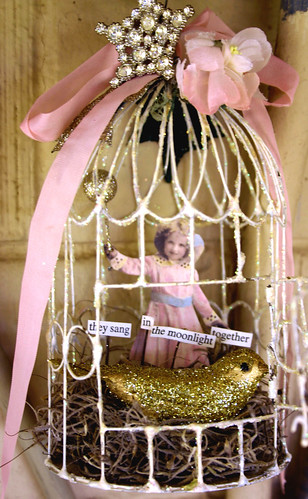
Here are some pictures of how other people have decorated their beautiful birdcages to help get the ideas rolling.

lights in cage

crafted vintage birdcage

birdcages in living room

shabby chic birdcage

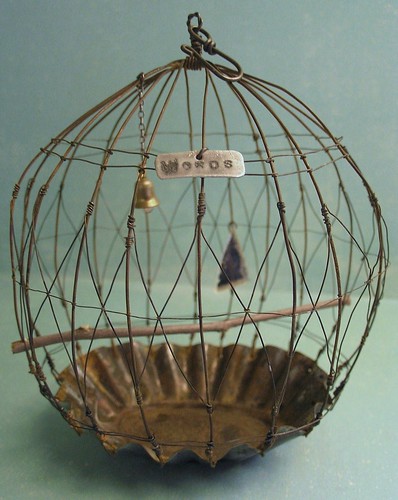
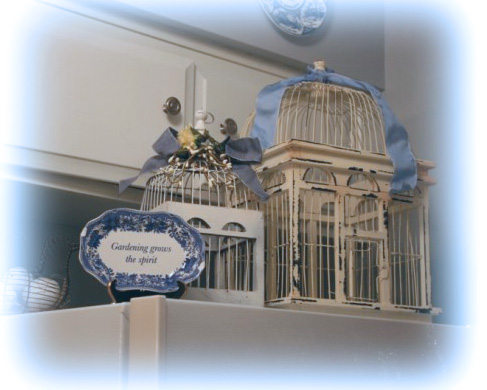
Think of removing the top of an old cage to use as a place to put magazines and things.

close up of birdcage decor

birdcage in the garden

birdcages with candles

birdcages on fridge

bird cage in dining room

tiny birdcage

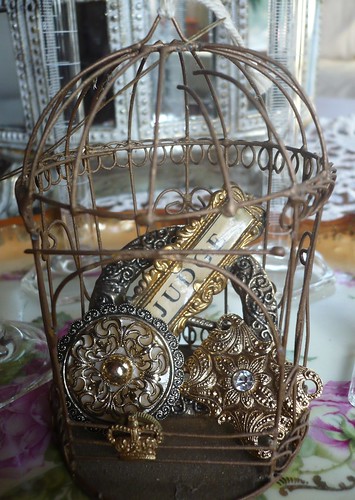
I love the sheet music that was used to line the bottom of this cage for the little singing canary!
decorated birdcage

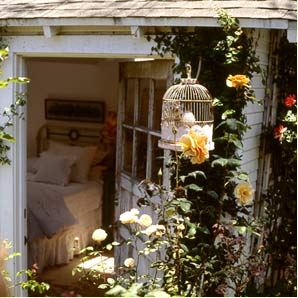
Birdcages in the garden

black birdcage

holiday birdcage

Projects Sent in by Creative Readers

Today I wanted to share some of the wonderful creativity of our readers! I love getting letters & pictures of your projects, so if you have something to share… please take a minute & send it in!

Ingrid sent in a note to let me know that a picture of my little “prim” sheep included in a post about decorating for Autumn inspired her to make her own “paper” version of the 3 sheep to hang on her front door.

Here are our 3 little sheep, which were given to us by some friends.

Crow Sheep Family
Prim sheep Sheep Family

Here’s Ingrid’s letter & a picture of her creative project.

Hi Pearl,
I love your site. I really like your design and decorating style, especially the idea of using what you have! Right on sister. I posted about you on my own blog today, because you inspired me. I had come across your sheep on another blog, they inspired me to make my own version, take a peek!
Thank you for the great ideas and inspiration,
Ingrid

3 little sheep

Shelley stopped by and left me a message after I posted the article about making cinnamon & applesauce ornaments. You probably remember me saying that the ornaments could be used anytime of the year – especially for Valentine’s Day.

Well, here’s Shelly’s note & a picture of her beautiful creations!

Pearl,

Thank you for your wonderful blog. I don’t know how many times I looked at your Christmas decoration pictures. They are inspirational. I had been meaning to make the cinnamon applesauce ornaments before Christmas, but it never happened. My daughter (12) and I made heart ornaments today for Valentines Day. What fun! We had to remind her brothers several times not to eat them (we added a bit of Elmer’s glue to the recipe). The smell is wonderful. Every year she and I host a Valentine’s Day Tea for her Girl Scout friends, and we always have a little treasure bag for each girl to take. This year the cinnamon ornaments will be a lovely addition!

I also wanted to tell you that I found a lovely Christmas quilt (I had been sighing over the one you put over your table) at an after Christmas sale for only $7. I could not believe my luck! It is so gorgeous – and worth the unplanned trip to the mall my teenage daughter begged for.

Thanks again for your blog. It helped me through the long season with five kids.

Shelley


Here are the cinnamon & applesauce decorations that Shelley & her daughter made.
Cinnamon Hearts

Who Says Decorating Your Home has to Cost a King’s Ransom & Your Firstborn Child!

I wanted to share some simple ideas with you, to help get you excited about your home during this new year!

Have you heard the old saying “Necessity is the Mother of Invention”? Well, I’ve always thanked God for the opportunity that I’ve had to develop my creativity in a very special way 🙂

As a teenager, I remember a gal who would go into a very expensive department store and buy a whole room display. Then, she would comment on the “deal” that she was able to get, because she bought the whole thing! Of course it cost thousands of dollars, but to her, it was something that looked beautiful – and it was already “pulled together” for her. For some people, having the “work” done for you is a huge relief, but for some reason, I couldn’t be happy doing things this way! I think it’s because, although the end result is wonderful, for me, the creative journey of getting there is still such a thrill!

For many, the cost factor of “pulling a room together” keeps them from even getting started!

Well, no more!

I’m here to tell you… that you can have a beautiful nest the same way the birds do… by going out and finding beautiful tidbits here & there… and then weaving them together into one beautiful nest!

Something to remember

Your “I found this for only $” might be a very different price point than my “I found this for only $” price!

Example: I was talking to a person who was sharing their excitement about a recent find they had made. It was a vintage pine cupboard that they “only paid $1000” for. Although that was probably a GREAT price for that particular piece, my mind was wandering back to the 2 vintage pine cupboards that I had picked up – one was $2 at a yard sale, and the other was $17 at a local auction. Also, sometimes you find great deals like the ones that I found, and other times… not so much. The point? Use what you have, and find the best deals possible.

For this mantel display I brought in several elements from the cottage garden.
home-decorating

Try to have places around your home, that you can “re-decorate” very quickly & inexpensively.

This helps you put off the urge to “re-decorate” a whole room, while still giving you that fresh look you crave 😉 Here’s a small example from an office in our cottage. I have a few things on a shelf that “speak the same message” – paper weights, black picture frame, a small tin with the same colors as the paper weights, and a black & cream toile covered inspiration board. This shelf changes very often depending on the holiday, season, or my mood 🙂

Office Shelf

This is the space during the summer – but between holidays.
Inspiration Board

Here’s how I changed it up this Christmas.
Christmas Display

I have a box of different paper items, vintage post cards, broken pieces of jewelry, and other little bits & bobs that I can quickly pick through to change up the inspiration board. Keeping pretty little things doesn’t cost any money either! If I get a card that I like, I’ll be sure to keep the front, and write who it was from on the reverse side. Most of the time, people don’t write to much inside of cards but their name, but if they do, you could keep the whole card. I’ve been known to keep gum wrappers (especially the “5” brand – such beautiful metallic colors!), bits of wrapping paper, cut little pieces of calendars, etc., to use in my displays.

Here is a grapevine garland that I made using vines from my yard, then adding a few little clip on birds that I had in my Christmas decorations. Cost? $0
Victorian Home FSBO

In my previous home, I decorated the ceiling around my chandelier by using some bits of craft paint that I had left over, a few pictures that I cut out of a magazine, and some stenciled grapes. Cost? $0
Victorian Home FSBO

You can make a beautiful natural looking display on a table top or end table by grouping several things that “speak the same thing” – such as these clay pots, some plants, an old watering can, a cast iron bunny, and a basket. They all seem to say… life… well, to me anyway 😉
Garden Things Make Nice Indoor Displays

Here is a display made of items that are mostly from the $1 store, thrift store, yard sales, and discount stores. I some of my favorite items that were similar in color & theme. This is a Spring display.
Vintage Pine Cabinet

Here it is in Fall
Vintage Red Cupboard

And last Christmas
Vintage Pine Cupboard Redo

Here’s a little display that YELLS Spring. I used a little greenhouse that I picked up for a couple of dollars at “Big Lots”, an iron bunny, a few plastic eggs, a doily found in the bottom of a $1 auction box, and a picture of roses found at the thrift store for .99!
Bunnies & Blossoms

You might remember seeing the bunny’s sister in the clay pot display or in the picture above? That’s because… I’ve learned, that if you really like a piece like that and you can buy it for a reasonable price, you should probably pick up more than one. That way you can use the second one in other displays around the house.

By this picture, you can see that I decided to pick up more than one iron bunny, and several eggs (they look so real!). Now I have several to sprinkle around the house in different displays, yet they all help pull the current them together.
Bunny Display

This works especially well if the two items have different poses, such as the pair of iron birds that I found for under $5. This display is a close up of one of the pictures above. The shelf was made by my husband, from an old board taken from a wall in our previous 1856 village home when we re-built that section of the room.
Love Birds

Here are some great ideas from others


Here is a beautiful kitchen island – made from a “found” dresser, with an added tile counter top.
Kitchen Island

Here is a beautiful bench made by Connie over at Life at Treetop Cottage. She used an iron headboard that they no longer needed, then added the extra pieces to make this beautiful bench!
Christmas Bench - Trash to Treasure

Here’s an old quilting frame that was turned into a BEAUTIFUL curtain rod from Home Again Vintage Treasures
Curtain rod

In this picture, several discarded suitcases were used as a new decoration – and new storage! Also notice the picture frame on the wall that now holds books!
Trash to Treasure

Look at what was done with this discarded suitcase! BEAUTIFUL!
trash to treasure

So don’t let the fear of getting started – or – the cost that others might pay keep you from pulling together beautiful rooms & displays in your home!

Our readers are so creative! Please share your ideas & pictures of your “nest” in our Home & Garden Forums!

How to Create a Window Display in 15 Minutes or Less!

Christmas Garland in My Kitchen Window

When it comes to decorating for the holidays, or rearranging your home according to the different seasons, some people do not take kindly to change! I suppose it’s because we are said to be creatures of habit, and most people usually like things to remain the same. The minute you try to change things, or decorate differently, you might hear sighs that sound like this… “we can’t do that” or “we always do it this way”!

I’m not sure why, but I love to have things continually changing… especially when it comes to decorating our home! I look forward to creatively using what I have, adding little bits here & there as I find good deals, then bringing it all together to create something beautiful for our family to enjoy!

When it comes to changing things around for the season, one of the easiest & most rewarding ways to bring decorative change is by creating a display in your window. There are several reasons for this, a few being…

1. You can enjoy the display from the outside as well as the inside

2. Because you spend alot of time looking out your windows, the decorations will be a frequent source of enjoyment

3. You can use found objects and items from around your home to create your masterpiece

4. Changes are quick to do – 15 minutes or less

To help keep my decorating items organized, I like to use see through plastic containers for each season. Then, as you acquire different items for use in your displays, simply tuck them away in the box for that season. This will not only help you stay organized, but it will also help you put together beautiful displays in just a few minutes!

Here is one window display example from this year’s Christmas decorations. The window is over my kitchen sink, so I get to enjoy it quite a bit 😉

I like to use some sort of greenery to start with. You could use a piece of pine garland from last year’s decorations, or some of your trimmings from the yard outside. Then, intertwine some of your favorite things around the greens. Here are some of the things that I choose to use.

– Rusty bells – I picked up a bell garland at an end of season sale for $1.50

– Homespun fabric strips – $1 per yard at discount stores

– Berries – $.50 per bag last year – I twisted 3 at a time around the greens

– Pine cones – free from the yard

– Bigger rusty stars – $2 at end of season sale – I added a homespun bow

– Empty candle jars – I save my candle jars, add some homespun, and tuck in a grubby candle

– Wooden butter bowl – picked up at auction in the bottom of a $1 box!

– Red wooden bead garland – bought at end of year sale for $1

– Grubby candles – I pick them up when I find them on sale

Grubby Candle Tip: When you burn a grubby candle, the inside usually burns down faster than the outside. When my candles have a nice center that’s melted down, I tuck a tealight candle inside and light that instead of burning the bigger grubby candle. Now you have the best of both worlds… a beautiful grubby candle, that is lit by a tealight candle. Because you can buy tealight candles in bags of 100-200 for under $3.50 in your local discount store, this helps your beautiful (more expensive) candles last a VERY long time!

Grubby Christmas Window Garland

Because I have a counter right below this window, I decided to keep the display going on each end of the window. Here is the little “end cap” to the decorations 😉

Christmas Display

Vintage Snowman

To finish everything off, I give a few sprays of my favorite potpourri and now everything really smells like Christmas!

Here are a few other windows around our home.

Christmas Window

My Kitchen Rooster

Window Project
How-to for this window project


Ideas From Other Folks

Window display
A shelf made to look like a window display – using a mirror!

Paper garland
I love this simple & inexpensive idea! Simply use some newspaper cut into shapes, and add your tidbits to them! So pretty & so simple!

Christmas Front Door
Have a pair of skates that are not being used right now? Why not use them to make a beautiful creative display!

Christmas Window

Star Garland

Christmas card garland
Using old Christmas cards & some trim

garland

red Christmas

Christmas kitchen window

Make a beautiful Fall Wreath Free by Using Natural Found Items

Nothing says welcome like a beautiful wreath!

hops wreath

Wreaths are beautiful anytime of year, but during the Autumn season, you can fill your wreath with anything found in nature for a wonderful look! You don’t have to spend any money, and using items found around your home & garden, you will have a gorgeous wreath in no time!

I like to start my wreaths out with a vine base. Simply take your pieces of vine, and start shaping them into the shape that you want. Any kind of vines can be used in wreath making. I’ve used both grape vines, and bittersweet vines to make my wreath bases. Using a vine base allows you to simply weave your decorating material into the wreath, intertwining the stems with the vines.

The items that you can use to decorate your wreath with are only limited to your imagination! Here are just a few ideas:

– twigs
– leaves
– acorns
– bittersweet berries
– milk pods
– feathers
– rusty tin wire or shapes (star, heart, pumpkin, crow)
– Indian corn
– small gourds
– dried hydrangeas or other flowers
– berry sprigs
– herbs from the garden
– dried grasses
– cinnamon sticks
– cat tails
– small succulents from the garden
– bird’s nests
– pine cones
– fungi (the kind you see growing on the side of a tree)

Here are some inspiration pictures to help you get started!

pine cone wreath 2

bird house wreath Fall wreath

door wreath

hydrangea wreath

red wreath colorful fall wreath

berry wreath succulent wreath

front door wreath

twig wreath cottage wreath

Decorating for Spring

Vintage Pine Cabinet

Although I love to decorate for the holidays, I never really thought about changing things around during each season… until now 😉

About 8-9 years ago, we decided that someday soon we would move into a different home. We wanted something a little larger for our growing family, and more land for our growing desire for gardening! After we found our property, we went through the process of finding a house plan & building the new house. Fast forward several years… I finally feel settled & excited about decorating & gardening for the future.

In the past, I would normally get in the mood to decorate when the holidays came around a few times each year. Now, in our first year in the new cottage, I find myself thinking in terms of seasons – not just holidays.

I’ve always loved to look through magazines & see the beautiful pictures of homes as they go through their seasonal changes, but I always thought it was to expensive, as well as to much work. Now, however, I have a new philosophy… Why Not?

Even if the only thing you change is a picture, a piece of fabric, or a potted plant, you’re still keeping things interesting & current. And expensive? I should have known better 🙂 I have been known to uncover “many a good deal” in these parts 😉 So… I wanted to share some of the recent changes for the new season. This is our first Spring in the new house – as well as the beginning of a wonderful new tradition… change 😉


My friend bought me these little prim chicks from a favorite prim store of mine.

I love having different platters & bowls to serve our family & guests. When I find one at a great price, I snatch it up quick 🙂 This one was only $6 from a Pier One Sale!

* I just had to dress the rusty tin star with a dash of color 🙂


I love vintage wooden butter bowls – I picked these up in a $1 box at auction. The little bunny is cast iron.


I love these pears! I picked them up for .79 cents. They have such a vintage look with their coat of sparkles.

Inspiration Board

Primitive Angel

Isn’t she beautiful! I especially love her little red lips!

P is for Pearls

A gift from a friend – I love pearls & my name is Pearl 🙂

Angel Ornament

My friend made this little ornament for me. I love the way it sparkles!


I picked up the waverly toile runner for $5 at a local discount store. I want to add some pots of green plants to the center.


Here’s a close up of the little cast iron birds in the table wreath.

I can tell this is going to be fun!! 🙂