I think there is a quiet joy in finding an object that was once used as a workhorse in society, then allowing it rest in it’s later years as an object of beauty. It’s kind of like… turning it out to pasture for everyone to look at & admire.
Boxes are one such object that immediately comes to mind.
Once thought of as simple ordinary storage containers for feed or tools, they have now become objects of great decorating affection!
In doing a bit of research, you will uncover ordinary nondescript boxes that were used for everyday items, all the way to very special boxes made to hold particular items such as; bibles, jewelry, cigars, chocolates, hats, cheese, wine, shoes, and matches.
I thought we’d take a look at some of the creative ways that different people have given ordinary boxes new life in their homes, but first I’d like to share a few ideas with you for your own boxes.
When you’re out at the summer sales, keep your eyes open for boxes. Don’t worry about what they look like right now, because I’m going to give you some ideas to turn yucky boxes into yummy ones 😉
Here are a few ideas:
– You could leave the box as is – just clean it up a little. Sometimes the vintage look is best untouched!
– Perhaps a little color would be nice? You could give the box a coat of paint, a light brushing for a shabby look, or a nice crackled “cottagy” finish.
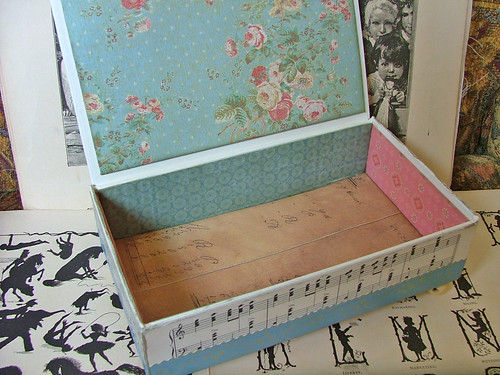
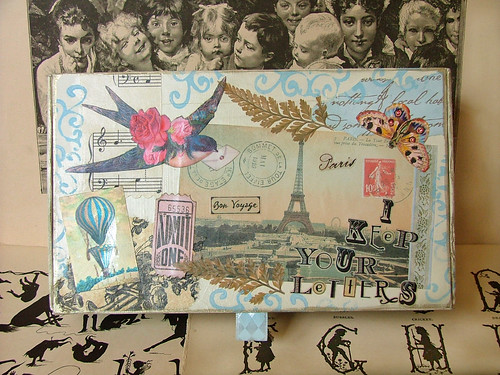
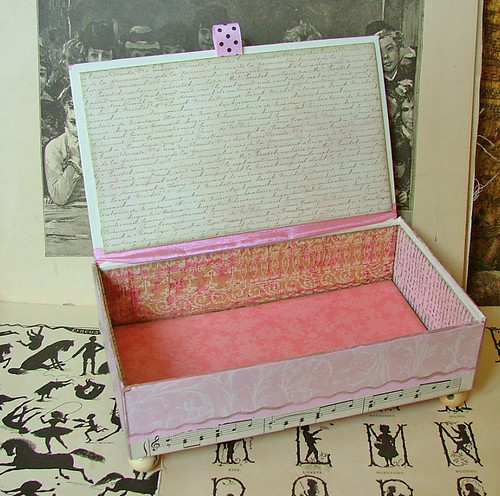
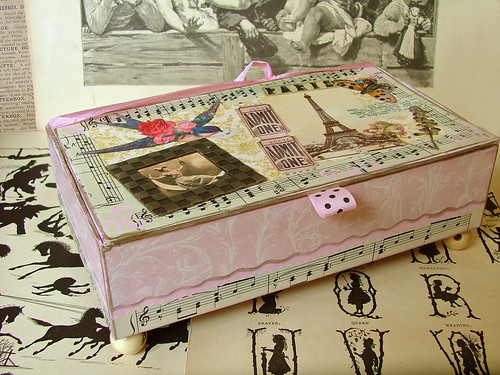
– Maybe you’d rather pull some bits together in a collage? You can use anything that comes to mind with this technique! Here are some things that come to mind right away… wallpaper bits, hand crafted paper, newsprint, old love letters, pages from a vintage book, wrapping paper, pretty tissue paper or napkins, fabric, pictures, ephemera, scrapbook paper, or sheet music.
** If you would like to use music in your design, you are going to love me for sharing this resource! Here you’ll find several music books from the very early 1600s that you can print off for free! I think they would be marvelous printed on some vintage looking paper!
This one is called “Pammelia” and it is from 1609
Here is one called “Deuteromelia” from 1609
The last one is from 1611 & it’s called “Melismata”
At this site you will find thousands of free vintage pictures to use!
Free Vintage Clip Art
Lets peek at the ideas of some other friends to see what they have come up with.
Kris has turned these ordinary cigar boxes into beautiful places to display even a most prized possession!
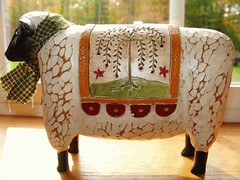
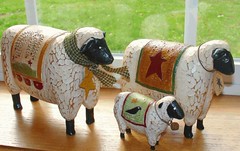
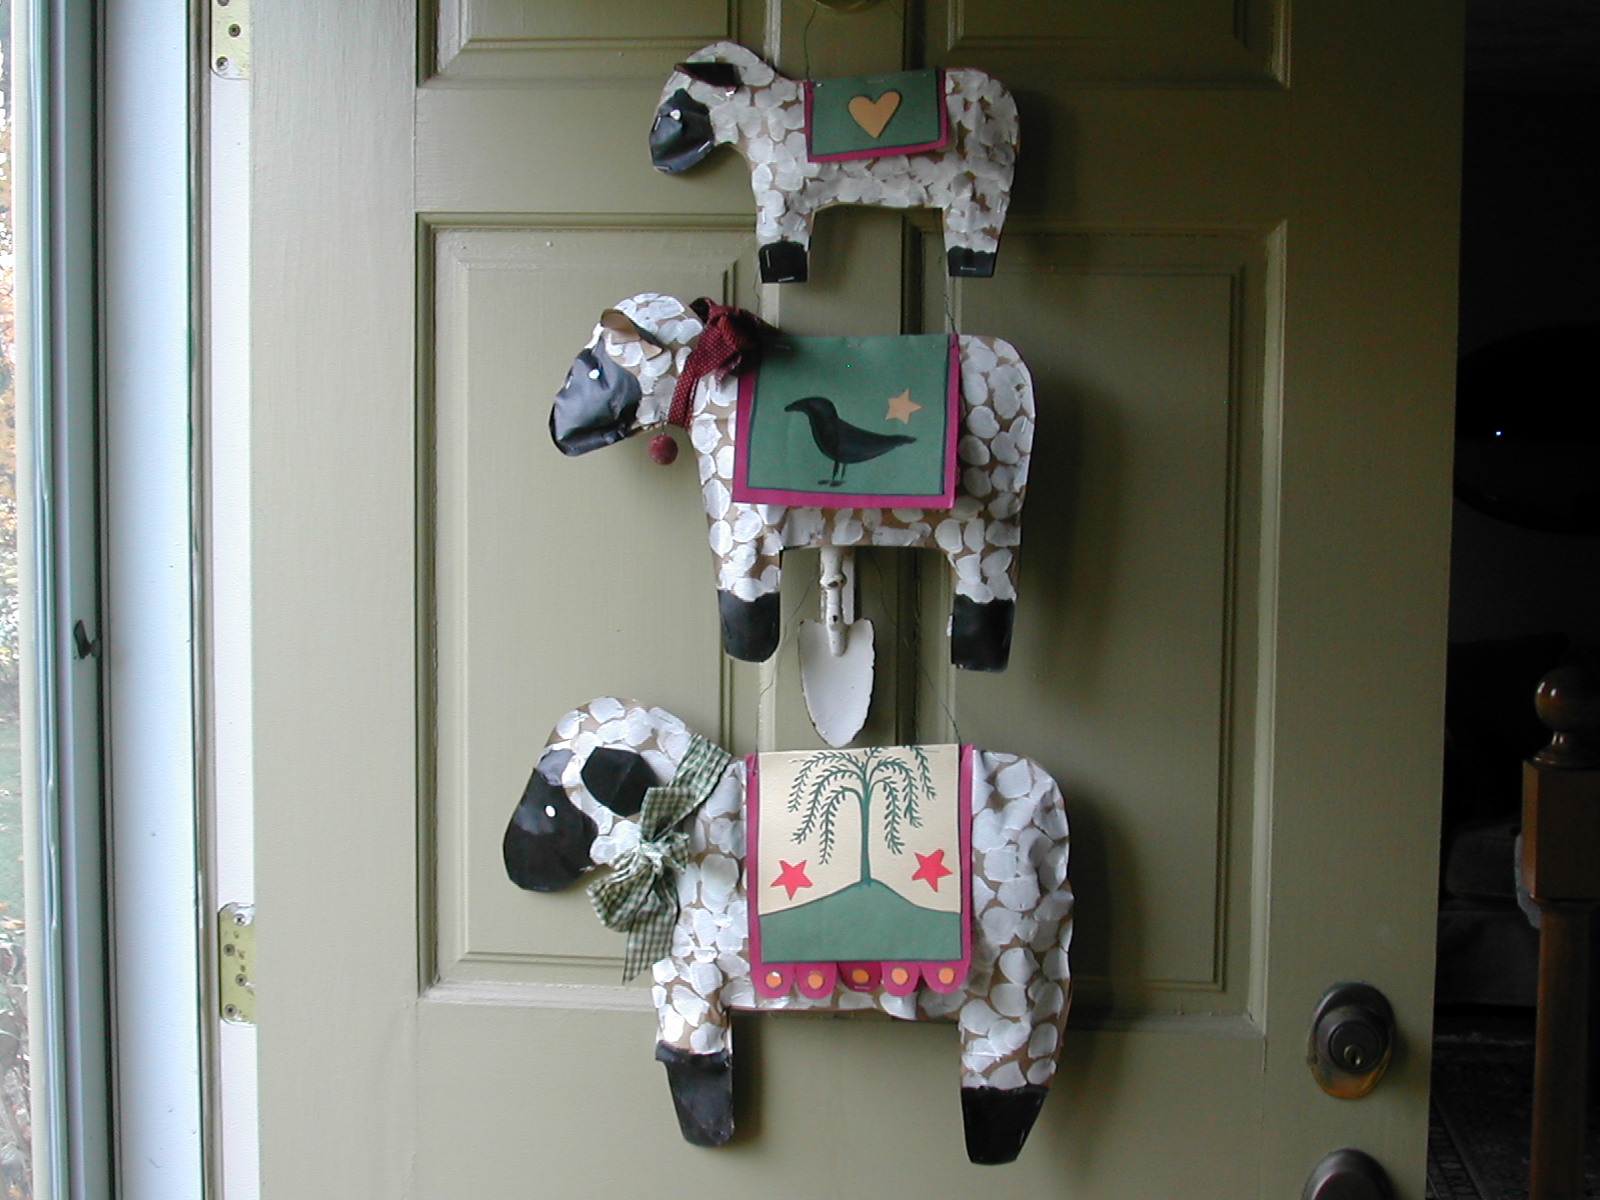
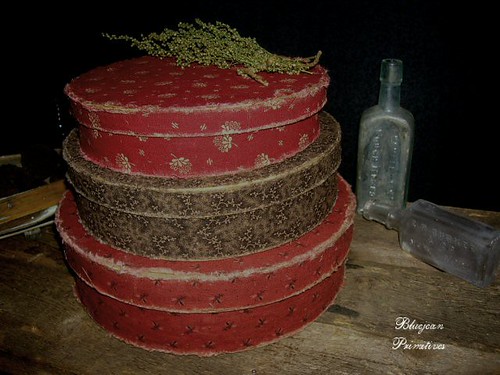
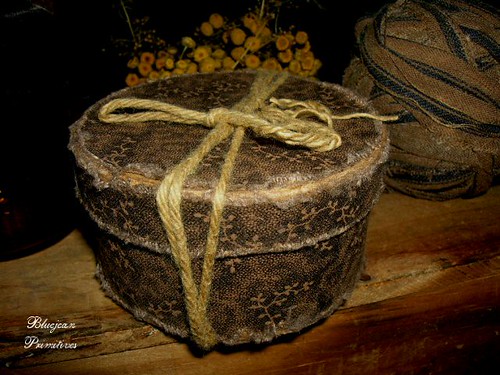
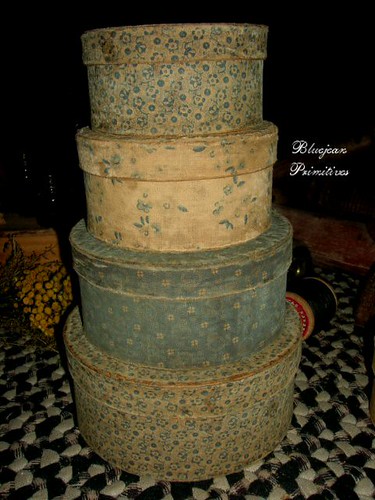
Look what Jean has done with these stacking boxes!
I love the primitive look, so these boxes are “way” beautiful to me 😉 I love how she has made them look like they’ve come right out of an episode of “Little House on the Prairie”!
Look at how Pam has used all different kinds of boxes as storage and as beautiful decor for her open studio shelves.
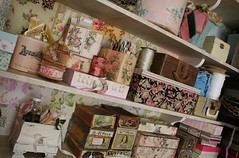
Here, she took a pile of old wine boxes and turned them into beautiful boxes to use on display!
Before
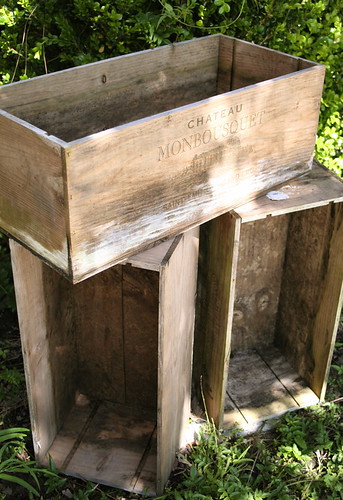
After

Here’ a wonderful little tool box, that now has new life dancing with flowers!
You’ll love poppin’s blog as well!

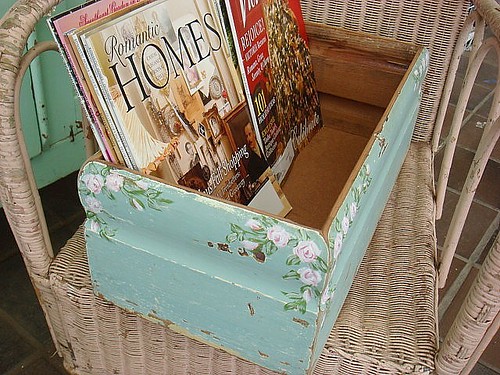
Here’s a beautiful box that Natasha’s father made for her out of old pieces of wood covered in green chippy paint. She uses it to hold her favorite magazines.
One of my favorite things to see in the world of boxes is… the re-purposing of vintage sewing machine drawers. I think about how the sewing machine probably worked so hard for it’s owner over the years, only to be thrown out or replaced by a newer version, when they didn’t have use for it anymore. How appropriate that we at least take the drawers and put them to work in new ways… now to girl finally feels useful again 😉 Silly… I know… but it sounds like a wonderful children’s book 😉
Here Joy puts a beautiful drawer (library drawer) to work as kitchen storage… beautiful storage I might add:)

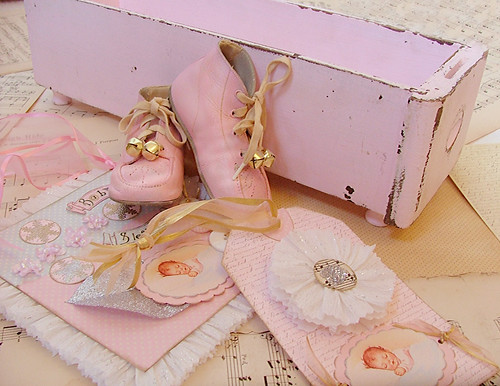
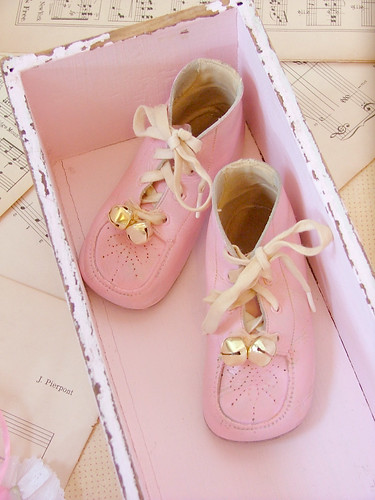
Kris has made her sewing drawer into a place to display her pink baby shoes!
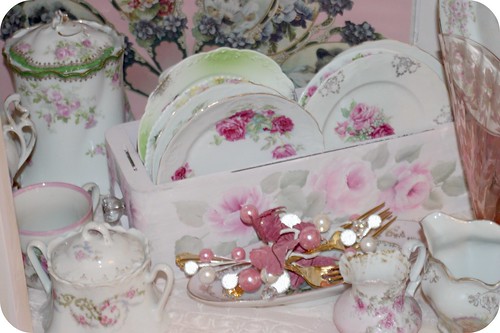
This drawer is used to display china
What a wonderful display idea from Cedar Junction! Isn’t this the cutest!

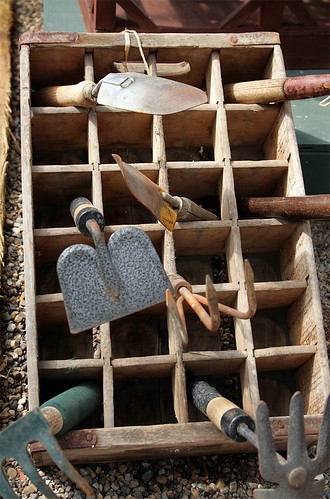
I love this wooden box that has been re-purposed as a perfect place to put the garden tools after a long day’s work.
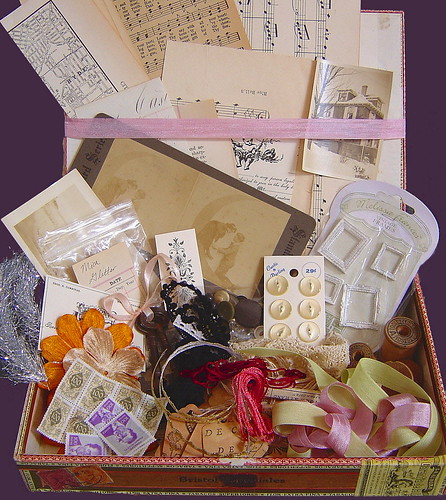
Don’t you love Abbie’s sweet cigar box turned collage supply center!
Moss is one of my favorite “bones” of the garden (along with trees, rocks, and ferns)… so this is a perfect project for me! I love how Sarah captured the beauty of something otherwise so very ordinary, but here in this vintage box… it’s a sight to behold!

** Be sure to tell me about your boxes in the comments below!
Creatively Yours,
Pearl