Living Wreath – How to make a living wreath with succulents

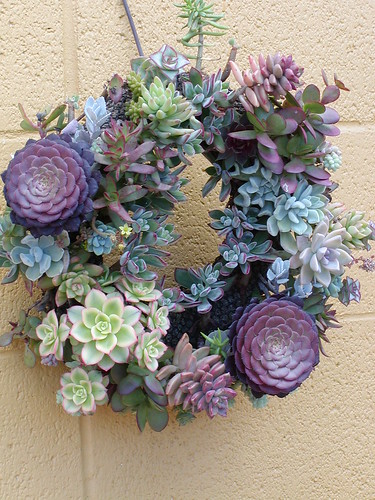
As I was browsing around my favorite local garden center, I spied a brand new shipment of BEAUTIFUL succulents that had just arrived! (I try to stop in often so I can jump on any unadvertised sales, and to see what’s new.)

Well… as I was taking in the beauty and intricacies of each little plant and trying to find a way that I could use them in my home decor, I came to the conclusion that it is time for me to try my hand at creating my own living wreath!

Because you build a living wreath out of different cuttings and not whole plants, it won’t be extremely expensive to create. I will be very careful to buy only those plants that will produce several cuttings for me to work with, which will also help to keep my costs at a minimum.

The types of plants, shapes, colors and sizes that you choose to work with are all up to you & your particular tastes, so you will be able to create something that you will truly love & enjoy for years to come!

Soon, as your living wreath begins to grow, you will be able to take cuttings, which you can then share with a friend, or use to create new wreaths to give away as gifts!

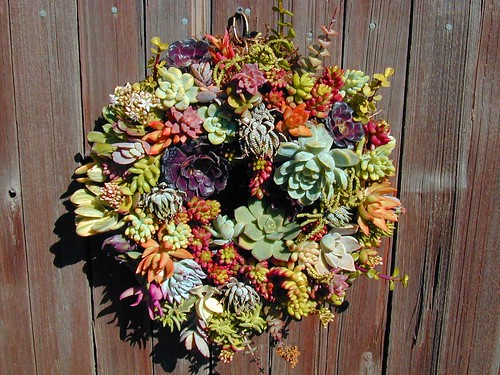
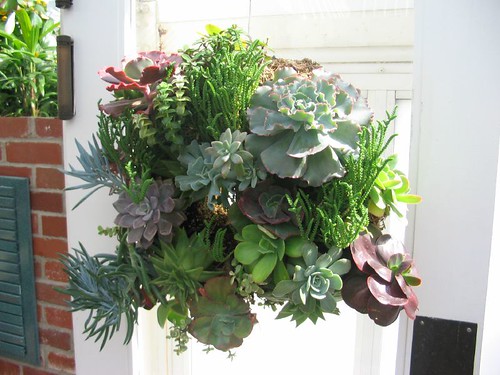
Here are a few pictures to help give you some ideas on how to create your own living wreath.

living wreath

succulent living wreath

living wreath 2

succulent wreath 2

Video – How to make a living wreath using succulents


What is your biggest question about creating your own living wreath? Post it in the comments below, and we will try to answer it for you!

Stone Walls, Cobblestone, and Terraced Cottage Gardens

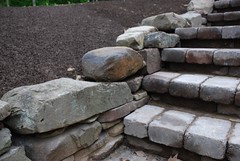
Stone wall and cobblestone steps

When we started working on the landscaping for our cottage in the woods, we were unsure of how to handle the hill that joined the side of the house with our country lane.

Initially I really wanted some stairs leading up to the front door, otherwise we would always have to enter the house through the garage/basement… unless we walked all the way around the hill & up to the front door.

After looking at the size of the project, the price that it was surely going to cost, not to mention not knowing exactly how to go about accomplishing the project, I was afraid that we were going to have to settle for something less that what we really wanted.

But… after going through lots of pictures, and discovering some new ideas to build a set of stairs ourselves, we finally had a new option!

You see, initially we tried to build the steps from stone that we gathered from around the property, but no matter what we did, we couldn’t get them to lay even. Because we didn’t want anyone to catch their toe & trip while climbing the stairs, we had to find another solution.

And we finally it!!!

We would use manufactured cobblestones to build the steps themselves, then use the stone from the property to build the sidewalls of the steps, as well as the walls of the terrace garden.

This would not only allow us to have nice even steps and still give us the look that we wanted, but the cost would also be very low, because most of the supplies would be coming right here from the land!

Lest you have the idea that the job was going to be an easy one… I wanted to start from the beginning to show you what we started out with (of course the land was initially all wooded & my husband & I cleared it ourselves – so even this picture isn’t from the “actual” beginning 😉

You can see where my husband grabbed his trusty shovel and starting roughing in the steps into the side of the hill. You can also see all of the rocks that he was pulling out & putting aside for later use.
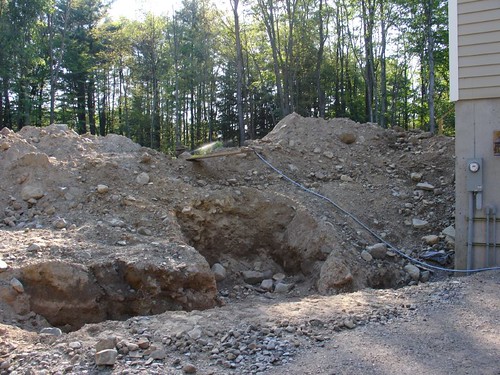
The Beginning of Our Terraced Cottage Garden

After the steps were laid, we starting laying out the stone walls on each side to keep the soil from falling out. We also decided that it would be wise to lay landscaping cloth behind each row of stacked stone, then pile the dirt up behind it. This would keep the soil from simply washing through the front of the walls each time it rained.
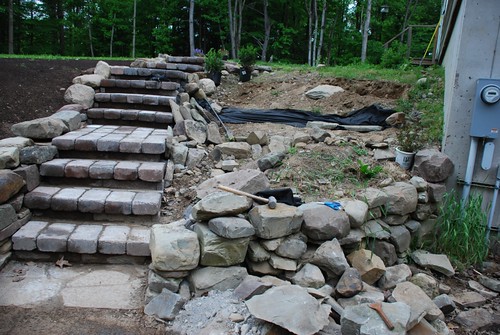
Stone walls, cobblestone steps, and terrace cottage garden in progress!

Now the steps were pretty much laid in and the bottom retaining wall was well underway. You can also see that we were FINALLY able to rake down the soil on the hill in the background – remove all of the stones – and cover it with a layer of top soil to prepare it for planting grass seed.

Stacked stone wall

I love this close up of the bottom retaining wall as it was going up! Don’t you just love the character that stone gives!
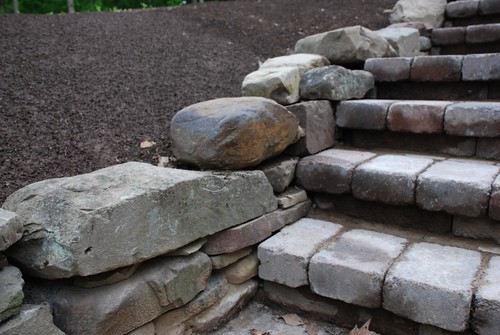
Stone wall and cobblestone steps

The work of laying out a stone wall is not some sort of science, but you do need to take your time & be sure that everything is sturdy & sound.

I love a more natural look to the garden, and wanted things to appear as though they had been there for a very long time!

So… we picked the rocks that would be visible very carefully.

I also LOVE to visit different garden centers & look through the clearance racks for special deals. Last year, I found 20 large boxwood plants for around $1.25 each! I decided to plant some of them between the steps & the cottage garden for a bit of color and structure. You can also see how I started tucking small plants into different cracks and crevices here & there that we left for that purpose. There are so many different varieties of little ground covers, herbs, and sedums that you can use for that purpose.

Terrace Garden Steps

The ivy was another great find! Only $3 per flat, and what’s not to love about ivy & stones together!

Terrace Garden Cobblestone Steps

After lots of hard work, you can finally start to see things taking shape. I’ve designed the garden to have 4 different planting areas.

Level 1. Shrubs such as hydrangeas (the very top)
Level 2. Cottage Perennials – Foxgloves, poppies, garden phlox, etc.
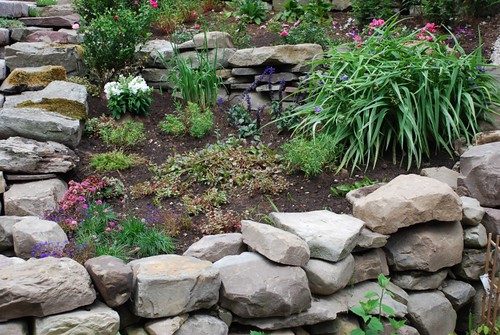
Level 3. Ground covers & low growing plants – sedums, mini phlox, ajuga, etc.
Level 4. Hardy hibiscus (ground level)
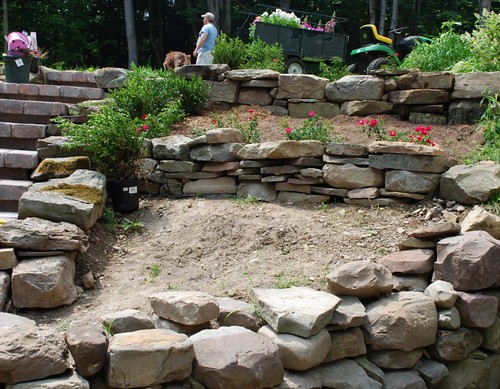
Terrace Garden Spaces

We loaded up some of my plant stash to take up to the planting beds. You can see that the wagon is filled with some of my favorite cottage garden plants!

Terrace Garden Plants

Finally time to plant!

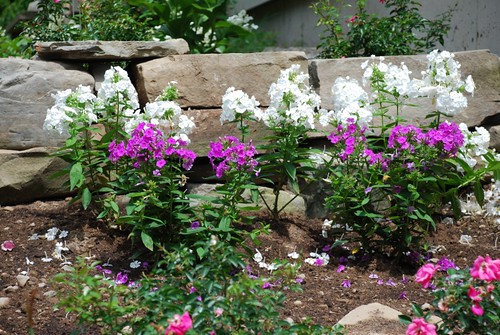
Phlox in front of one of the stone walls

Behind each stone wall, there is also a nice bed of carpet roses. They will bloom all season long, and in no time at all will be approx. 4ft X 4ft… also draping over the stone walls just a bit!

Terrace Garden Roses

Have I mentioned that Foxgloves are some of my favorites!

Terrace Garden Foxgloves

In the next tier down, I planted some miniature garden phlox. I’ve never heard of minis, so I’m really excited about these! I’ve also added some small iris for their nice color & shape.
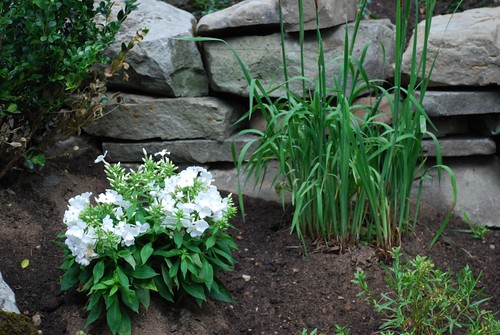
Terrace Garden Plants

Another bunch of roses peeking out from behind the moss covered stones.

Terrace Garden Roses

The large hardy hibiscus were another GREAT deal that I picked up this Spring. We stopped at a local plant sale, and because it was later in the day, they were trying to get rid of things that they still had left (nice tip for you… go to plant sales both in the morning – then go back later in the day ;).

I saw a big box of roots – marked hardy hibiscus. I asked her the price… normally they are selling for $4-$5 each because they are such nice big roots, but we will give you the whole box for $10! Sold! So… I bought the roots in the Spring, but because the garden wasn’t ready to plant until later, the shoots had already started growing – which explains their legginess. Next year… they will be nice & full!

Terrace Garden Walls

A few close ups of some of my plants
Saxifraga – my first ever… and I’m in love! The aroma is heavenly!
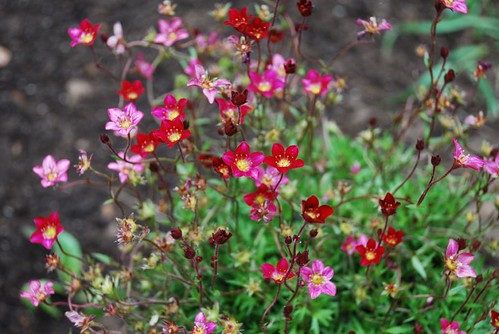
Saxifraga in the cottage garden

Ajuga – some people say…. oh be careful, that plants spreads so much… and I say… that’s exactly why I love it so 😉

Ajuga in the cottage garden

A couple of my pretty ladies (hydrangeas) from the upper level.

Hydrangea

Because I am only planting shrubs in the upper level, I decided to mulch around them to keep the weeds down.
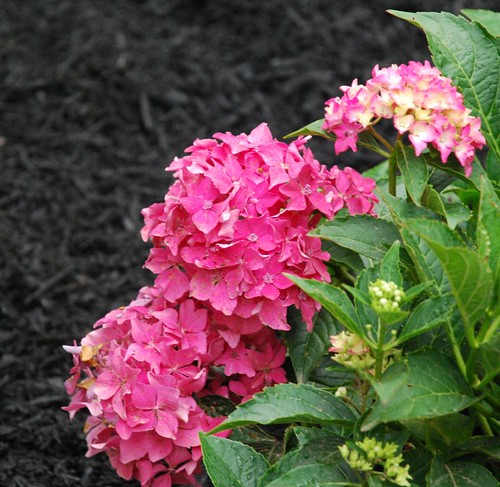
Hydrangea - Pink Mop-heads

Another shot of the lower level

Terrace Garden Lower Level

Our special visitor…

You might remember turtle girl from last year… yes… she’s back again!

This little lady comes to our hill each year to lay her eggs, and this year was no different! Hopefully we’ll see little babies coming out to enjoy the garden soon 😉

Terrace Garden Visitors

Even though our garden is only a few months old, we already see such growth in the plants, and we are all enjoying it immensely!

Was it worth all of the heavy work? You bet it was!

I will be sure to keep you up to date as to how this garden is coming along, as well as the other gardens that are currently under loving construction throughout the forest 😉
Decorating Pumpkins Without Carving – Making Beautiful Harvest Displays

Decorating Pumpkins Without Carving

vintage carriage deocrated for fall
Picture by Joy – stop by her Flickr page!

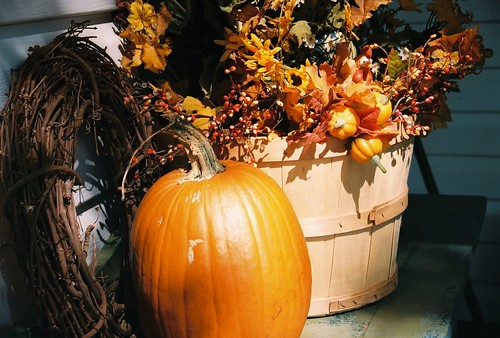
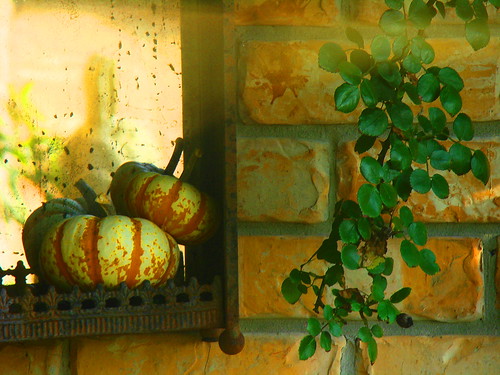
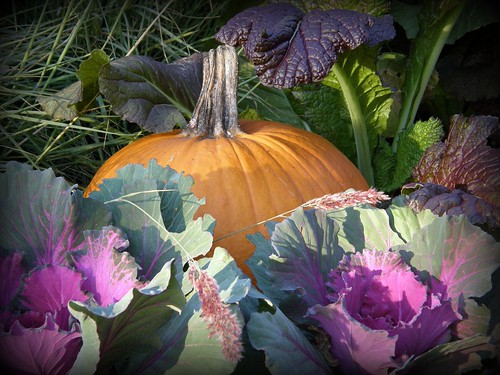
Today I wanted to share some more ideas for using pumpkins to decorate your home & garden without having to carve them.

There are so many ways that you could choose to decorate your home for the season. For some reason, when it comes to fall decorating, many people think about the “dreaded” carving day, when they will have to display their talents (or possible lack thereof) for the whole neighborhood to see. Thankfully, there are many beautiful options available to you, where you will never even have to take out that knife 😉

Look at the beautiful displays that some of my creative friends have put together!

From (Joy), the same gal who shared the above picture. I love how her friend has used so many different fall items such as; pumpkins, guards, bittersweet vine, colorful leaves and sunflowers, to fill this vintage baby carriage. This display is so “storybook dreamy”!

fall decorated baby carriage

By pulling together some of your favorite bits of Autumn, you can make your home & garden the talk of the town! The best part? Most of these items can be found free by using things from your garden, and your decorating closet.

Here are some items that you could add to your fall display

  • Indian corn
  • leaves
  • bird houses & cages
  • clay flower pots
  • dried flowers
  • wreaths
  • watering cans
  • baskets
  • garlands
  • mums & other fall flowers
  • pumpkins, gourds & other squash
  • rusty things (don’t you just love rusty things 😉
  • branches, twigs, and vines such as grapevines & bittersweet
  • acorns, pinecones, moss, seedpods, and other dried bits from the woods


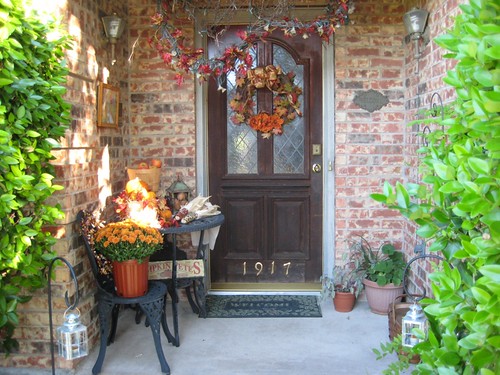
  • front porch autumn

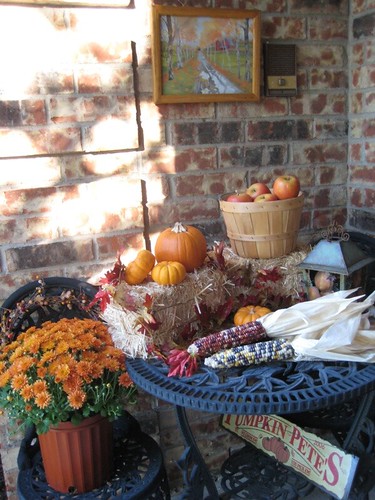
    fall decor

    fall decorating

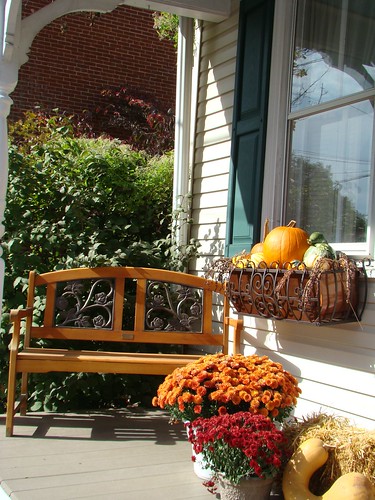
    porch pumpkins

    fall wreath

    A simple scattering of pumpkins & goards here and there makes everything feel so festive!

    yellow pumpkins

    decorate with pumpkins

    cat and pumpkin

    cottage garden pumpkin

    fall pumpkins

    The newer white pumpkins that are showing up at farm stands around the countryside are simply stunning! They are great for decorating with, because the eggshell color goes with just about anything… even this cute little doggie 😉

    white pumpkin

    How about a pretty ribbon around the stem of the pumpkin to make is even more dazzling!

    white pumpkin

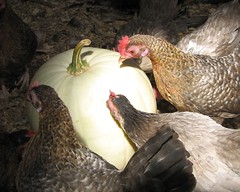
    And… I think these girls are enjoying the newer white pumpkins as much as I am 😉

    chickens with white pumpkin

    Garden Sheds Offer a Unique Focal Point in Your Cottage Garden

    cottage

    I wanted to share a recent letter from our email bag. Bill needed some help coming up with a few creative ideas for his new cottage garden project. He is trying to pull together a little cottage garden complete with raised beds and a Victorian style chicken coop, where an old above ground swimming pool used to be.

    As I share with Bill, I hope a few of these ideas will also give you the creative boost that you need to get started on your own garden projects!

    Pearl,
    I enjoyed seeing the display of boxes. I have made a couple of Halloween boxes out of cigar boxes. They were appreciated. We have a church auction in October and I plan to make more boxes.

    Help me out here….I have an 8′ x 10′ garden shed that has been used for chickens and is currently occupied by rabbits. I would like to re-paint it and decorate it in a Victorian style.

    We recently removed an 18′ round above ground pool from the yard. I am making two 4′ x 8′ raised beds to put in this area, and I will also be using some wrought iron type fencing with it.

    Any decorating ideas would be appreciated.

    Bill


    Dear Bill,

    When you’re starting from scratch, you have so many wonderful options! You could do just about anything you can imagine to your little building!

    Here are a few ideas to get you started.

    You could…

  • Simply give it a pretty coat of paint

  • Paint a mural on the outside to make it look like a victorian house

  • Add a few wooden elements from an old Victorian house (can be found at salvage yards)

  • Put in a few stained glass windows – or paint the current windows with glass paint to look like stained glass windows… you can’t tell the difference from a short distance!


  • South side


    Inside view of window

    Closeup of right front window

  • Add a pretty front door, which you’ve painted a pretty color 😉

  • Add some wooden window shutters

  • Add a cupola on top

  • Put shingles, recycled slate, or tin on the roof

  • After you paint, add some white picket fencing around the outside of the building (you could nail it right to the sides)


  • Garden Shed with Hanging Tipsy Pots by snowbunny

  • Add a few window boxes & fill with pretty flowers & climbing vines such as morning glories

  • Add a few stones around the front to plant a “little cottage garden” inside

  • Lay down some flagstones for a cobblestone path

  • Make a little wattle fence to go around the Victorian cottage

  • If you don’t have any windows, hang up an empty window frame & treat it like a real window

  • Don’t let the fear of the “expected price tag” keep you from getting started with this wonderful project! Many times, you will be able to get these elements for free or very low cost if you think creatively!

    Here’s where to start:

    – Yard sales
    – Flea markets
    – Salvage yards
    – CraigsList.com
    – Free section of newspaper
    – Along the curb (many times you’ll see a free sign)
    – Beside a dumpster
    – Construction sites, they will usually let you have discarded items free!
    – Check with your local township to see what houses are scheduled to come down in your area, then go have a look & see if you can use anything in your project… ask for it 😉
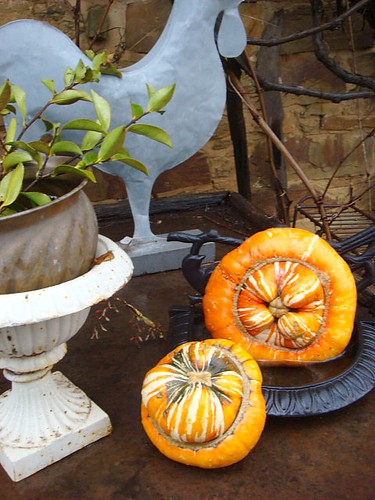
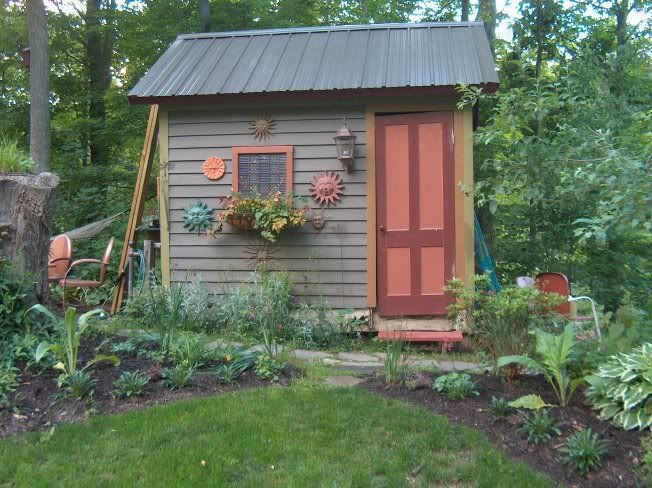
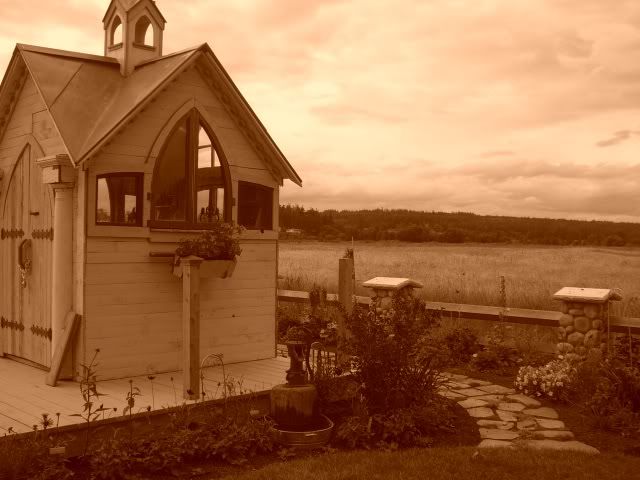
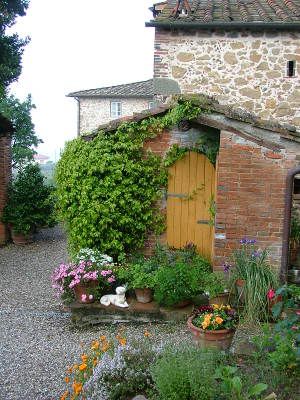
    Here are some more beautiful pictures of Garden Sheds to give you even some more ideas!

    My Dream Garden Shed

    garden shed

    Garden Shed

    garden shed chapel

    Garden Shed

    Bonnies potting shed with window

    Here is a very tiny house (used as a light in the cottage garden), that you can quickly gather ideas from.
    Victorian Cottage

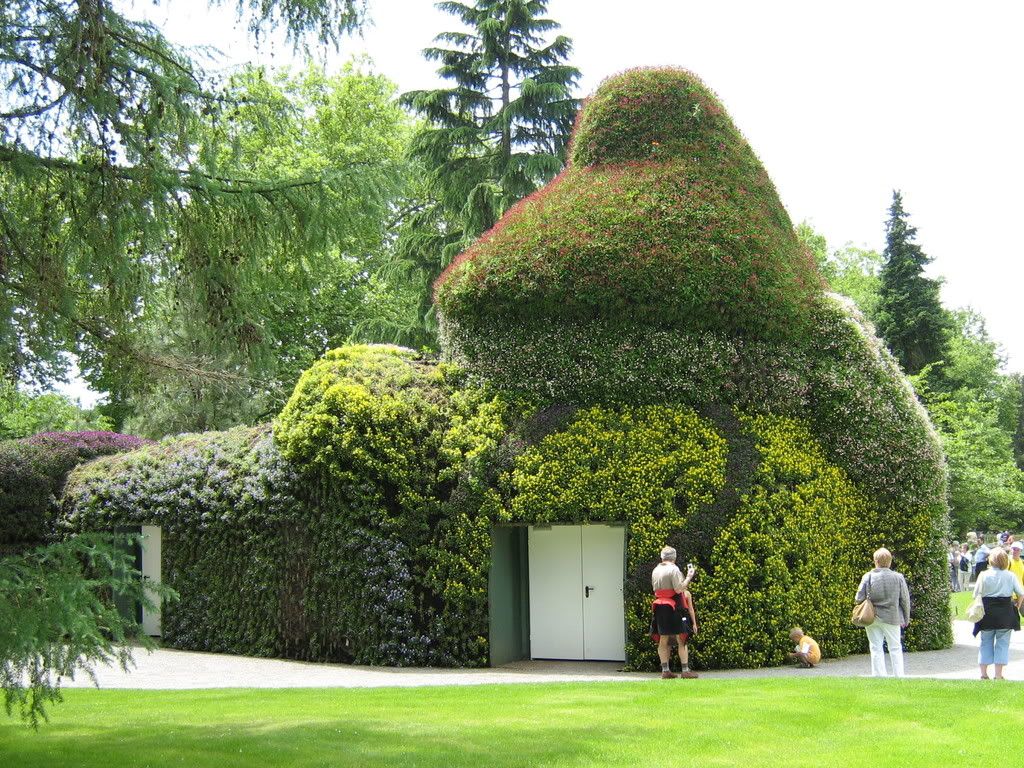
    And… if all else fails & you can’t decide what to do with your garden shed… try this 😉
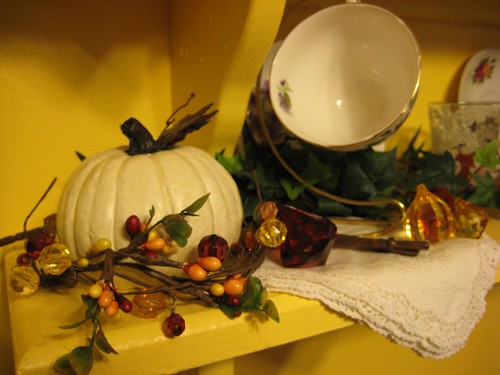
    GardenShed

    Come Journey With me Through a Secret Garden

    Once upon a time…

    There was a beautiful garden, found tucked away, deep in a wooded valley.

    Journey with me through this wondrous secret garden treasure.

    This is the story of Longwood, as seen through my eyes…


    * All pictures by Pearl Sanborn

    I was very thankful to be able to spend the day at Longwood gardens with my parents, and my daughter. We had such a wonderful time, and the day could not have been more beautiful!

    I highly suggest that you spend the day at Longwood, should you ever have the chance. I’ve been able to visit during 2 different times of the year, and so far, Spring is my favorite! BUT… if I lived closer, I would get the yearly pass, so I could visit very often!

    Because the gardens & greenhouses are situated on 300 acres, I would suggest wearing a pair of your most comfortable shoes. I would also suggest bringing; sunscreen, a bottle of water, your camera, and a friend to share the day with!

    Longwood Gardens
    The Story of how Longwood Began

    Peek Through my Window

    Office View - Beautiful Fall Leaves!

    I don’t know how it is in your bit of the world, but in our little forest & surrounding village, the landscape is starting to become radiant with color. It’s almost as if a painter is standing above us, and with quick strokes of his brush, he’s changing everything around us into large swatches of deep reds, chocolate browns, and bright oranges!

    Today, as I was “working” at my desk, I became captivated by the color I gazed out of my window! I’ve been watching the trees, and they have been subtly changing as we dive deeper in the Autumn season, but today, they are suddenly bursting with extreme color!

    I am so thankful that I am able to be surrounded with such abundant beauty. But, I have to admit, sometimes I do become distracted by the view (I can’t seem to help it 😉

    River in fall
    Click for a better view of the river

    Just today I have witnessed…

    – A mother deer & her two babies wandering around the forest, and grazing down by the river.

    – Several wood peckers dancing up and down the trunks of the tall trees.

    – Little creatures such as chipmunks and squirrels, carrying their treasures back to be tucked away in some secret nook or cranny, that has now become their winter pantry.

    – And a flock of geese flying so close to my window, that I could actually see what each one looked like.

    Our days pass by so fast…

    How do you know what your life will be like tomorrow? Your life is like the morning fog it’s here a little while, then it’s gone. James 4:14

    So lets enjoy each day to the fullest!

    Now, back to work 😉