Italian Toast Recipe – Great Anytime of Day!

Italian Toast Recipe
There’s something so beautiful about simple fresh ingredients being brought together, to create delicious
meals for our families.

There are some ingredients that I love & wouldn’t mind enjoying every day (I know you probably
feel the same way)! This recipe brings together some of those favorites, and I know that you &
your family will love it as much as we do!

We’ve enjoyed this simple little recipe for many years, and have affectionately named it “Italian Toast”. And,
although you may think of “toast” as being a breakfast food, this meal is equally delicious any time of day!

  • It all starts with a toasted slice of your favorite bread
  • On top of that, add some slices of garden fresh tomatoes
  • Now add some of your favorite cheese {fresh mozzarella or aged provolone are nice}
  • Season with some Italian spices {oregano & basil for sure}
  • Sprinkle with a pinch of garlic, and some freshly ground pepper & sea salt
  • To add the finishing touch, drizzle with some extra virgin olive oil
  • Broil in the oven until the tomatoes are warm, and the cheese is bubbly
  • Two slices make a meal, so be sure to make enough for everyone!

Enjoy!

Pearl

comment

Angel Wings Tutorial – How to Make Beautiful Angel Wings Free!

Make these beautiful angel wings with things you already have around the house!

I just love angel wings, and they are all the rage in decorating right now. The only problem is, when you actually find some wings that you like (from Pier 1 for example), they cost WAY MORE than you want to pay!

I came up with this idea as we were preparing to decorate the stage for our special Christmas services. We needs some very big angel wings, and I wanted to find a way to do it using things we already had.

They turned out really nice, so I wanted to share the tutorial with you, so that you could enjoy some angel wings in your home this season… while not spending any more money on decorations 🙂

Step #1: Decide How Big You Want Your Wings

Because we are using our wings as stage props, I wanted them to be a nice size, so that everyone could see them. We decided to make ours 7ft X 4ft, but you can make them any size that makes you happy! You need to have some sort of backing to build your wings on. We had a piece of painting drop cloth laying around, so we used that. What do you have that you’re not using? A piece of cardboard, heavy cloth, drop cloth… use what you have available to you.

Step #2: Choose Your Favorite Shape of Angel’s Wing

I looked at all kinds of pictures online (mostly in google image search) to find a shape that I really liked.

Step #3: Trace The Shape Onto Your Backing & Cut it Out

Angel Wings Tutorial

Step #4: Turn The First Wing Over & Trace it Out For The Second Wing (if you want 2 wings)

Angel Wings Tutorial

Angel Wings Tutorial

Step #5: Make The Feathers

I decided to use regular brown craft paper, but you could use brown paper bags, newspaper, or any other paper you might have.

Angel Wings Tutorial

– Cut strips of paper with a scalloped bottom edge
– Scrunch each one into a ball to give the paper lots of wrinkles
– Open it back up & try to give the center a little crease, so it will stand out more & look more like a feather

Angel Wings Tutorial

Step #6: Hot glue each strip of paper to the backing, beginning with an outer edge first. Glue one side, being careful to let a bit of the paper hang off the edge so you don’t see the backing. Then pull the paper towards you a little bit & hot glue the other side. The reason you’re not going to simply glue them down flat, is because this technique gives the appearance of a creased feather instead of a flat piece of paper.

Angel Wings Tutorial

Continue adding as many layers as you’d like. For the size of our wings, 3 long layers and a few short ones looked best. As we got to the top, we just angled the feathers a bit more to look like a wing.

Angel Wings Tutorial

Here is one of the wings all put together. It’s so tall my son can barely hold it up high enough!

Angel Wings Tutorial

Step #7: Decide What Finish You’d Like to Have
You might want the look of newspaper print, in which case you wouldn’t have to have any additional finish. Or, if you want a solid color, you could apply a full coverage of whatever left over spray paint you have. You could also add some glue & glitter around the edges for a nice touch.

Angel Wings Tutorial

We wanted sort of an antique look, so we opted to only highlight the feathers with some off white spray paint, then hit them with some translucent gold glitter paint.

Angel Wings Tutorial

Here’s a close up of the little hint of gold sparkle.

Angel Wings Tutorial

We love the way the finished product came out!!

Angel Wings Tutorial

Send us some pictures of your wings ~ we’d love to see them!

Everyday Blessings and The Beauty of The Season

Did you ever enjoy a day so much, that you wish you could live it over & over again?

Well, for me, today is one of those days!

From the moment I got up, I feel like I have been enjoying a blessing “overload”.

I woke up with a thankful heart for my family, our home, and our life together. So after I took my daughter to work, I decided to go for a drive around our little village and take in the quiet beauty, and spend some time praying as we often do early in the morning. And today, like most days, I couldn’t help but be filled with gratitude for the many blessings in my life…especially the little things.

So many times people wait until they get some big answer to prayer to be thankful, but I have learned to be thankful & enjoy the smallest of blessings that I receive from the Lord. I often tell people that sometimes we just need to slow down a bit, so we can become aware of the beauty of the blessings all around us.

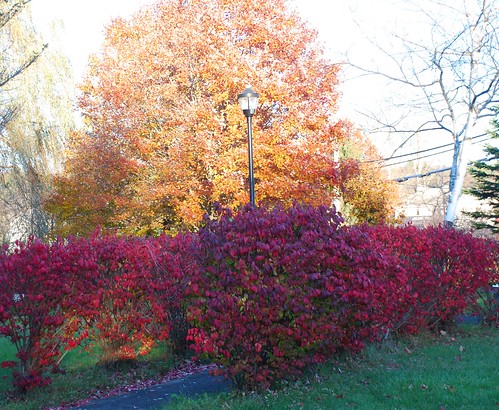
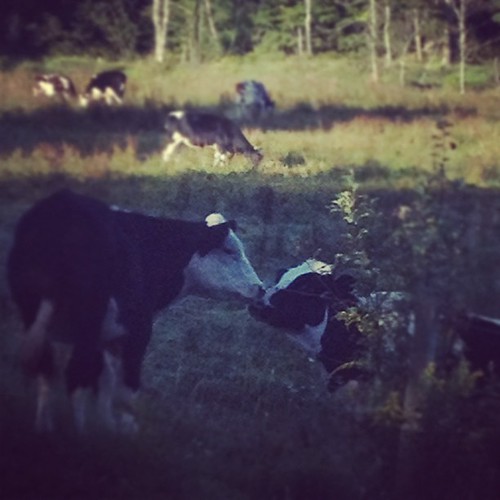
We have so many beautiful places around The Queen Village, and because I am particularly fond of the countryside, I decided that this morning, my drive of choice would take me around the rolling hills & country farms. And as I was coming around one particularly sharp curve, I noticed a larger black object up ahead, and knew I needed to slow down. As I got closer, I realized that the black object was a curious little calf that had somehow worked her way outside of the safety of the fence (just look at those lashes!).

Baby Calf

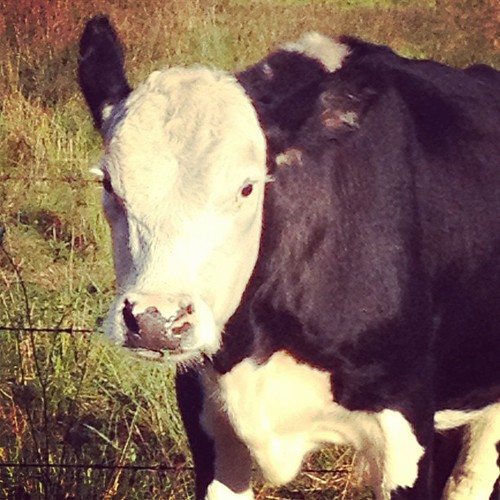
Thankfully, her momma was walking right beside her showing her the way back into the fold. I just couldn’t help but sit there and watch this little family working together to find a solution to their situation. It was truly beautiful to watch.

Momma Cow Helping Her Baby

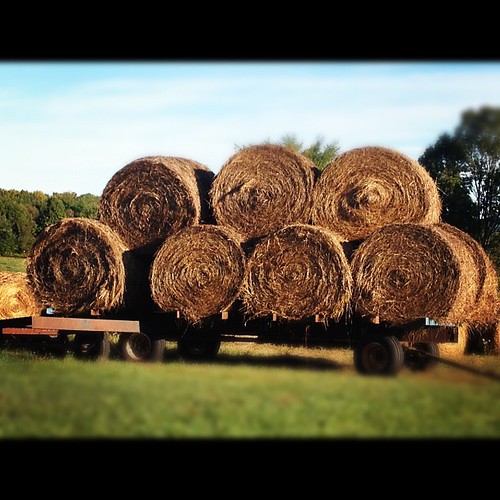
With a heart now warmed from the love of mother & child, I was free to continue on my little journey. And as I came upon the next field, I spied a farmer who was already well underway with his harvest of field hay. And you know… there’s probably nothing quite as beautiful to a farmer than seeing his field dotted with bales of hay, and knowing that because of his hard work, all will be well throughout the winter months.

Farm Living - Hay Bales

The sun was shining, the birds were singing, and I was taking my time enjoying it all, as well as feeling a bit like Miss Daisy, except I was driving myself…which is why I was sure to pull over & let the 2 or 3 cars pass that were in a bigger hurry than I was 🙂

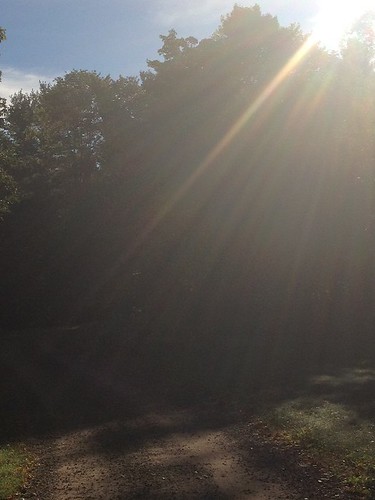
After I was finished with the morning drive, I was finally nearing the hill that would reveal the beginning of our country lane, which winds 750ft deep in the forest. And as much as I love to take in the beauty of the surrounding countryside, there’s nothing that warms the heart more than coming home.

As I started down the lane, through the almost blinding rays of sunlight that were now beaming through the forest, I saw a familiar little flicker of white.

Rays of morning sun

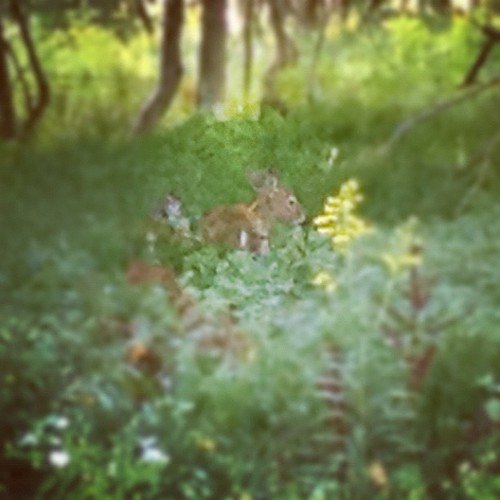
Sure enough, our little family of deer where already up and about, and the triplets where frolicking around in the tall grasses near the forest edge. We have a few different families of deer that share the forest with us year round, as well as several small herds that stop to nibble & drink as they are passing through. Almost every year we have a birth of twins in the spring, however, this year we also had a set of triplets…something we’ve never had the pleasure of seeing! I don’t think they even noticed me as I sat quietly watching. I watched until they were so tuckered out from playing, that they found a cozy spot under the trees to take an early morning nap.

Baby Deer

After catching up on some work in the office, I heard what sounded like someone walking down our front path, so I went to the window to see who it might be. There to my surprise, was a cast of characters like I haven’t seen yet this year! For no apparent reason other than for my enjoyment, the front forest was now the backdrop, and the front yard now the stage, for the theatrical production of “Nature Ah La Woodpecker”!

There were so many woodpeckers of all different varieties including 3 of the ever so majestic Pileated woodpeckers now performing on the large maple tree, and the 5 beautiful red belly woodpeckers doing their little song & dance right on the front walk! They were singing back and forth to each other, as they danced between the stones, stirring up the ants. Then, they would quickly eat to their little heart’s content. And the show wouldn’t be complete without the ever so tiny hummingbird Mr. Ruby Throat, who was flitting back & forth, showing his acrobatics on the phlox. The lyrical dance of the butterflies & dragonflies, the chipmunks in the center ring, and the accompanying chorus of other birds and insects made the show complete.

I just couldn’t stand it any longer, I had to go out & give my applause in person… but before I walked out the door, I grabbed my basket so I could gather a few tomatoes as I passed the kitchen garden.

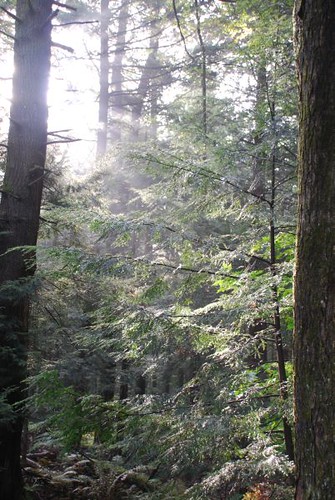
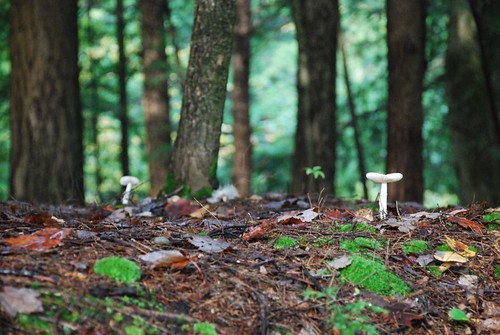
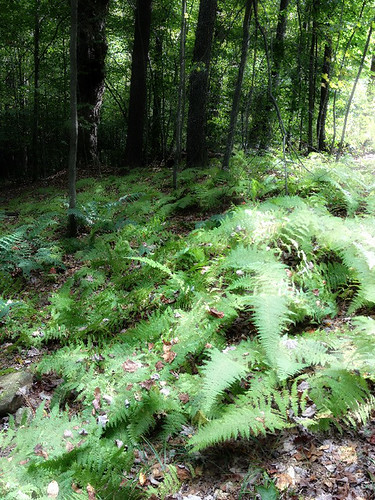
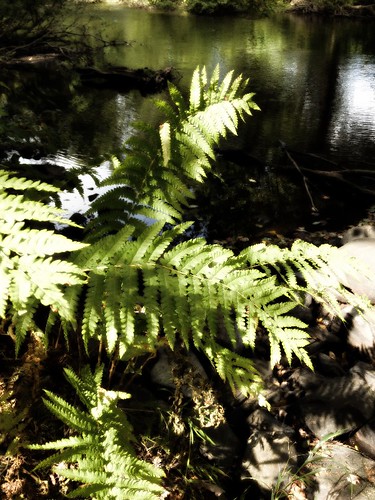
Once the show was over, I took a walk through the back forest to see what might be happening there. The sunlight dancing on fern hill is always quite a sight to behold!

Fern Hill

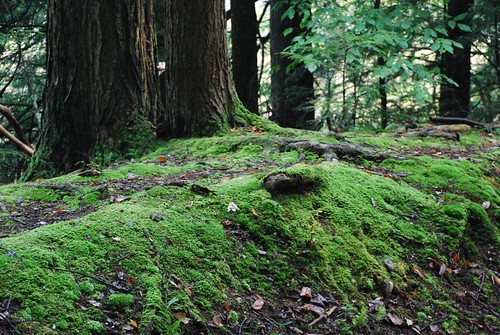
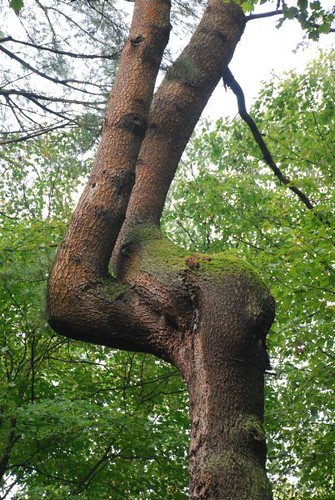
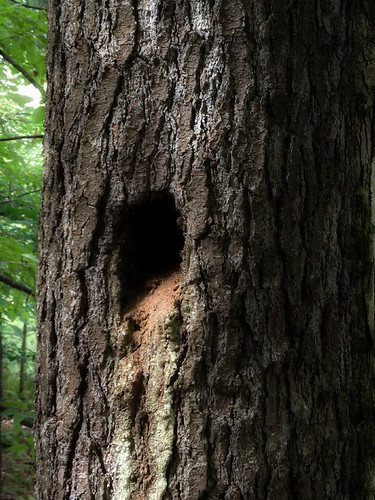
No matter how many times I see them, I’m always amazed at the shear size & beauty of the forest trees. And this morning they looked particularly dashing standing there in the spotlight.

Forest Light

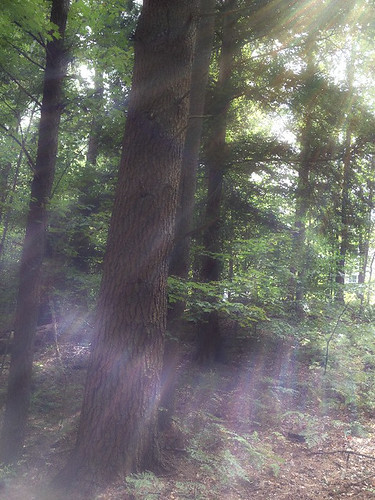
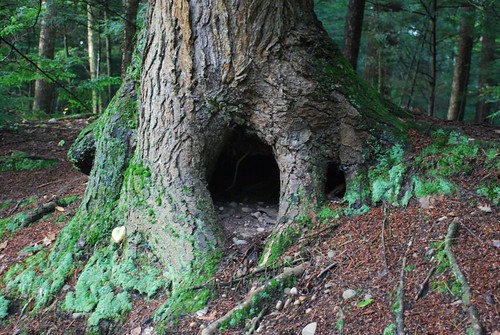
Others enjoy the trees with us…but for obviously different reasons 🙂

Woodpecker Hole

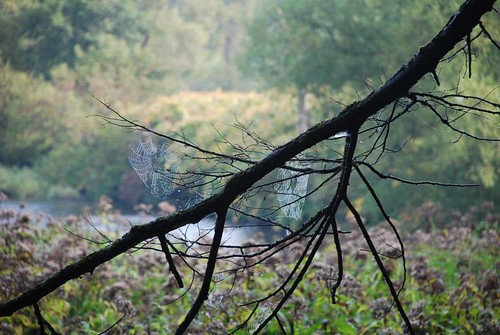
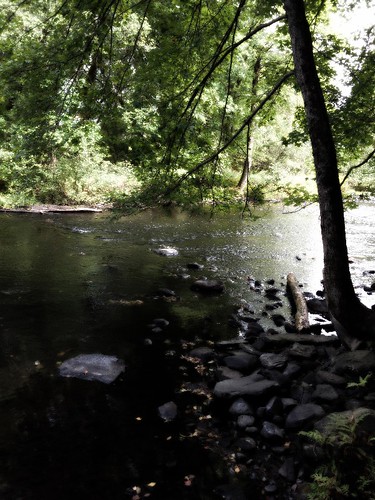
Now… just a few steps more and we’ll be at River’s Edge.

Rivers Edge

The water is low this time of year, which means I get to enjoy more of the river rocks, that usually lay quietly beneath the surface.

The River

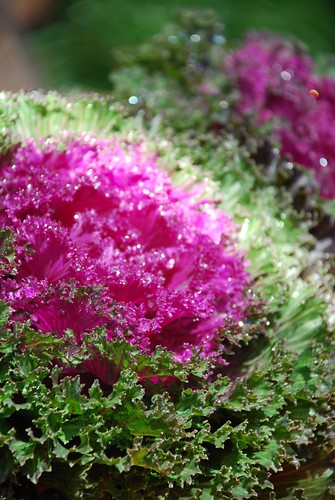
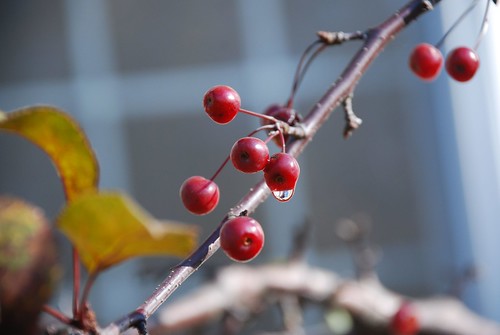
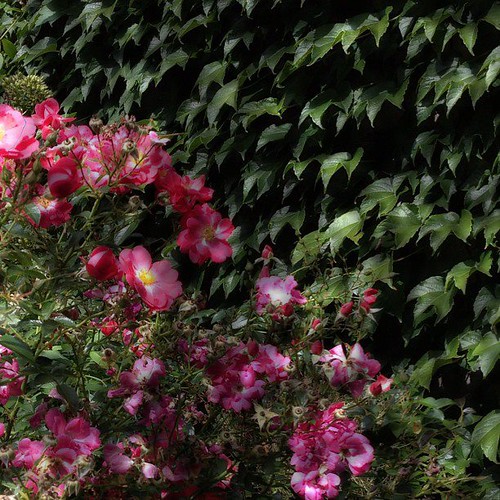
After taking time to reflect at River’s Edge, I came up around the cottage garden. Over the years I’ve come to learn that every time of day highlights something different to enjoy, and in this early morning light, the roses & ivy certainly steal the show!

Cottage Garden in Morning Light

I can’t believe how they continue to display such beauty, even this late in the season.

Roses and Ivy

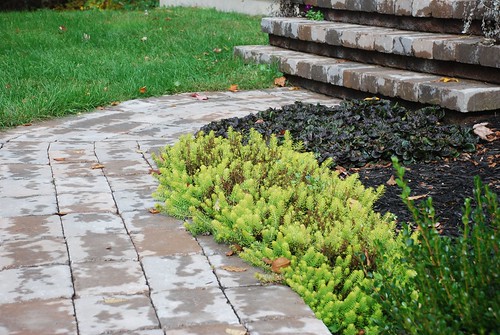
Now, with basket in hand, it’s off to the kitchen garden. We really enjoyed crafting the garden fence this spring, and it’s such a nice addition to our little place in the forest.

Garden Tomatoes

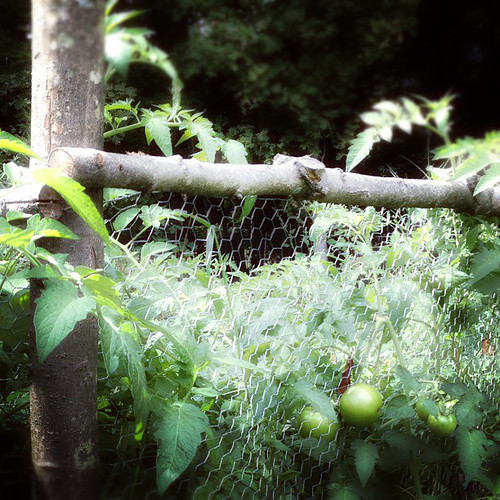
Fresh tomatoes have got to be my all time garden favorite! I love the way they look, the way the plants smell in the garden, and I especially love how delicious a fresh garden tomato tastes!

Ripe Tomatoes

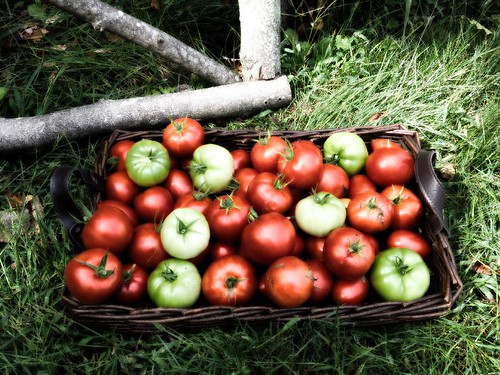
With my basket now full, I didn’t have to think very long about what to make for brunch. With tomatoes like that, it has to be our family recipe of “Italian Toast” for me!
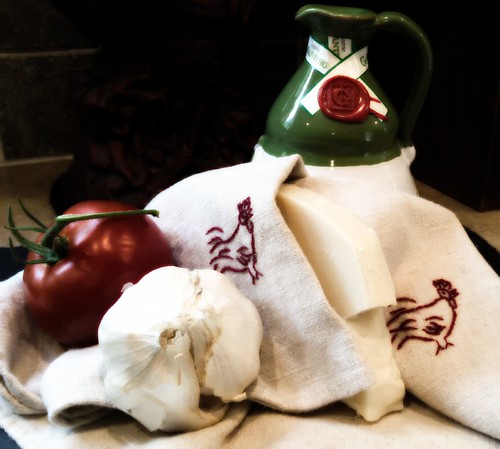
Italian Toast

Italian Toast

– Toast 2 slices of whole grain bread (your favorite bread will do)
– Slice 1-2 hearty tomatoes & lay on top of toast
– Sprinkle with shredded cheese – today I used aged provolone (our personal favorite)
– Give a dash of freshly cracked pepper, sea salt, and garlic powder
– Top it all off with a drizzle of extra virgin olive oil
– Put toast in the oven on a baking stone & broil until bubbly

All that’s left now is to enjoy your delicious masterpiece!

And those were just some of my little blessings before brunch! Who knows what wonders the rest of the days holds…perhaps one of these little sweeties sitting on the counter just waiting to be enjoyed 🙂

Pretty Cupcakes

Isn’t God a wonder! He just seems to go overboard with blessings for His children. So no matter how big or small, be sure to take some time to enjoy the ones He brings your way today!

Vintage Cabinet Redo

I LOVE vintage pine cupboards! I’m not sure why they hold such a special place in my heart, but they do. There’s just something that feels so “heart & home” about them. Perhaps it’s the memories of grandma’s kitchen, scenes from some of my favorite movies, or captured ideas from magazines that have stayed with me. I’m not exactly sure, but in any case… I LOVE them!

I know these bigger pieces can be VERY expensive, many times costing $300 – $2,000 or more! But, out of my 3 largest vintage pieces, the most I’ve paid so far is $50… which is the piece I’m sharing with you today. I found my largest piece at an estate auction for $17, and another vintage pine step-back cupboard at a yard sale for $2! You can find great deals as well, if you’re the last to leave estate auctions (the best deals are to be had after the large buying crowd goes home & the auction heads to the garage, basement, or barn 🙂 ), and if you keep your eyes open at yard sales & curbside during trash day!

This new piece had a destiny of becoming my new “Cabinet of Curiosities”, and as you can see in the before picture, it started out being a bright blue. I know that many people would have left it just the way it was, but the room it was going into was a soft blue & antique white, with black accents… so I wanted this piece to have a softer feel to it.

Cabinet Makeover - Before

Because I wanted to use this piece to display special objects, I wanted the inside of the top to be painted dark, so everything inside would pop against the dark color. I finally decided to use flat black. As a matter of fact, we decided to give the whole cabinet a coat of flat black, then a coat of antique white. After it dried completely, I gently sanded off the antique white in some spots revealing the black underneath, to give it a more vintage look. To finish the piece off, I wiped the whole thing (except for the inside of the top) with a very small amount of antiquing glaze.

You can see how nice all of these vintage stockings & mittens, that I found for $3 at a yard sale, show up here in the Winter display.

Winter Display in my Cabinet of Curiosities

For the Winter display, I started with a vintage garden urn, added a branch from a thorn apple tree, tucked in some moss around the base of the branch, hung up my vintage mitten & stocking collection, strung vintage wire that I kept from a broken Christmas ornament, added a candle covered with a bubble glass globe, and let my vintage style snowman stand guard over it all.

Winter Display

Here’s a close up of my beautiful snowman. I love how his colors just pop against the black background!
Winter Display in my Cabinet of Curiosities

Don’t be afraid to change up some of the pieces in your home. I hear from people all the time, that are afraid to use paint & go with new colors for fear of not liking the finished product. But I say… what’s the worst that can happen? Maybe you’ll have to paint it again, but then again… maybe you’ll love it! At least step out and try it, and let your creative ideas come to life in your home!

I really love the finished product, both the display space, and the storage space for all of my stationary & office supplies. I already have lots of ideas about how to change up the display for every season! What do you think? How would you decorate this piece? Let me know by leaving me a comment below 🙂

Cabinet of Curiosities

Magnetic Chalkboard – How to make a beautiful magnetic chalkboard from old mirrors or pictures

How to turn an old picture or mirror into a magnetic chalkboard.

Magnetic Chalkboard

I just love finding new uses for old things, especially when those “new uses” add a bit of extra beauty to our home decor for very little cost! Recently my husband & I have been doing just that … taking found objects, or items that I have picked up VERY cheaply, and have turned them into our very own little works of art.

And I have to tell you, there is such a satisfaction that comes with seeing the possibility in something that others have discarded, then adding your own creative touches that seem to breath new life into it. Then… there is the added joy of actually using your new creation to feather your nest to add even more warmth and comfort to your home.

My husband & I have enjoyed watching several of our creative projects come to life in one of our home offices recently, and I know you will love today’s project as much as I do! After today, I promise that as you visit those yard sales, auctions, and thrift stores, you will never look at that old mirror or picture the same way again… I know I don’t 🙂

I’ve always had a love for beautiful picture frames, and I just seem drawn to them at every sale I go to. I’m not sure why, but perhaps it’s the fact that they have the ability to beautifully showcase any creative idea that your mind can dream up!

If you’re like me, you’ve looked at a picture in the thrift shop and said… I love the frame, but that picture doesn’t go with my style. Or maybe you’ve seen a nicely framed mirror, but the mirror had already outlived it’s original purpose, and you thought you had to pass on it.

From now on, I want you to try to look at things through a new perspective. Always remember, colors, textures, and contents within the frame can ALWAYS be changed into something that you love & that matches your home decor!

Here’s where our project began…

Magnetic Chalkboard Redo

This was a nice mirror for someone, but it didn’t quite fit into our space.
– The color didn’t match our room
– We really didn’t need another mirror in that space
– It felt more like “eastern world travel”, instead of the “french country” feel that I was looking for

Magnetic Chalkboard Before

I decided to transform this mirror into a magnetic chalkboard that I could both write on as well as hang things on.

#1. Remove The Mirror

To do this, we had to first remove the mirror so we could give the frame a new look & feel.

With the new paints that we have available today, you could simply just paint right over the mirror with chalkboard paint, but since I wanted a magnetic chalkboard, I decided to replace the mirror with a scrap of sheet metal instead.

#2. Change The Look

After we removed the mirror (we will use that for something else), it was time to give the frame a new look with some different painting techniques. And, to be very honest, I had to paint it twice to get the look I wanted.

* It’s ok to just take a step & try something. After all, what’s the worst thing that could happen? With me, I just had to paint it again – no big deal.

I started with a fresh coat of flat black paint. I used spray paint because it was easier & I already had some on hand.

Up close
Magnetic Chalkboard Redo

The whole frame painted black
Magnetic Chalkboard Redo

#3. Prepare & Paint Sheet Metal

While my frame was drying, we started painting the metal with chalkboard paint.

You want to be sure that your sheet metal is clean & free from any oils or dirt before you paint, so the paint will be sure to stick to the surface. One of the best ways to do that, is to simply clean it with some regular white vinegar & a soft cloth.

Paint the piece of sheet metal with your chalkboard paint according to the product instructions. We decided to use spray paint to help eliminate any streaks or drips, but you can use whatever type of paint you feel comfortable with. You will most likely need 2 coats, maybe more, depending on the type of surface that you are covering.

#4. Add Crackle Topcoat

Because I wanted a crackle finish, after the black paint dried, I added a layer of crackle medium. Once that dried, I painted on a layer of antique white in a satin finish (I don’t want the finished product to be to shiny).

After the paint was dry, I rubbed on a very thin layer of antiquing glaze to give it that “old world” feel.

#5. Preparing The Chalkboard

Most chalkboard paints recommend that you prepare your new surface by “chalking” the entire surface before using it on a regular basis. You do this by rubbing a piece of chalk lengthwise over the entire surface several times, then wiping it off. Now you’re ready to go!

*Chalkboard paint tends to scratch when a clay based chalk is used, so I purchased mine from the office store instead of using crayola chalk.

#6. Bringing It All Together

Insert your new metal chalkboard & add a sturdy backing (like stiff cardboard or chip board) if needed.

#7. Decorate!

I decided to add one of my favorite family pictures, as well as a favorite scripture that says “As for me and my house we will serve the Lord” in French 🙂

Magnetic Chalkboard Redo

You could use decorative magnets, a collection of pictures, lists, menus, or whatever you’d like to dress up your new magnetic chalkboard!

Magnetic Chalkboard Redo

Enjoy,
Pearl

Autumn Dressed In All It’s Beauty

Autumn is one of our favorite times of the year! Here in Upstate, NY, and in our little village… the colors, sights, and smells of the season are simply magnificent!
Autumn Door
My Autumn Entrance

Early this morning, while driving down into our little village, the mist was so thick, and the radiant beams of sunlight made everything look as if it were on fire. As I looked around… these thoughts came to me.

What beauty lies beneath the mist
What treasures to behold
And might I ask what you’re hiding there
Under resplendent rays of red & gold
But soon enough the mist will rise
And there for all to share
The wonderful form & fashion of nature uncovered
As it now lay open, uncovered, and bare

I’m not sure about how the season is going in your area, but here, we have had unseasonably warm weather, lots of sunshine, and many of the leaves are still on the trees! Because our leaves are almost always on the ground by the 2nd-3rd week of Oct., you can imagine how thankful I am for this wonderful blessing!

I wanted to take you on a little journey with me, so you could see the village through my eyes today.

We’ll start with my front door…

Autumn Entrance
I’m so thankful for my husband’s help with pulling our new entrance together! I just love it 🙂

I wanted to do something different this year to celebrate my new front entrance being done, so I decided to throw together some of my favorite Autumn things & make a display. I just love all of these Fall colors together!
Autumn Door

Autumn Arrangement

More ornamental cabbages close up – I just LOVE these!
Ornamental Cabbage

With this only being the first year for our new “upper garden”, I think it has filled in nicely! I’m looking forward to seeing the chartreuse sedum & the chocolate leaves of the ajuga, against the deep blue ajuga flowers spikes in the Spring.
Garden Walk

All of the different ground covers are filling in the front walk nicely.
Stone Steps

This is our crab apple’s first year with us, and look at the beautiful little fruit!
Crab Apples

Little Crab Apples

A Walk through Forest Park – Our wonderful forest located in the heart of our little village, available for all to enjoy!

Sunlight Through The Mist

Moss Hill
Moss Hill

Neighbors
Spider Webs

Forest Mushrooms
Forest Mushrooms

Lady of The Forest
Lady of the forest

He wasn’t home when I stopped by
Forest Home

Around the Village

Life begins again…
Milk Pod - Life Begins Again

Fall berries
Beautiful Red Berries

On the farm
Autumn Beauty

Golden Splendor
Autumn Splendor

Red Beauty!
Burning Bush

And back into the village – We’re greeted with this amazing hedgerow of fiery red burning bushes
Autumn Beauty - Village

I hope you’ve enjoyed our little ride together! Be sure to leave a comment & tell me about how your season is going so far below!

** I have been working on several projects & I will be sharing pictures & how to’s really soon!

Creatively Yours,
Pearl